Media | Articles
Final chapter of the disgusting, mouse-infested truck: The heater box
When last we left the mouse-infested 2008 Chevy Silverado 3500HD dually with Duramax diesel engine and Allison six-speed automatic transmission, I’d removed the headliner (which was filled with an almost biblical level of filth in the form of mouse bodies and droppings), replaced it with a good clean used one, and put the ceiling back together. This knocked the smell in the cabin back from a stench so thick you could practically see it to a level that was tolerable.
Now it was time to deal with the other smelly source—the heater box.
There was zero doubt in my mind that there was a mouse nest inside. The first indication was that, for several years, whenever you’d turn on the blower fan it would send twisty woolly bits (whose origin I still haven’t discovered) spewing out of the vents. The second was, of course, the accompanying smell.
I’m well acquainted with mouse infestation of heater boxes from my work with vintage BMWs. Even if there’s no desiccated mouse inside and only nesting material, the stench can be astonishing. I vividly recall buying a 1974 BMW 2002tii decades back, driving it home in the dead of winter, turning on the heat, and having to immediately roll all the windows down to keep myself from gagging. I removed the heater box, disassembled it, pulled out the mouse-free nest, walked the empty box through the basement on its intended route to the kitchen where I planned to wash it in the sink, ran into my wife at a distance of 10 feet, and she said “Ugh! What died?” There was, of course, a strongly implied “That is not taking another step further into the house.”
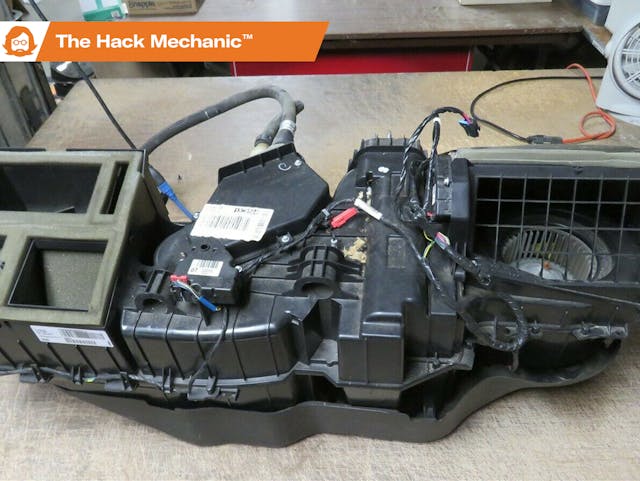
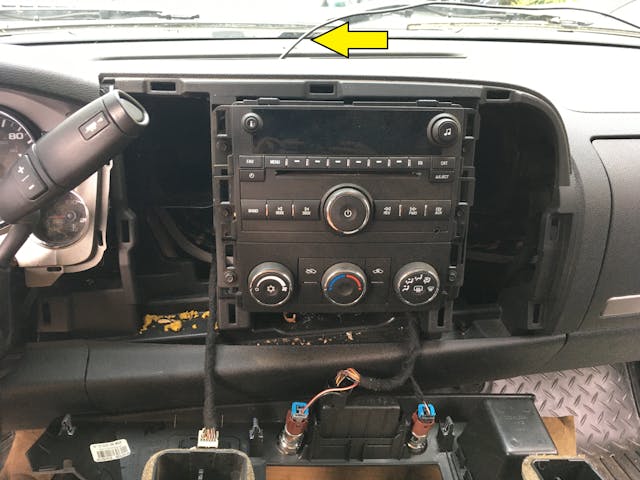
On the plus side, rodent contamination of a heater box is likely much more contained than headliner or other interior contamination. On the minus side, the heater box is much more difficult to remove than the headliner, at least on a Silverado. You have to understand that on a modern car, the heater box is actually a climate control box. That is, it not only contains the heater core, but also the A/C evaporator core, a blend door, a number of vent flaps, and the actuators that control them. And on the Silverado, the box is big—about three feet from end to end—and removing it from the truck requires pulling the dashboard. That’s estimated as a 10-hour job. Now, if this was a long-lusted-for-and-finally-bought barn-find vehicle, something like an affordable E Type Jaguar, I’d have no issue with that, but for a truck that was not a passion purchase, will never be a daily driver, and will probably only be used once in a while to haul stuff, the work-to-reward ratio seemed completely out of whack.
Marketplace
Buy and sell classics with confidence
While looking for a way out, I found something that piqued my interest. I watched a number of videos where folks who needed to replace the evaporator core didn’t remove the heater box and instead executed creative hacks to slice open the box where it sat. It gave me an idea I found irresistible: If I knew where the nest was, maybe I could drill a hole and pull out the nest without removing the heater box at all. While I knew that, even if this worked, it would never be as good as removing the box, disassembling it, and scrubbing every surface, maybe it would be good enough.
The first thing I did was spend $29 and buy this inspection camera on Amazon that connects to my phone. It worked unbelievably well. It took some trial and error to snake it down the defroster vent and past the flap, but after a few hours chasing dead ends, I found and photographed the mouse nest inside.
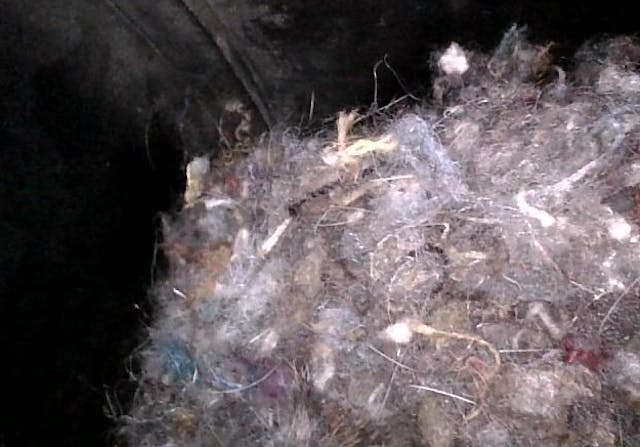
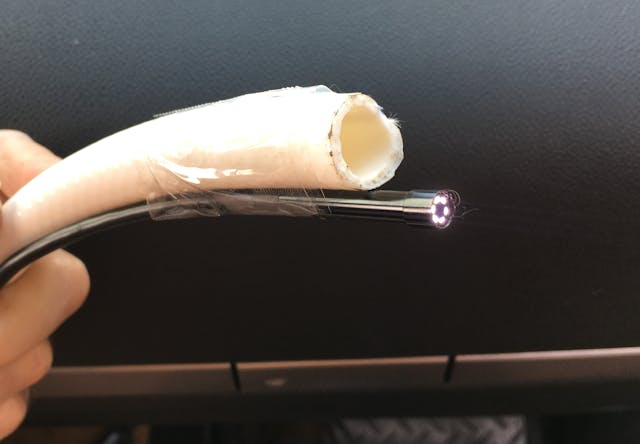
I taped one end of a section of 7/8-inch hose to my shop vac’s hose and the other end to the inspection camera and expected to snake the hose down and watch the nest get sucked up into it. Unfortunately, I discovered that guiding the small narrow flexible camera down the labyrinth was one thing; doing it with a thicker piece of hose attached was quite another. (I later learned that, even if I had performed this maneuver successfully, it wouldn’t have worked anyway due to the size and stiffness of the nest).
I realized that, if this was going to succeed, I needed to understand what part of the box the inspection camera was looking at when it saw the nest. Unfortunately, searching online did not unearth a photo or a drawing that showed the interior of a disassembled heater box.
Then, a light bulb went on: If I had another heater box, I could disassemble it and use it as a reference. I looked on eBay, and to my delight, found a compatible heater box, advertised as “complete, presumed good, no returns,” for $160 shipped. This sounded perfect—short money if it helped me solve my problem and prevented me from having to remove the dashboard to pull the heater box. And if, for some reason, my own heater box was beyond salvation and I had to pull the dash and remove it, I could use this one.
About a week later, the replacement heater box arrived. Even before disassembly, it was obvious where the major components were.
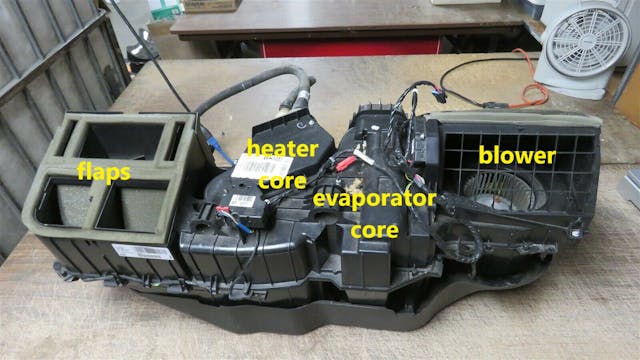
The shroud on the bottom was easily removable. The top and bottom halves of the box were jointed with plastic rivets that were melted in place, requiring me to drill them out to separate the halves.
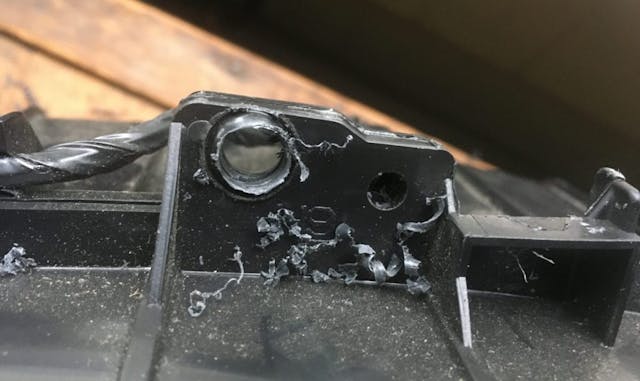
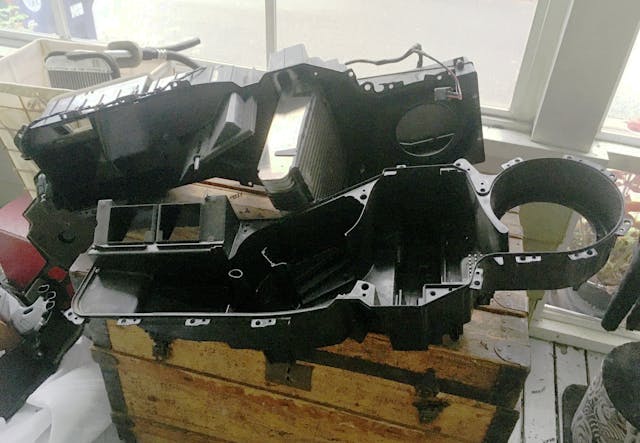
With that done, I separated the halves. The base of the box had three discrete sections. Directly below the vent flaps was a “ramp” area with a curved floor. To its right was section for the heater core, with the core set forward at an angle, between plastic pieces that framed a blend door. To the right of that was the section for the evaporator core, with the core taking up the entire section front-to-back. I thought the most likely location where I’d seen the nest with the camera was to the right of the ramp, in front of the heater core.
I had my reference.
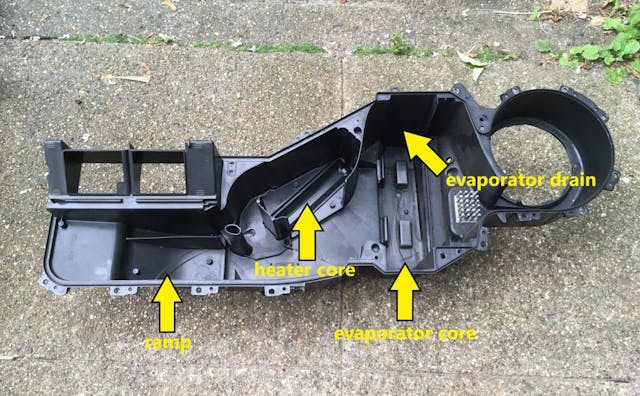
In addition, I could see that the floors of the sections were like a series of terraces designed to allow water to flow downhill. This would be crucial later, as it meant that, as long as nothing was blocking the evaporator drain (the hole that’s in any climate control box that allows condensation that forms on the evaporator core to escape), any water or cleaner that I sprayed in should flow out the drain.
With an understanding of the heater box’s interior, I looked at the outside of the disassembled box, marked where to drill a hole to access the section around the heater core, took a measurement of where it was relative to the edge, and made the same mark in the vertical part of the bottom of the box in my truck. I drilled a pilot hole just large enough to insert the camera. At first, I wasn’t sure why the image was blurry, but then I realized that it was because I’d pushed the camera right into the nest.

I took a 1 1/4-inch hole saw, drilled into the truck’s heater box, and literally pulled out a core sample of the nest.
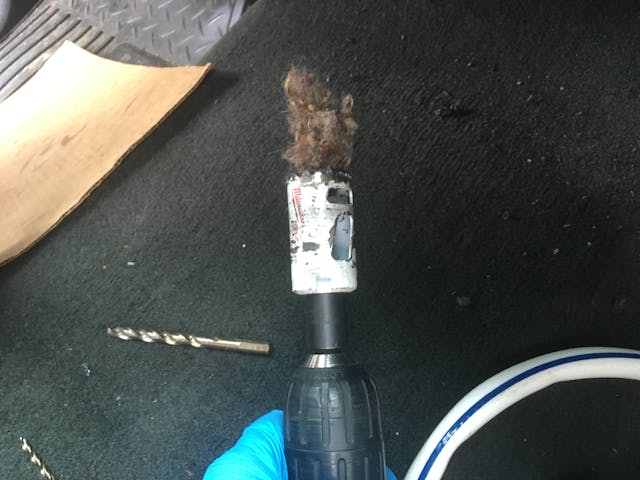
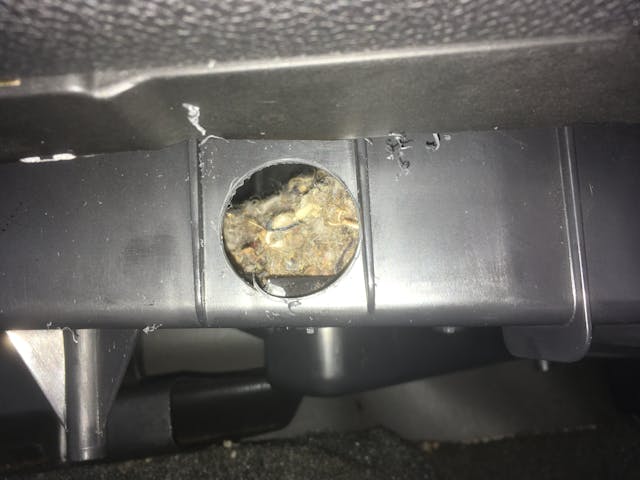
I was elated. I grabbed the shop vac, held it up against the hole, and expected to hear “wheeeeeeeeeee-FOO” as the nest got sucked up, but that didn’t happen. Confused, I reached in and grabbed the nesting material with gloved fingers, and learned that the nest was too big and too dense for the vacuum to simply suck it in.
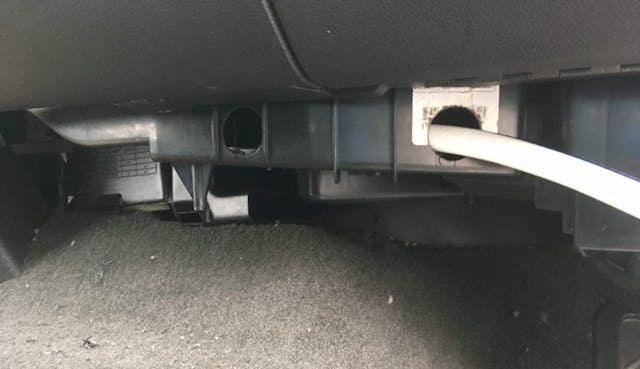
Using my gloved fingers as well as a long pair of tweezers, I kept pulling more and more nesting material out. I drilled a second hole and chased the nest to the right where the evaporator core was. So, I wasn’t quite the precision drilling genius that I’d thought—I could’ve drilled anywhere in the vertical section along the bottom of the heater box and hit the nest. By the time I extracted everything I could reach, I pulled out a nest about 2/3 the size of a Kleenex box.

I then returned to using the inspection camera and saw mouse deposits on the evaporator core and, not surprisingly, on the floor of the tray. I duct-taped the small hose back onto the shop vac hose and sucked out as many of the deposits as I could.
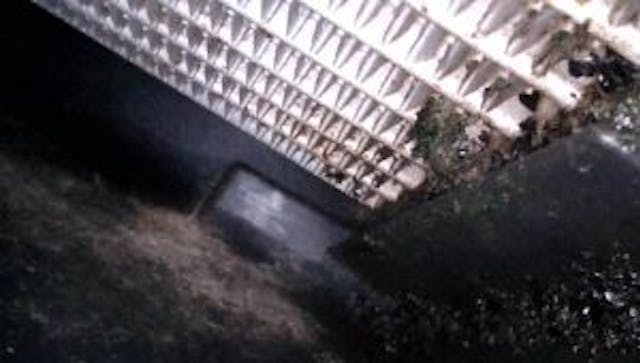
Before I began flushing out the box with cleaner, I did one more round with the inspection camera, this time snaking it up in the direction of the vents. At first, I didn’t understand what I was seeing, but then I realized that they were… feet. And a tail.
Fortunately, the little body was close enough that I could grab it. The tweezers didn’t have quite enough bite, but a long pair of needle-nose pliers did.
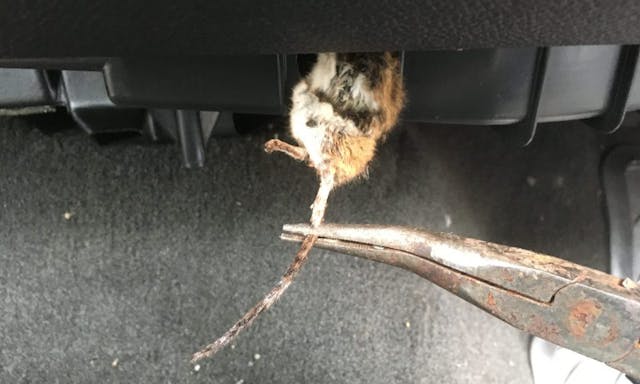
With the surprise carcass extracted, the next step was cleaning. The fundamental problem is that if my experience with the headliner was any guide, it was likely that the bottom of the heater box was lined with brown goo. I planned to inundate the inside of the box with the same Rocco & Roxie enzyme-based cleaner I’d used on the truck’s ceiling and A-pillar surfaces. I knew this would never be as thorough as removing and disassembling the box, but I hoped that it would be good enough.
The two holes I’d drilled gave me excellent access near the heater core and to the left side of the evaporator core. Removing the blower motor allowed access to the right side of the evaporator core. I first squirted in about half a cup of water and verified that it did indeed run down the stepped “terraces” inside the box and out the evaporator drain in the firewall. I then soaked everywhere I could reach with the enzyme-based cleaner, waited about an hour, then rinsed as thoroughly as possible using a spray nozzle on a garden hose inserted through the holes I’d drilled.
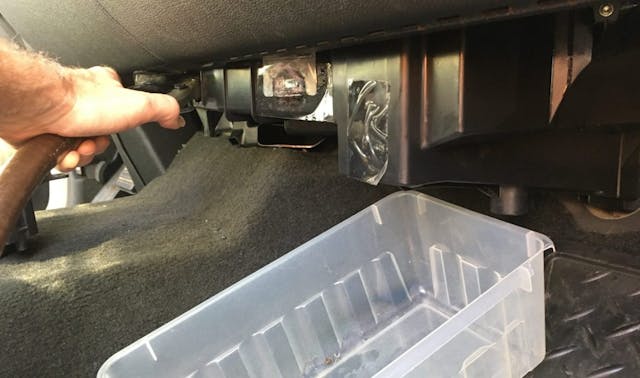
At first, the rinse water flowed freely out the evaporator drain hole, but then it slowed and threatened to back up through the holes I’d drilled. I accessed the drain hole through the firewall, poked with a stiff wire, and out gushed a torrent of mouse deposits. I cleaned and flushed several more times until the water ran clear.
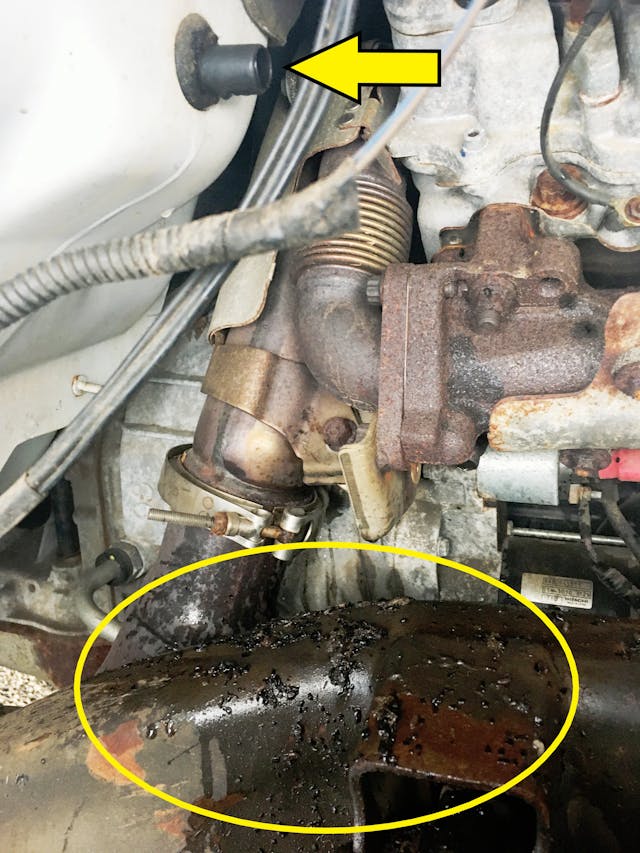
I let the box dry for a few hours, then installed a pair of 1 1/4-inch rubber plugs in the holes I drilled.
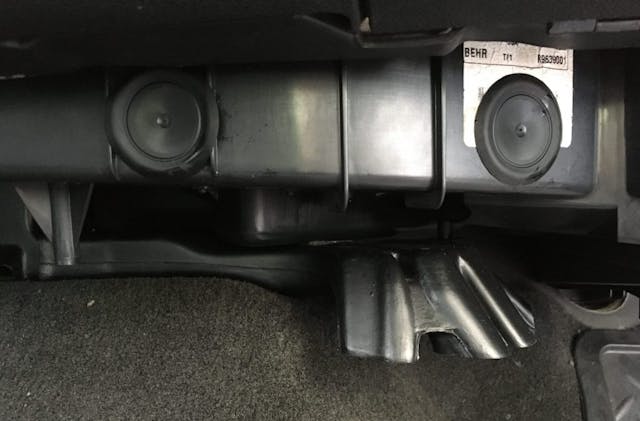
Then, with a fair amount of trepidation, I put on a mask and turned the blower on.
And it smelled… fine.
I pulled the mask off.
It still smelled fine.
I turned on the air conditioning, which I hadn’t used since the heater box began smelling several years ago. It didn’t blow cold. I hooked up my manifold gauge set and saw that the system had pressure, indicating it still had refrigerant in it. Unfortunately I also saw that the system was short-cycling—the compressor was switching on and off about every five seconds. This is the textbook symptom of a system that’s low on refrigerant. I looked at the under-hood sticker and saw that the system took 1.7 pounds (about 27 ounces) of R134a. I shot in two 12-ounce cans of refrigerant, and the system came up cold. I drove the car with the windows down, A/C on, mask on. I then rolled up the windows, sniffed through the mask, didn’t smell anything, and took the mask off.
Cold and stench free.
Wow.
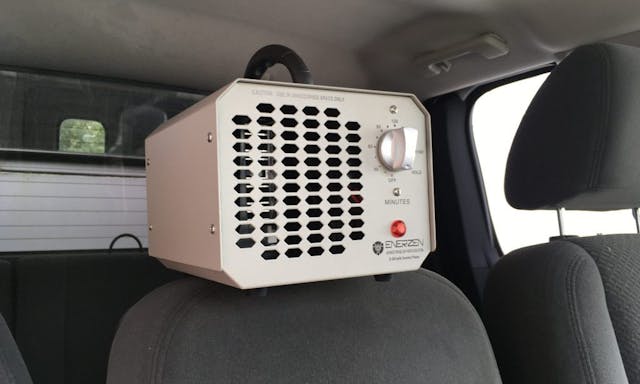
As the final step in the long de-stenching process, I used one of those inexpensive ozone generators that Amazon sells. I closed up the car and let the ozone generator run for three hours. As I’d already reduced the smell to essentially zero, it’s difficult to say what benefit it had, but when I used it in my Z3, which smelled of cigarettes from the son of the previous owner, it knocked the smell right out.
It then rained heavily for the next week, and the truck sat closed up. When I next drove it with the windows up and the A/C on, there was a bit of a mouse odor. I emptied the better part of a can of Lysol down the vents and into the holes I drilled, then gave it an application of a foaming heater / evaporator core cleaner, followed by another rinse, and that knocked the odor back out. It may be that a consequence of my not having removed the heater box and disassembled and cleaned every surface is that the smell may be in remission as opposed to fully cured, and as such, may require regular treatments.
But still, to me, this is a total success. I took a truck that was virtually uninhabitable due to rodent contamination and rendered it usable, which is all that it needs to be, with a level of effort much lower than full interior disassembly.
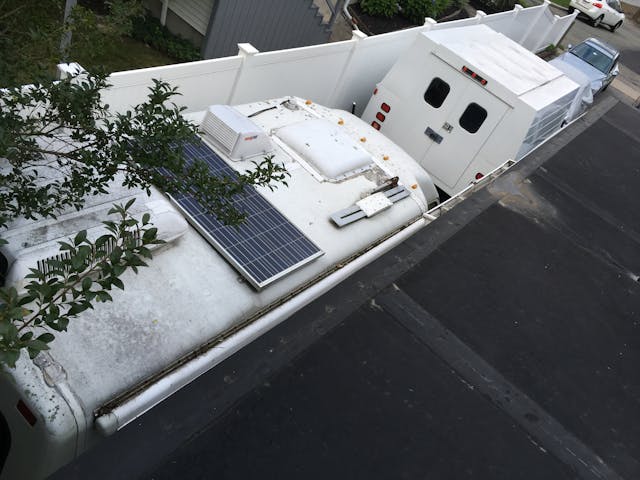
Of course, the new problem is that, if my goal was to use it to tow home other cars, between the truck and the Winnebago Rialta RV, my driveway is now completely full.
On the bright side, if I sell a car, I guess I can now offer delivery.
***
Rob Siegel’s new book, The Best Of The Hack MechanicTM: 35 years of hacks, kluges, and assorted automotive mayhem, is available on Amazon. His other seven books are available here, or you can order personally-inscribed copies through his website, www.robsiegel.com.


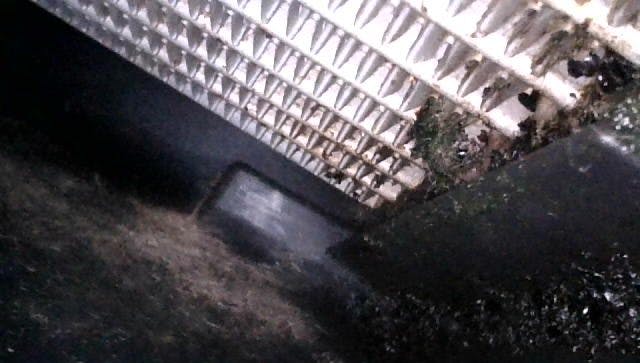


Awesome! I had the same problem, many thanks for the article. Also found where they’re getting in: https://www.youtube.com/watch?v=2HB_5B7Ekto