Media | Articles
How To Make Self-Tightening Bolts
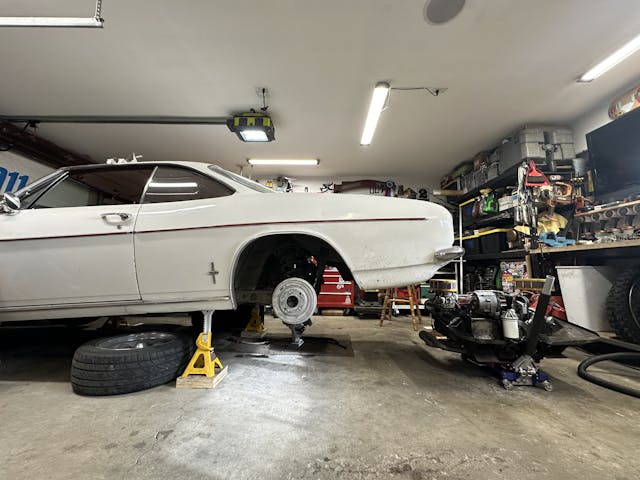
The Corvair has been precariously perched atop jack stands in my garage for a month or two—I’ve lost track, to be honest. The engine and transaxle sit divorced on the floor, angled away from one another, conveying a slight contempt for each other that shouldn’t be possible for inanimate objects.
After weeks of trying to “find the time” to make the next big step in getting the car back together, I finally carved out just enough time to make some progress. Luckily for me and my tight schedule, I knew how to make some self-tightening bolts.
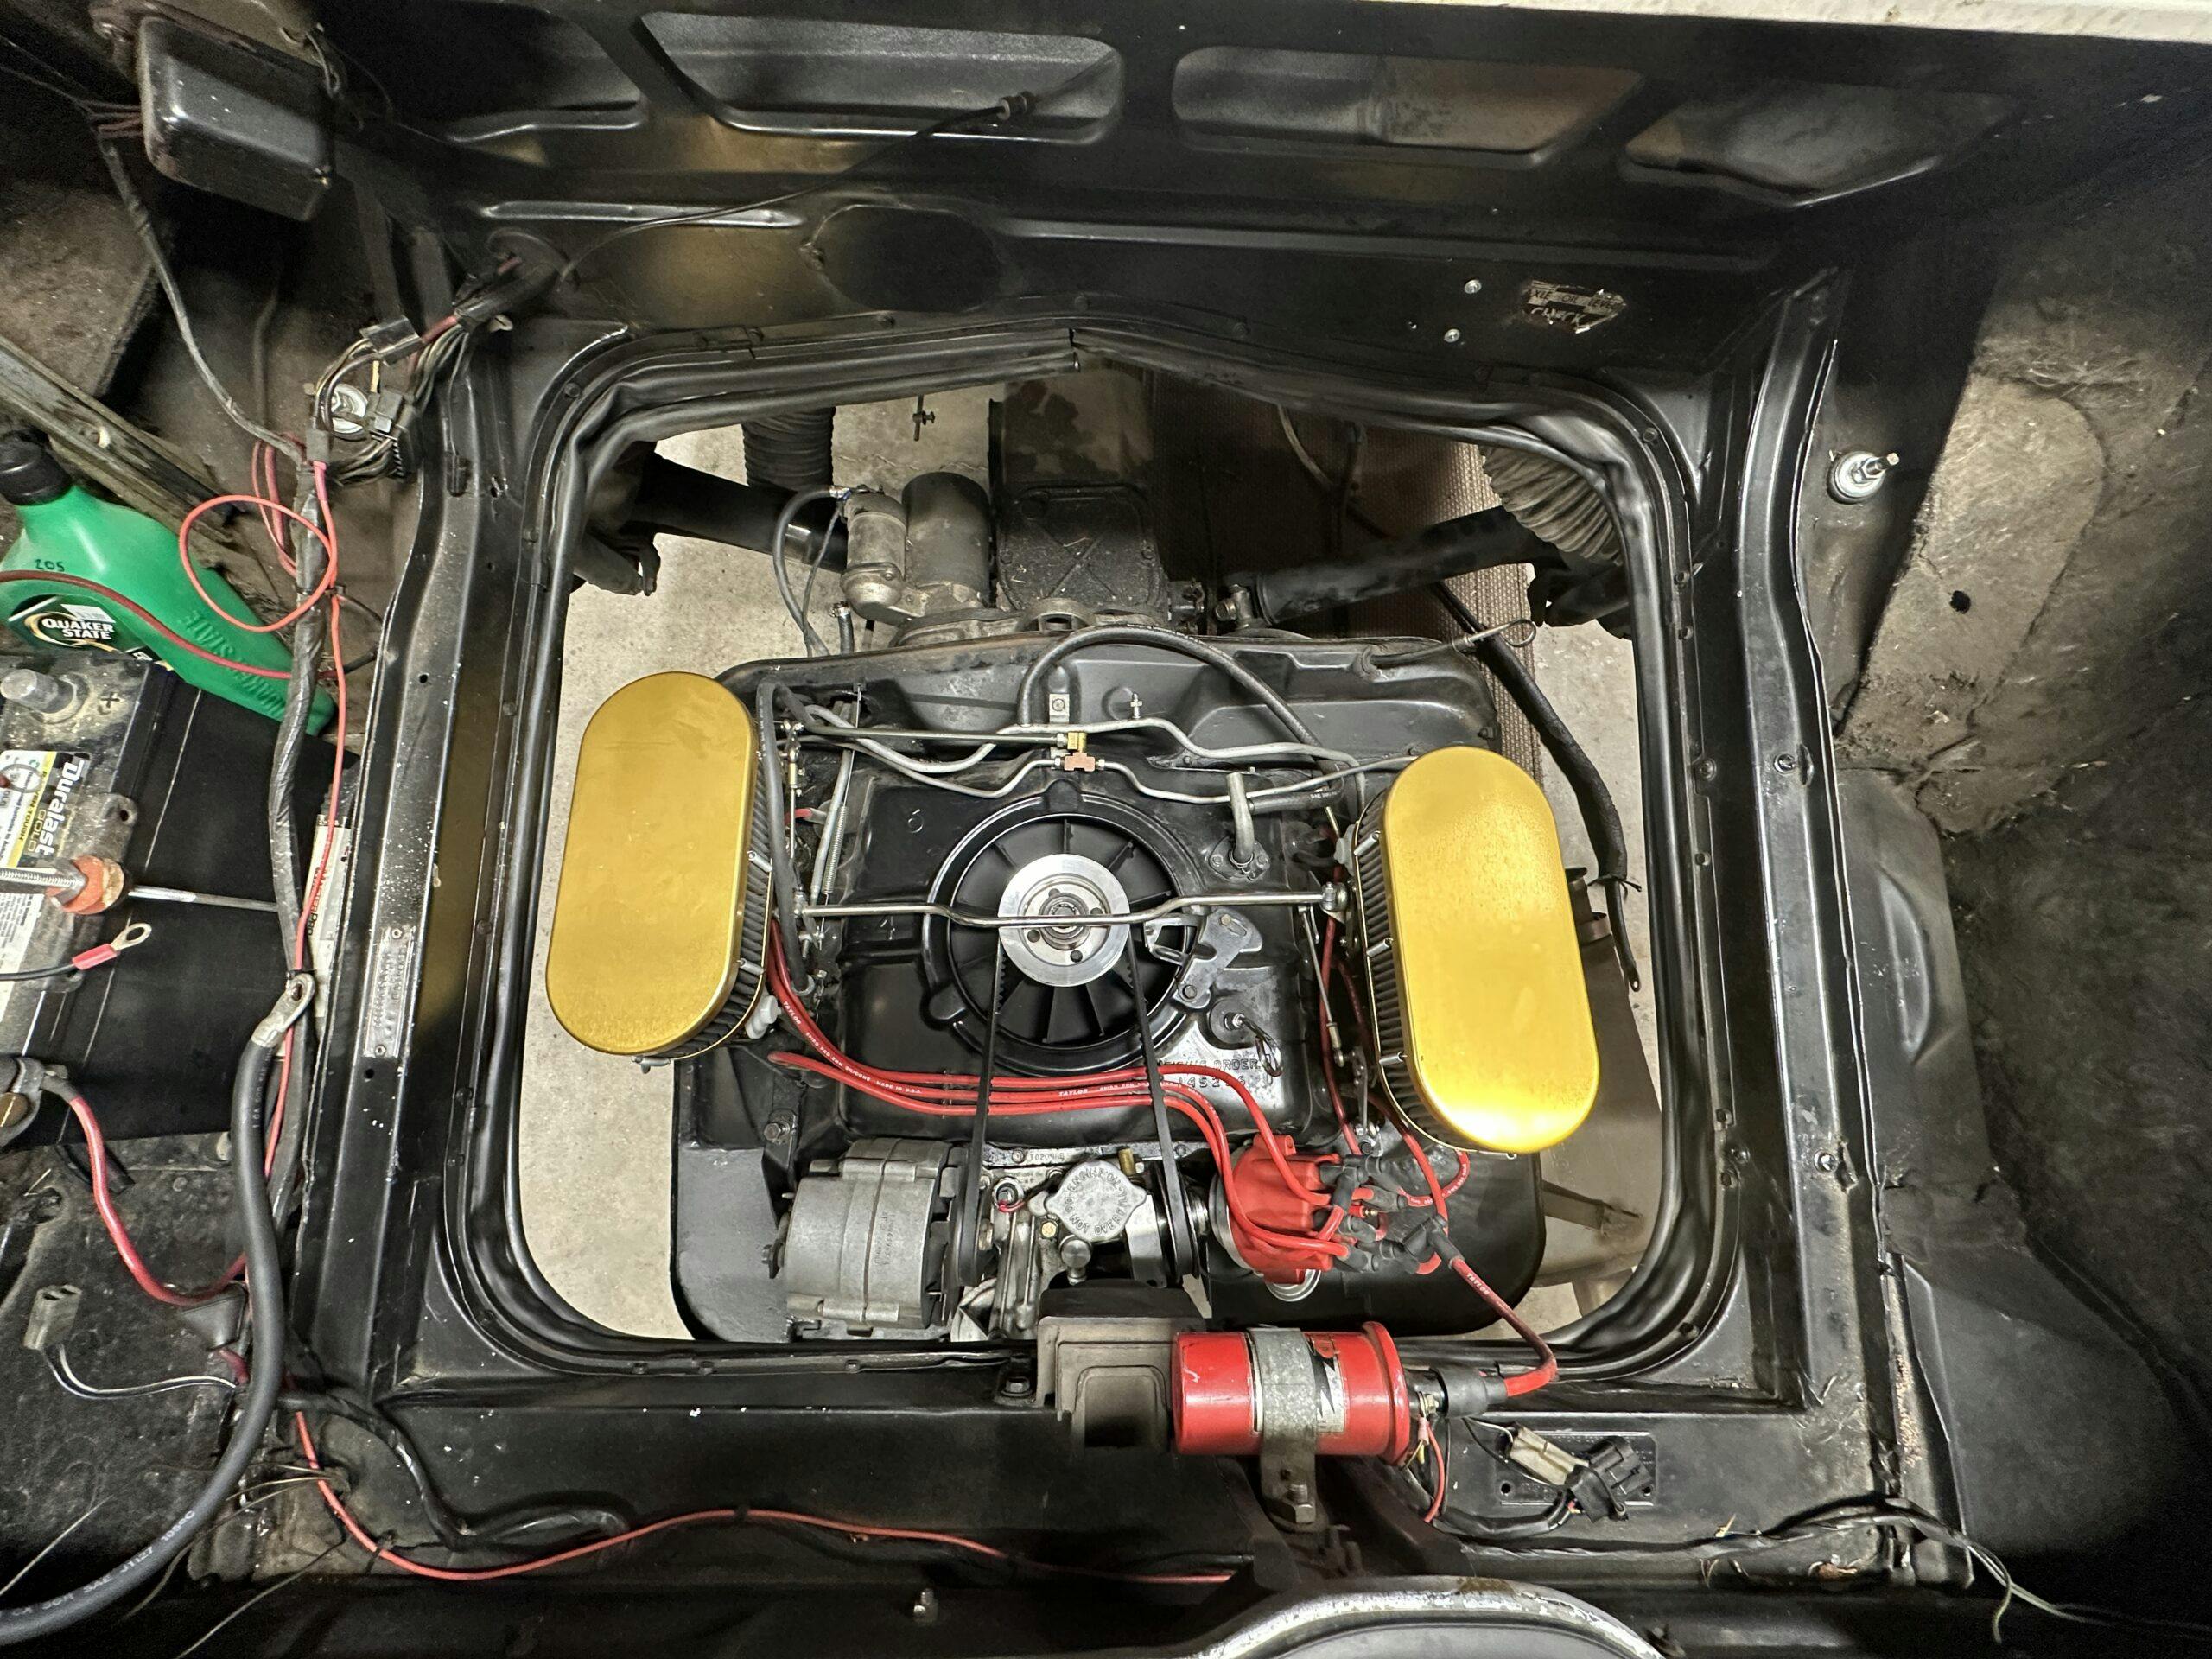
The rift in the relationship between engine and transmission was my doing, of course. My investigation of an oil leak revealed that the crankshaft seal, which I expected to have failed, was innocent; the real culprit was a damaged gasket between the bell housing and engine block, which was found guilty for its part in leaving oil stains all over town for five years. This unplanned crankcase vent was allowing oil mist to blow out and coat the underside of the car with enough anti-rust I could probably have driven it last winter. The leak became an un-ignorable problem last fall, and this winter was the perfect time to deal with it.
Marketplace
Buy and sell classics with confidence
Over the past few months, however, other combustion-based projects entering and leaving my garage have made progress slow—slow enough that suddenly a planned spring road trip was starting to look shaky. It took a good hour to for me get back in the “working on a car” groove. It sounds dumb to say, but there is a radical difference in touch and technique between working on the motorcycles and the cars. The literal weight of everything. More systems. More finicky bits. More patience.
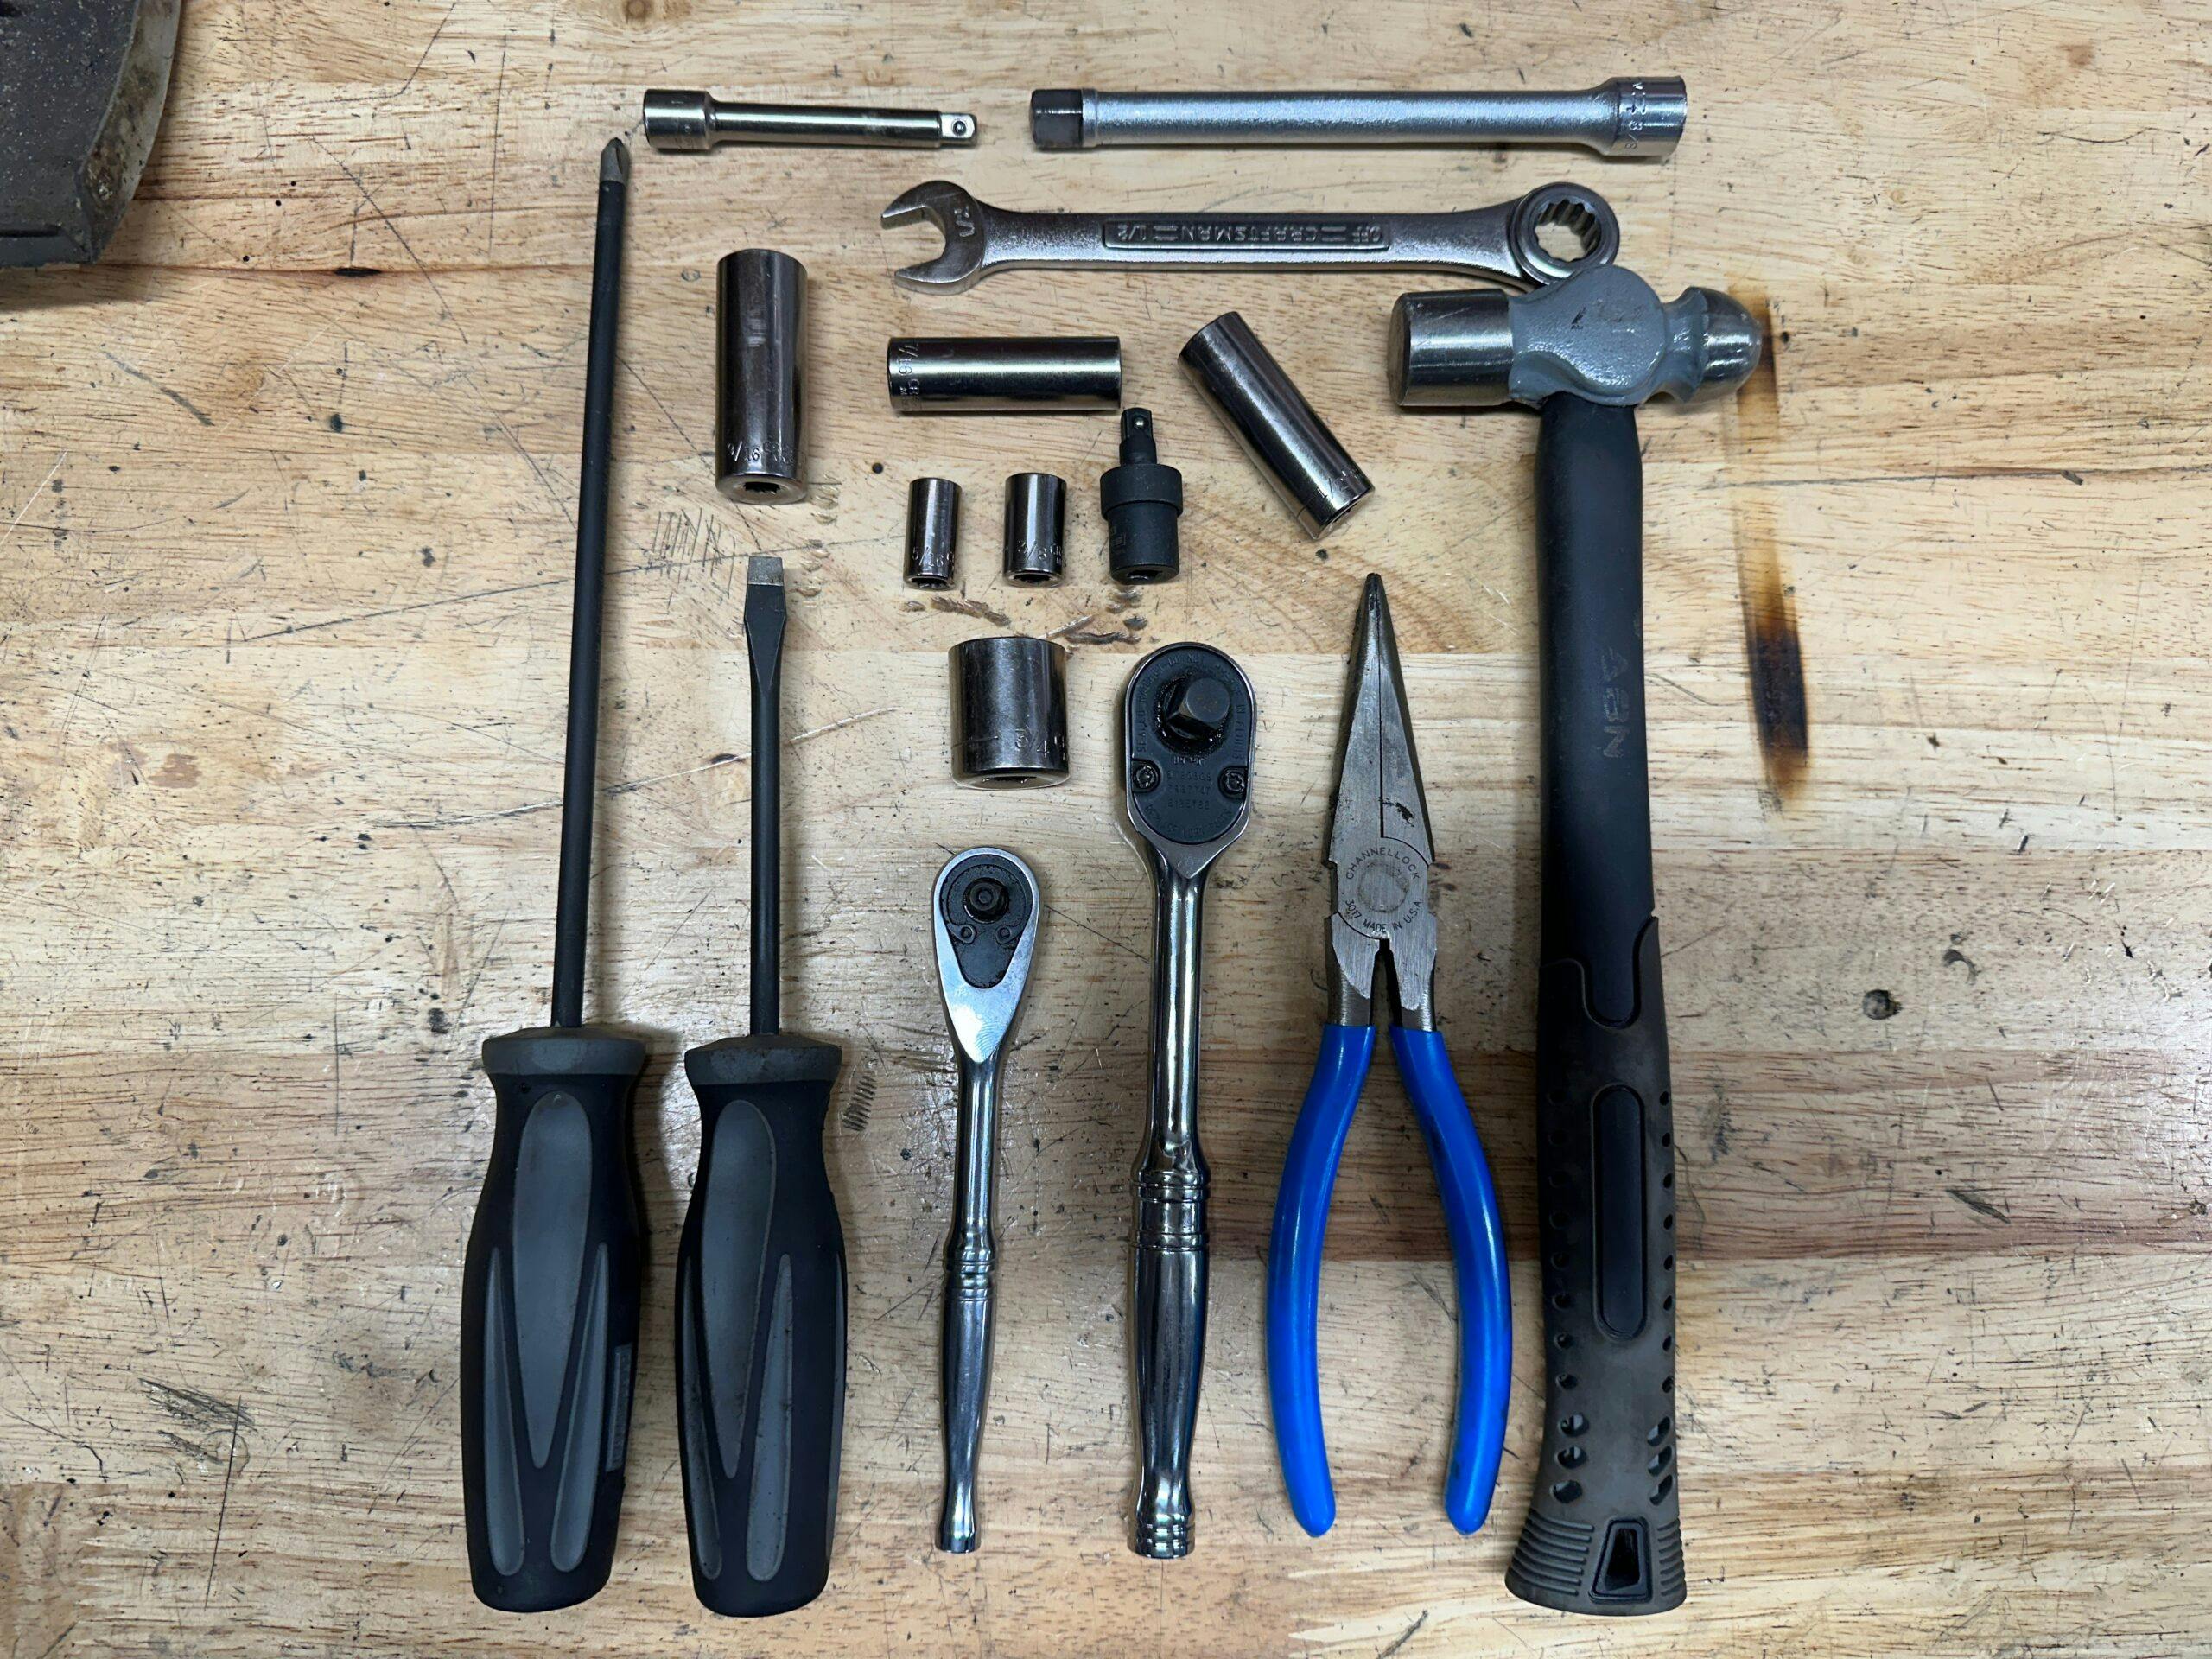
About the time I was hitting my stride, I turned my attention to the powerpack that was resting on the bright red steel cradle that bolts to my aluminum floor jack. To split the differential and engine requires removing seven bolts, two of which hold on the starter motor. Those starter bolts are the only ones you can easily access, though. The five other 9/16”–headed bolts go in from the bellhousing side, tucked in nicely cast aluminum ribs for strength. The arrangement totally makes sense, just like the countless other times assembly time won out over service time. The insufferably slow process of threading a bolt in 10-degree rotations is something that just gnaws at me—I needed some self-tightening bolts.
The process is simple, really. I’ve been working at learning machining on the lathe and wanted to test my single-point thread cutting technique, so I started with a super secret alloy sourced from an old tool and die guy in North Carolina …
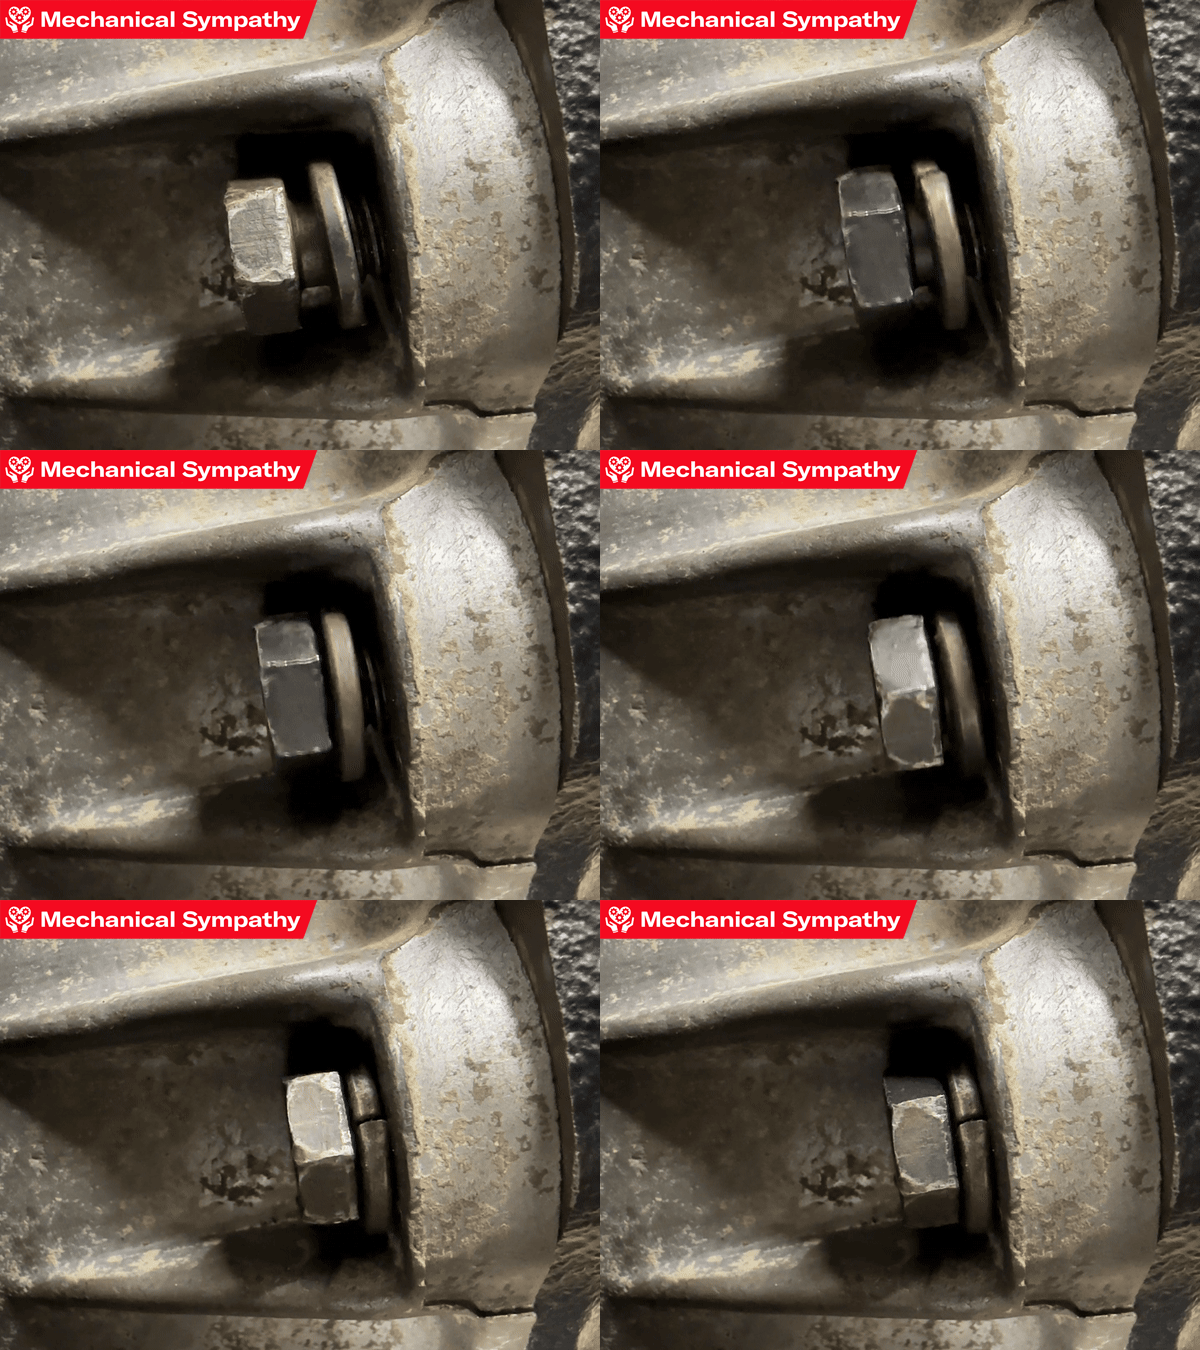
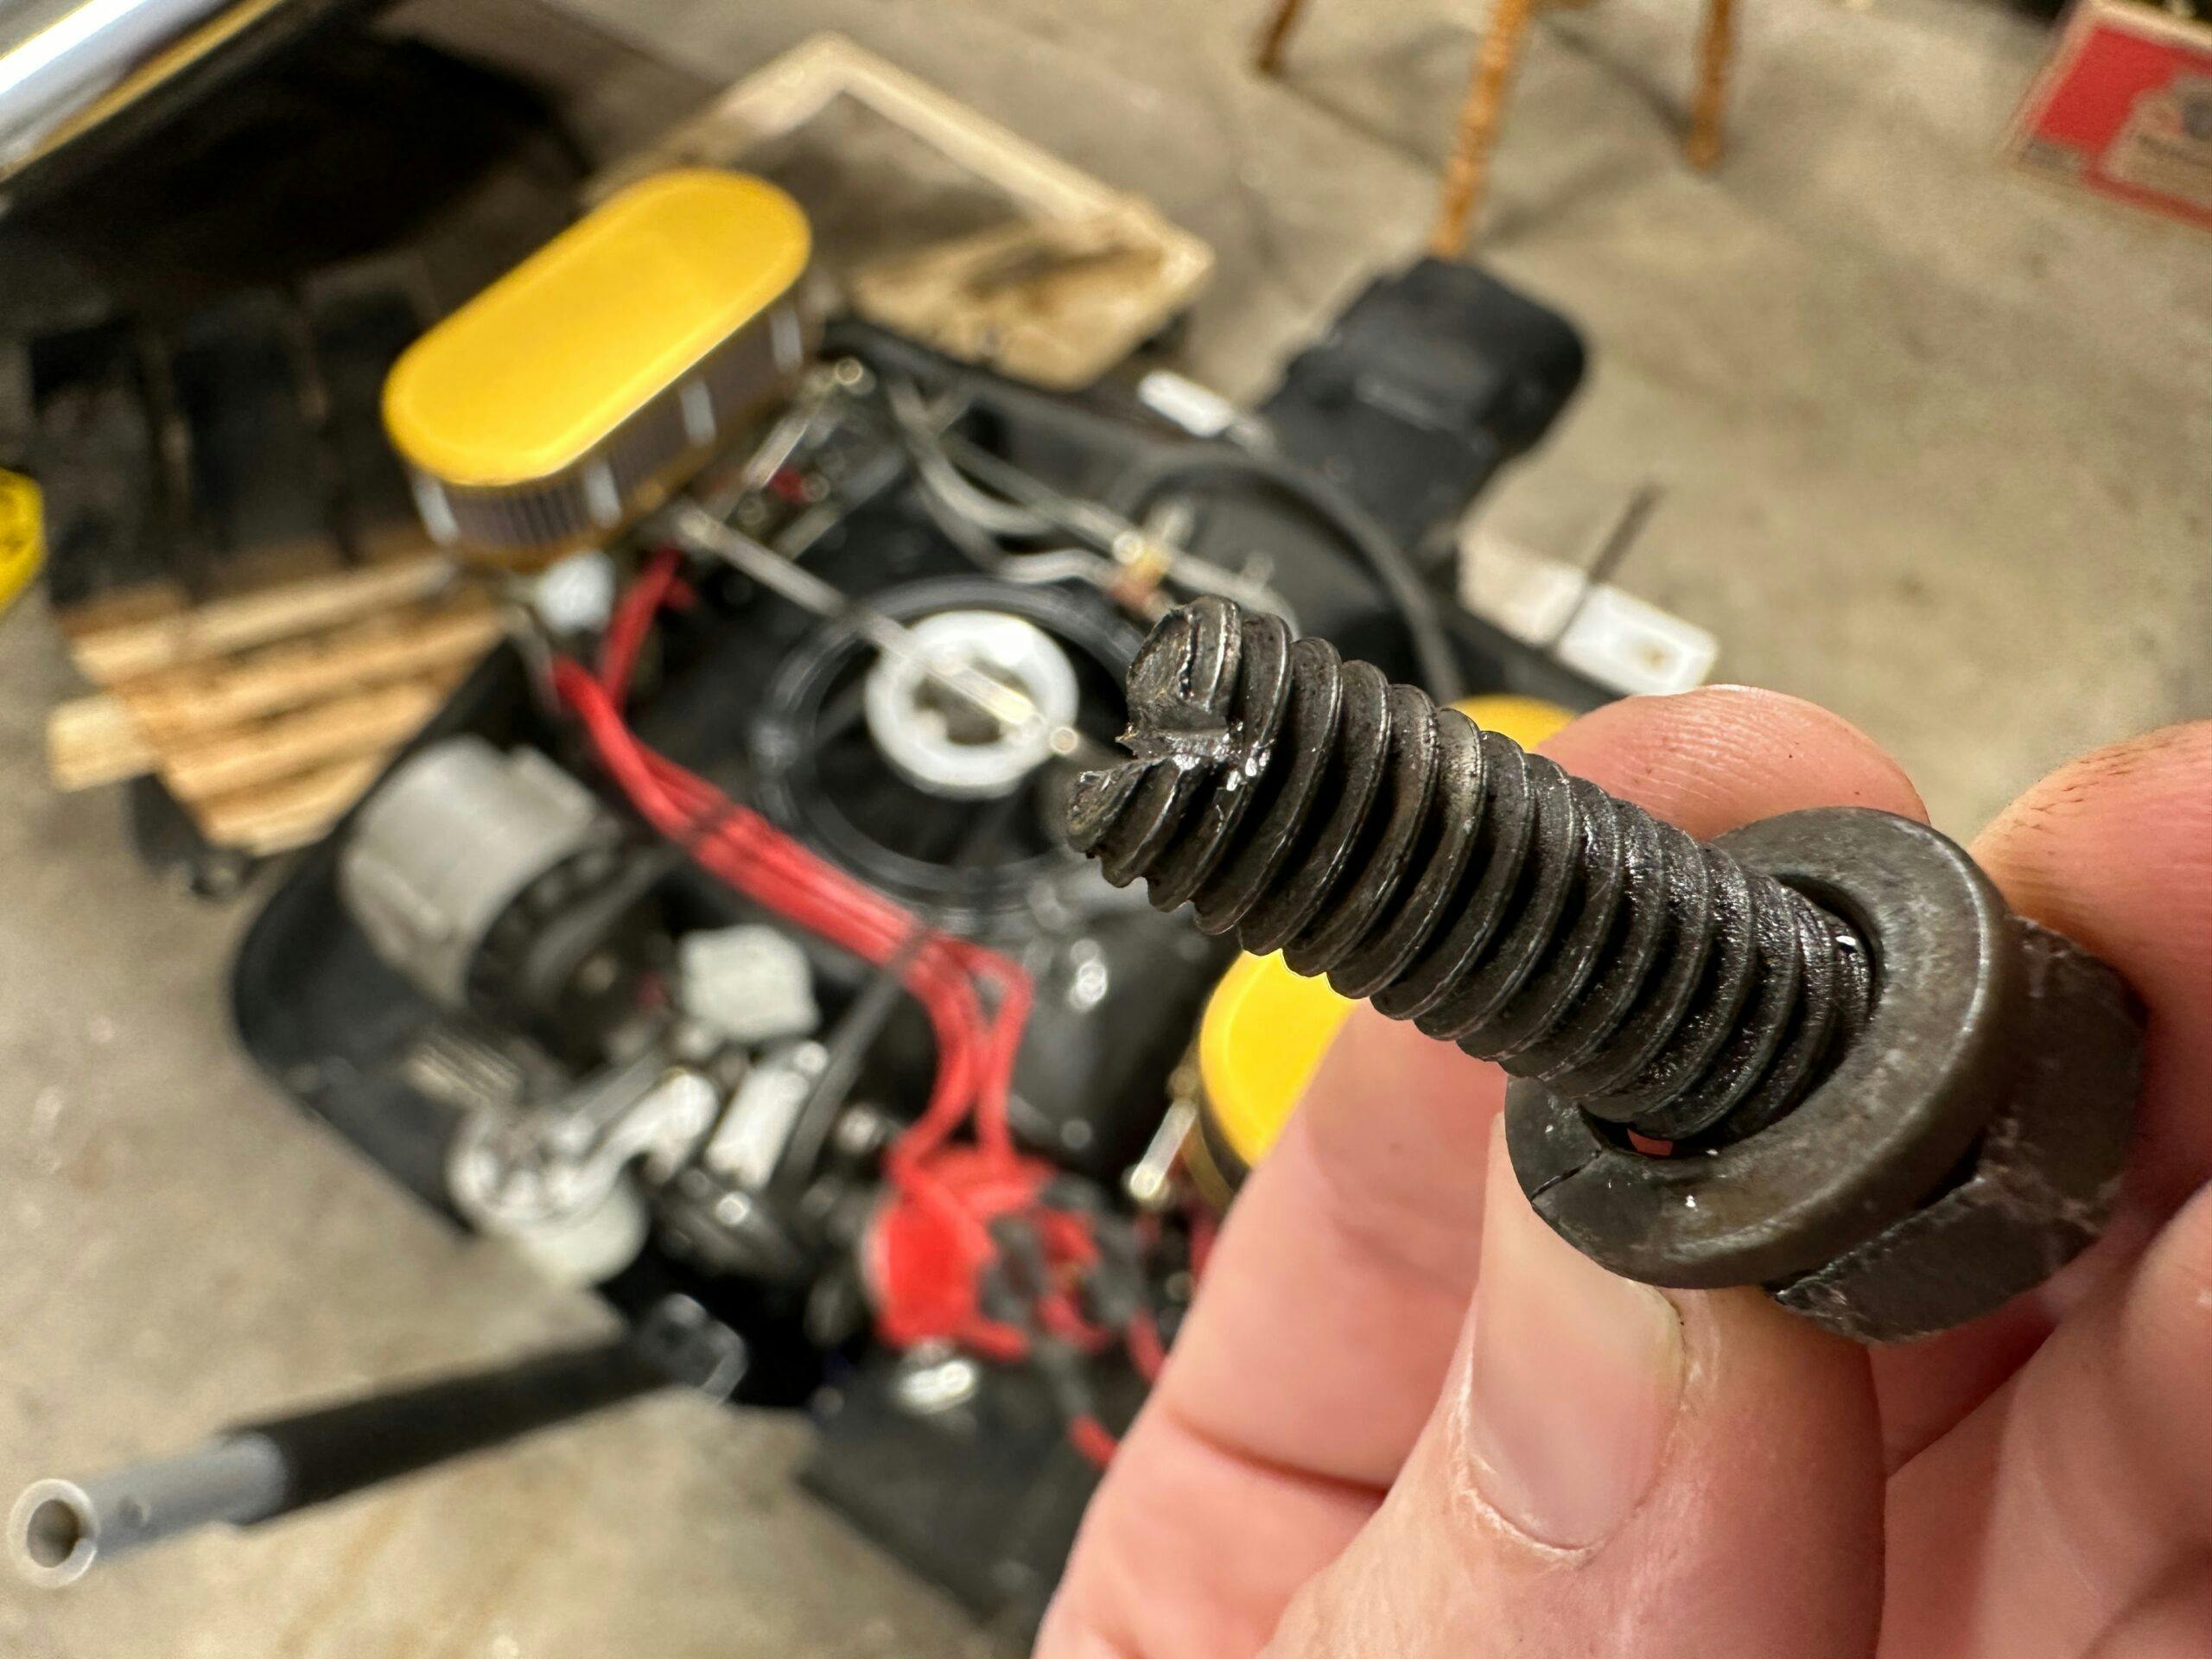
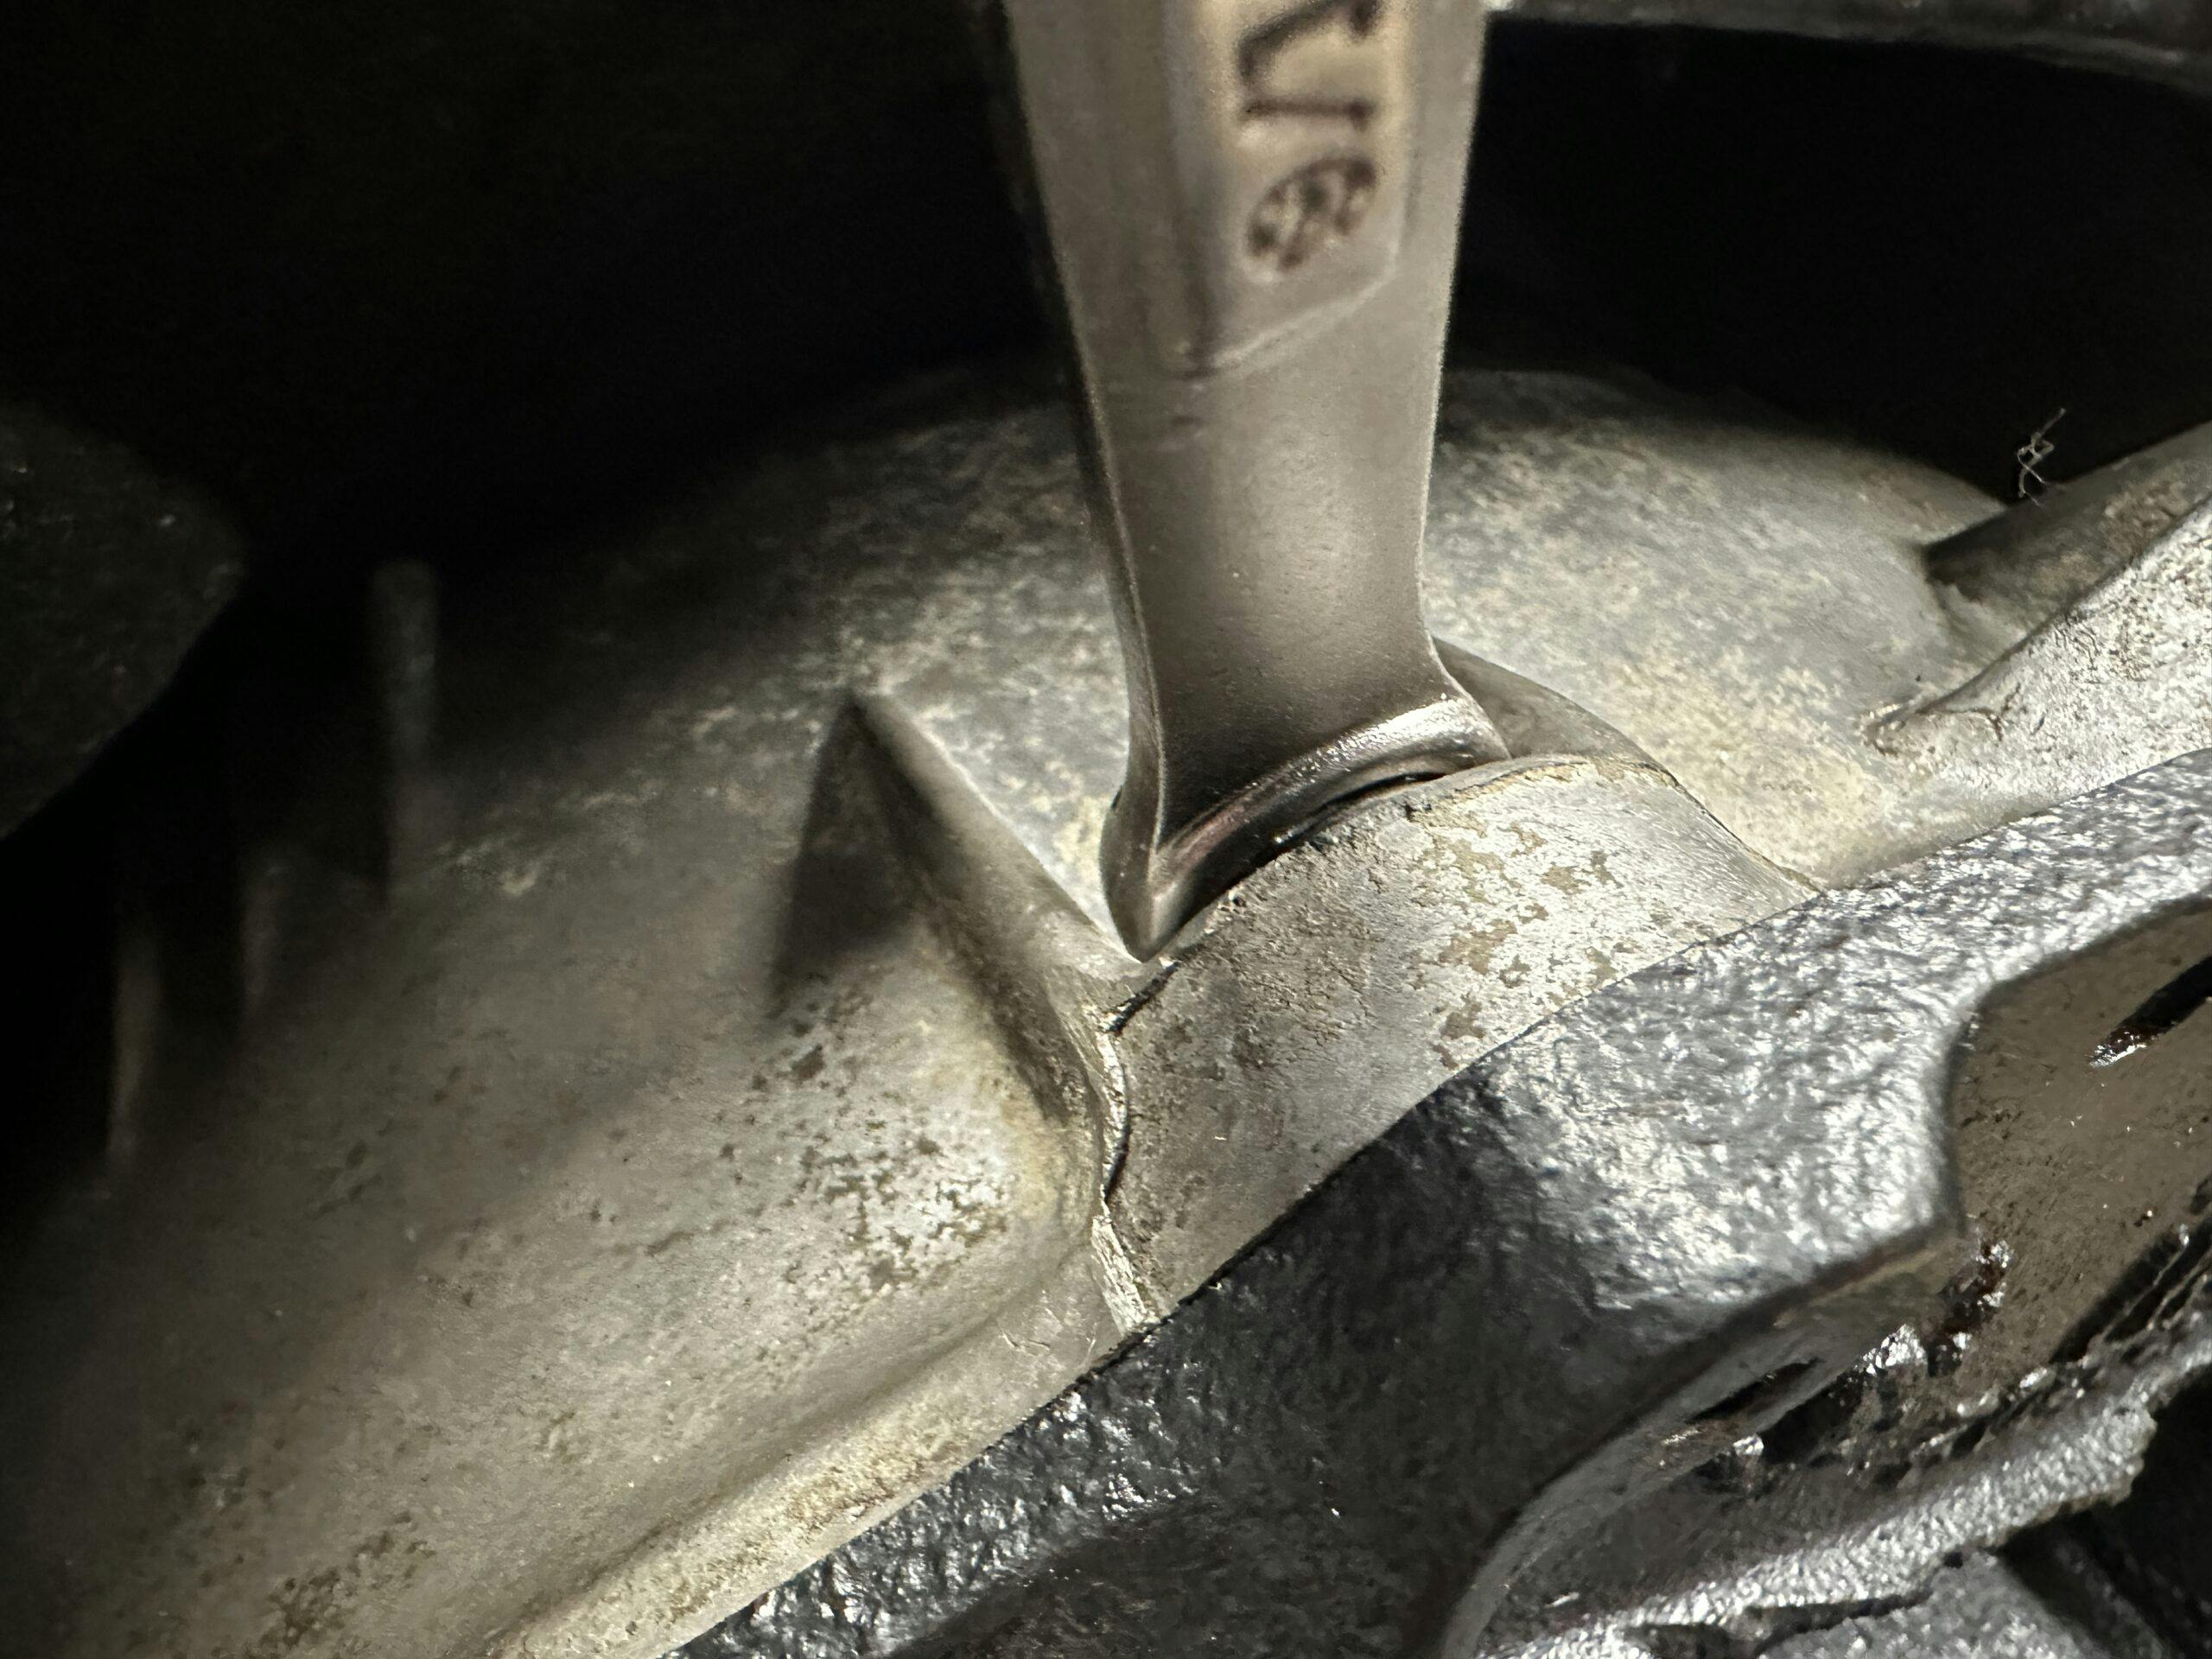
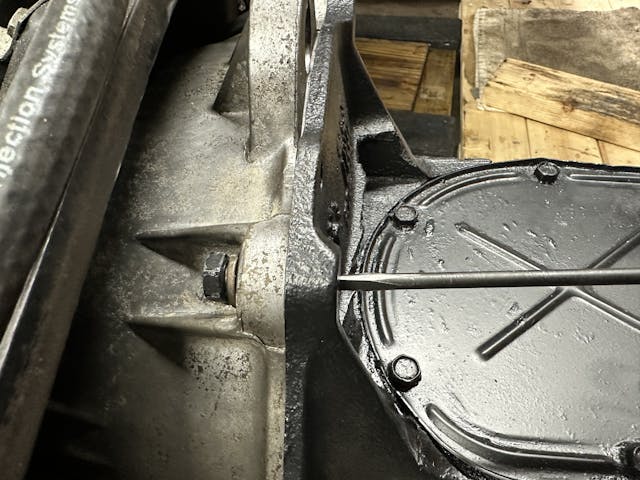
Yeah, not really. Self-tightening bolts don’t exist. You knew that. But we don’t have to settle through these infuriating little catch-22 situations created by someone else. Back when this engine was last out, I cut slots in the tips of the bolts. The holes that receive them are drilled and threaded clear through the cast-iron housing of the differential. With a nice narrow screwdriver, I can reach down the center bore of each hole and turn the screwdriver counterclockwise to thread the bolt in snugly. A couple touches with a wrench, and it’s time to move on. Even describing the process on video took less than a minute. Cut those slots once, and a job like this is easier, should you ever come back.
Rarely is anything about project cars or motorcycles easy. There are no self-tightening bolts, just like there is no shortage of time-saving tips that create scenic trips rather than shortcuts. We have to do the work in some way, shape, or form. The result of doing the work is what gives us the otherwise-mythical powers to make things easier for ourselves. We learn these tips and tricks over months, years, and decades spent thinking about the materials and processes that we use and abuse during our love affair with an inanimate object. Because I learned and implemented that little trick of slotting the end of five bolts, this sizable job is not so bad—enjoyable, even. At the very least, it’s more fun than watching the car assemble itself.
***
Check out the Hagerty Media homepage so you don’t miss a single story, or better yet, bookmark it. To get our best stories delivered right to your inbox, subscribe to our newsletters.




Good thinking Kyle!
One other solution might be to use metal spacers and longer bolts sufficient to allow the bolt head to clear the casting ribs. The engineer in me wonders if you are not losing two threads worth of strength by cutting those notches in the bolts… of course I doubt if that Corvair is pumping out enough torque to make it a real concern.
Being a mechanic requires critical and creative thinking.
Racing adds another level to this in crafting things you need but may not be able to buy. Or need to hide due to the rules.
This is what separates a plug changer from a true mechanic.
Wouldn’t a swivel socket and an electric or air ratchet solve the problem? Asking for a friend.
I’ve been doing this on my Corvair motors for 30 years. Since the only “compromised threads” are those already through and sticking out, it has no effect on clamping strength. The real benefit will come when it is time to remove them. Un-torque the bolt and use the thin-tip screwdriver to remove them. The cooling tin really shrouds the bolt heads especially on the top and sides. Mental note – remove the two lower bolts before dropping the power pack out. Easy peasey!
Clever solution ! If that’s threaded all the way through, maybe run a bolt from the “screwdriver side”, with a nut at the other end? Sometimes a stud (with an internal hex (Allen) can work, maybe with some Loctite.
Sometimes one can drill holes with a small hole saw through a panel to make access easier – not on a restoration, but for a race car where servicing time is important.
Too bad we still have self loosing bolts that seem to work very well when you don’t want them to! Think about Boeing.
I like the idea. It’s very clever and easy to do. Next story Corvair is running I hope!
When do you plan to weld up that crack in the housing. Fatigue never sleeps.
That isn’t a crack. The lighting and angle of the photos makes it look like one. There is a spare bellhousing on the shelf, so if the one on the car was cracked or otherwise questionable I would not hesitate to replace it.
Not ugly (as mentioned in a caption), just genius.
I hope you replaced the lock washers, Kyle as they have lived a good life and are done ken
Absolutely. These had more than served their time.
Cool idea Kyle. I tend to use socket head capscrews, in situations like that and drive them with a ball driver. I have multiple lengths of ball drivers for different applications. I love this idea too and will find a place to use it also.
Tom