Media | Articles
Wrenchin’ Wednesday: How to make your own thread-chaser
We’ve all made the discovery, proof that someone has been here before. Every bolt except one comes out easily, and sure enough, extracting it carefully reveals damaged threads. Ouch—one too many ugga-duggas! One of the realities of a project car is that often times things have been torn down and slapped together so many times that the threads become damaged over time. There’s always the sin of cross-threading, but dirt and rust can also cause the female threads of a fastener to become so chewed up that a bolt will no longer fit.
Typically, the right tool to grab is a tap—basically, a hardened-steel drill bit with channels, or flutes, along the side to allow the tap to cut away and straighten threads. The primary role of the flutes is to create a cutting surface for the tap while also allowing the chips of material that break away to escape the threads. But, what if you can’t find the tap you need, and buying a single tap isn’t an option? That’s where today’s Wrenchin’ Wednesday comes into play with a DIY thread repair tool.
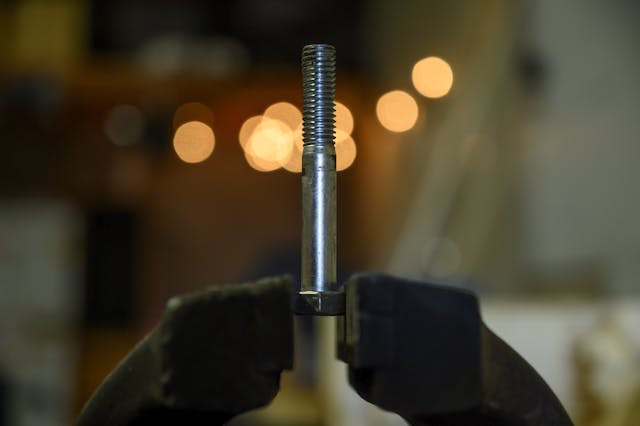
Start with a bolt that’s the same thread pitch of the hole that you’re hoping to repair. If the part is not structural, you can get by with modifying the original bolt, but we highly recommend using a spare one.
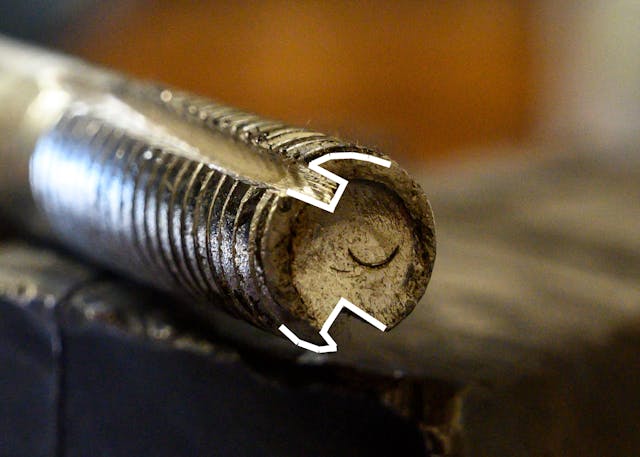
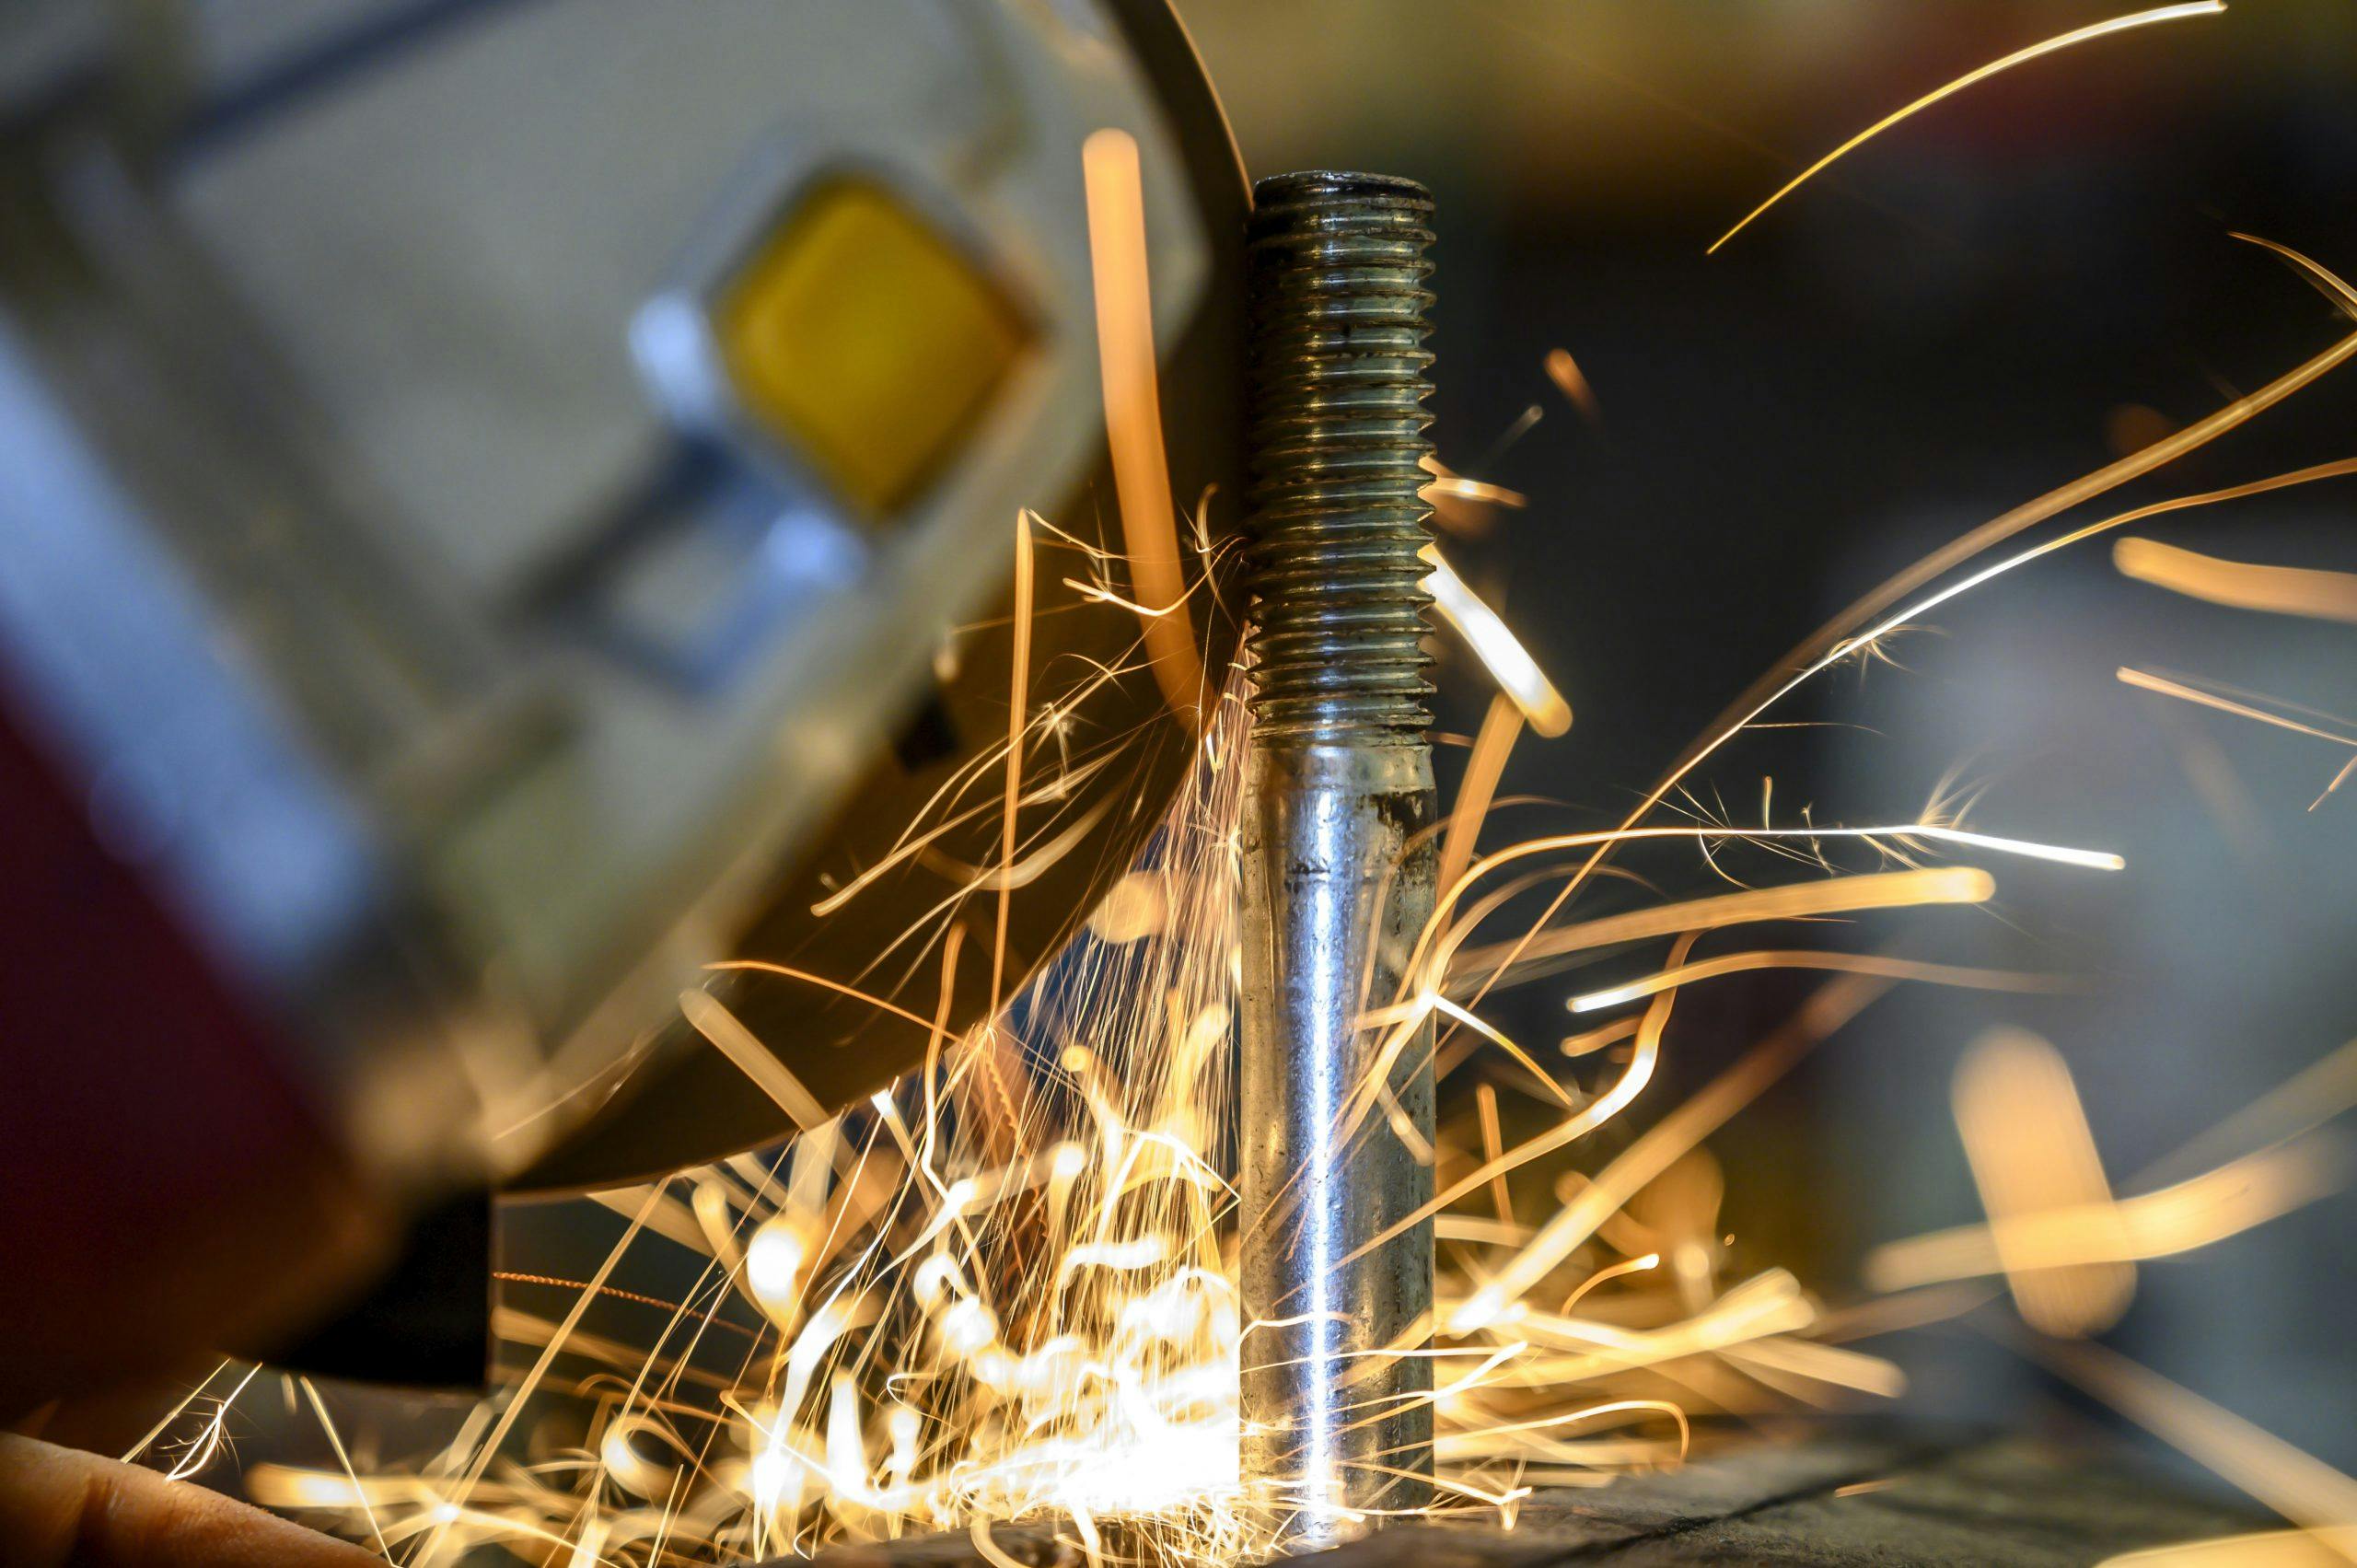
The goal is to cut off-center flutes into the threads, creating our cutting surface for repairing the threads. We made the slice with an angle-grinder, but a small rotary tool or even a hack saw could be used. Note the orientation of the off-centered flutes, opening clockwise so that the cutting edge is leading as the bolt is cranked down righty-tighty. The flutes will need to be cut facing counter-clockwise if the fastener used left-hand threads.
On the left is the right tool for the job, a basic four-flute tap. Behold our 5-minute replacement on the right, with two hand-cut flutes ready to save the day. It looks crude, but for cleaning and re-cutting threads on the quick-n-cheap, there are few better ways.
Marketplace
Buy and sell classics with confidence


