Media | Articles
Wrenchin’ Wednesday: DIY camber tool
In a previous episode of Wrenchin’ Wednesday, we talked about setting the toe angle of your project’s alignment with little more than spray paint and a tape measure, but there’s more to the angle of the dangle than simply adjusting tie rods.
Setting camber, or the left-to-right tilt of the tire, is another critical angle to dial in before you hit the road. While many people still subscribe to the old-school method of using a plumb bob and a string grid, a simple camber tool speeds the process up significantly while also providing an accurate measurement of camber angle.
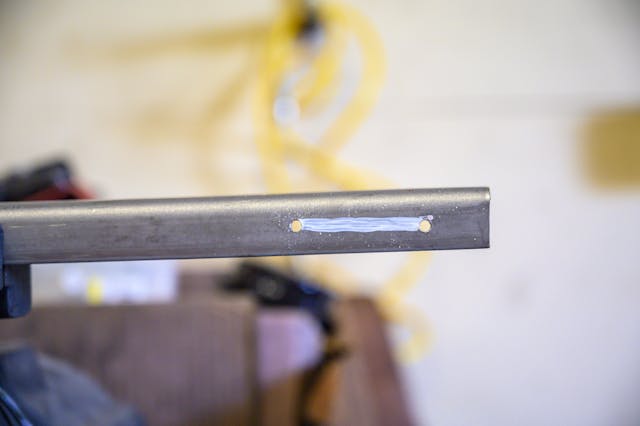
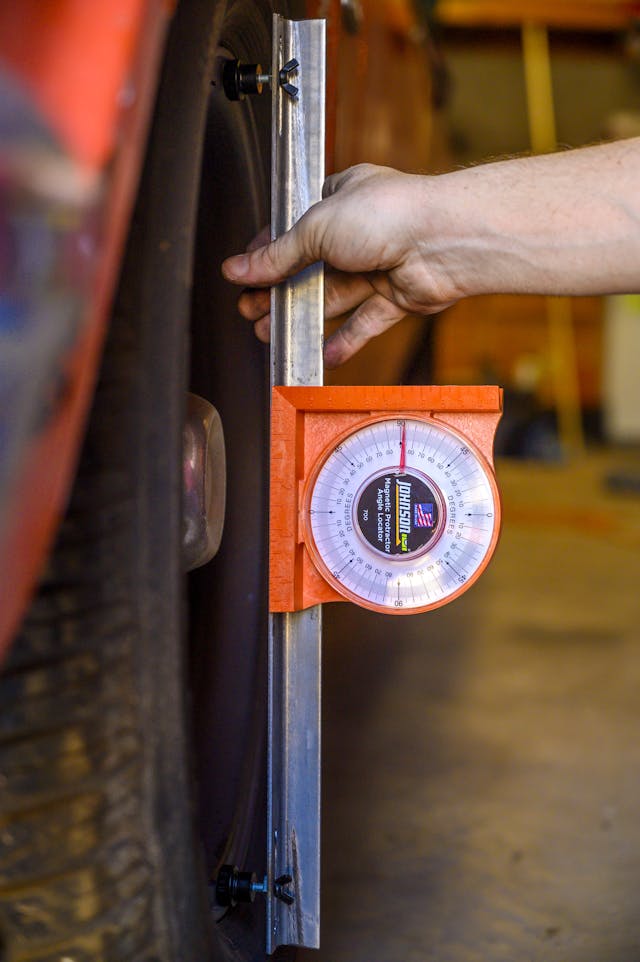
I used a 21-inch section of one-inch angle iron as the base of the tool; you’ll need the base material to be strong and straight. You can substitute square tubing, but flat stock alone isn’t typically stiff enough. I then marked drill holes two inches apart to start the adjustment slot for the feet of the tool that will contact the wheel, giving it the ability to measure anything from a 15- to an 18-inch wheel—enough to cover my fleet. About an inch was left on either end of the adjustment slots, though this I trimmed it down later.
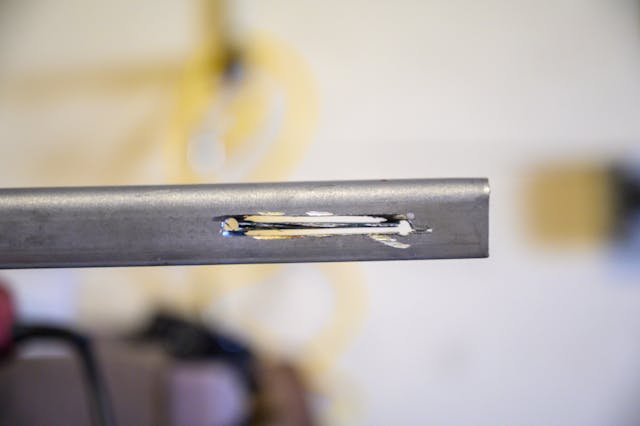
After I drilled the holes, I channelled them out with a cut-off wheel. It helps to start with two light cuts on the edges of the adjustment slot before plunge-cutting the slot with the cut-off wheel centered between the holes. The lightly-cut slots will help guide the wheel.
Marketplace
Buy and sell classics with confidence
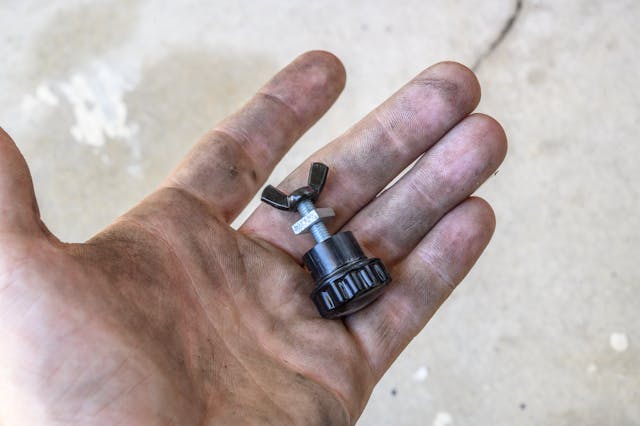
I raided the local hardware store for these locking knobs, along with the wing and square nut, which would be easy to manipulate by hand without the need for wrenches. These feet not only prevent damage to the wheel, but also allow the tool to be leveled for uneven ground.
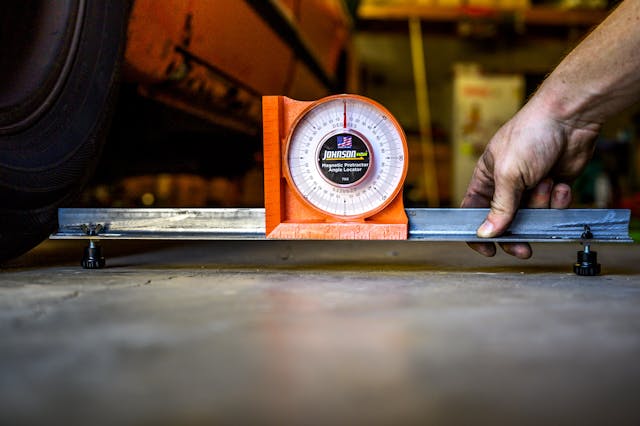
The first step to measuring camber with your newly-built tool is to level it. This calibrates the tool to the surface on which the vehicle is being measured, and is a vital step in reading the measurement accurately and consistently. A digital angle-finder is ideal for this, but even a traditional dial-indicated angle-finder will suffice. Adjust the feet of the tool until the angle finder is zeroed. Double check your process when flipping to the other side of the vehicle to account for an uneven driveway or garage.
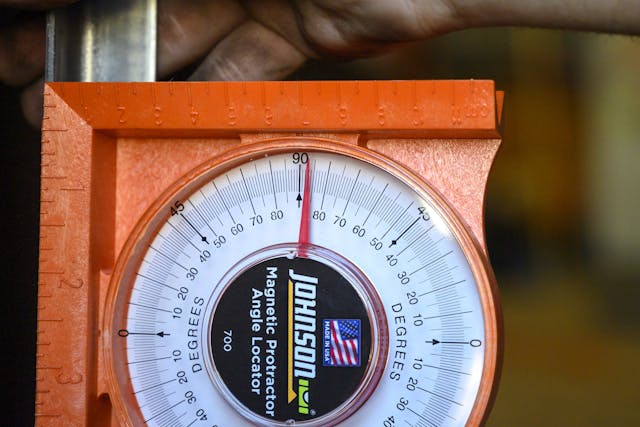
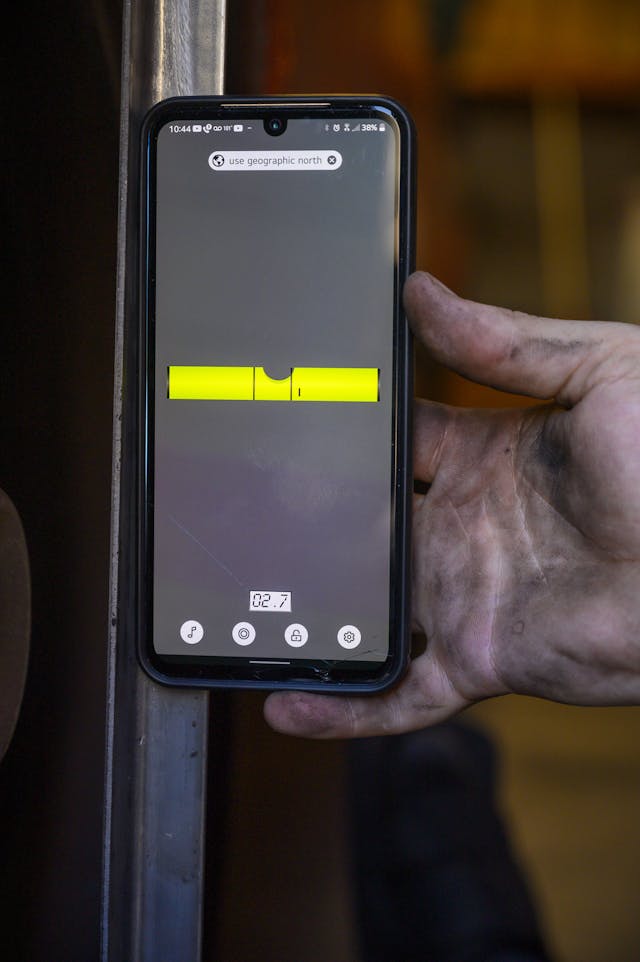
The magnet on my angle finder is only on one side, so the 90-degree mark serves as zero in this measurement, meaning that I have a little over 2.5 degrees of camber. A little aggressive, perhaps, but acceptable. In general, a safe rule of thumb is 0–2 degrees of negative camber (with the top of the tire tilting towards the center of the car), but always confirm your factory specs and aim for those. A digital angle-finder can also provide a track-accurate measurement for more critical setups though, in a pinch, even an angle-finding app on your smartphone can serve duty.
Maybe we’ll upgrade our spray-paint-and-tape-measure tip into a set of toe plates, but for now, the camber tool fills in the gap, making a trip to the alignment rack a little less necessary than before. The total cost was under $10 in hardware and materials, not including the gauge, which will vary from about $10 to $50 depending on whether you grab a dial or digital angle finder.


