Media | Articles
Step-by-step guide to winterizing your car
Before storage
- Select a dry, dark location for storage — preferably with limited access. Concrete flooring is best at keeping away moisture. If you must store your car on a dirt floor, place a plastic barrier under the vehicle, and place carpet pieces or plywood under the tires.
- Give the vehicle a good wash/wax. Putting on and removing a vehicle cover will lead to unwanted scratches if the car is dirty.
- Fill the fuel tank (preferably with premium) and add fuel stabilizer. Be sure to run the vehicle to move fuel stabilizer into the carburetor, fuel rails, injectors, etc. The fuller the tank, the less room there will be for air, which carries moisture that can lead to fuel contamination and possibly rust within the tank.
- Change the oil and filter right before putting away the vehicle. The clean oil will reduce the risk of harmful contaminants working away at your engine during hibernation — and you’ll be ready to go in spring.
- Check the antifreeze.
- Add air to the tires.
- If you’re storing your car offsite, some insurance companies require you to report the address of the offsite location. Check with your insurer to determine your policy’s requirements.
When storing
- Place baking soda refrigerator packages in the interior and trunk areas.
- To keep insects and vermin out of the car, put a plastic bag over the air cleaner/air inlet and exhaust pipe(s). You also can cover these with aluminum foil and tape securely. Place mothballs in the tailpipe and around the outside of the car, or insert steel wool in the tailpipe.
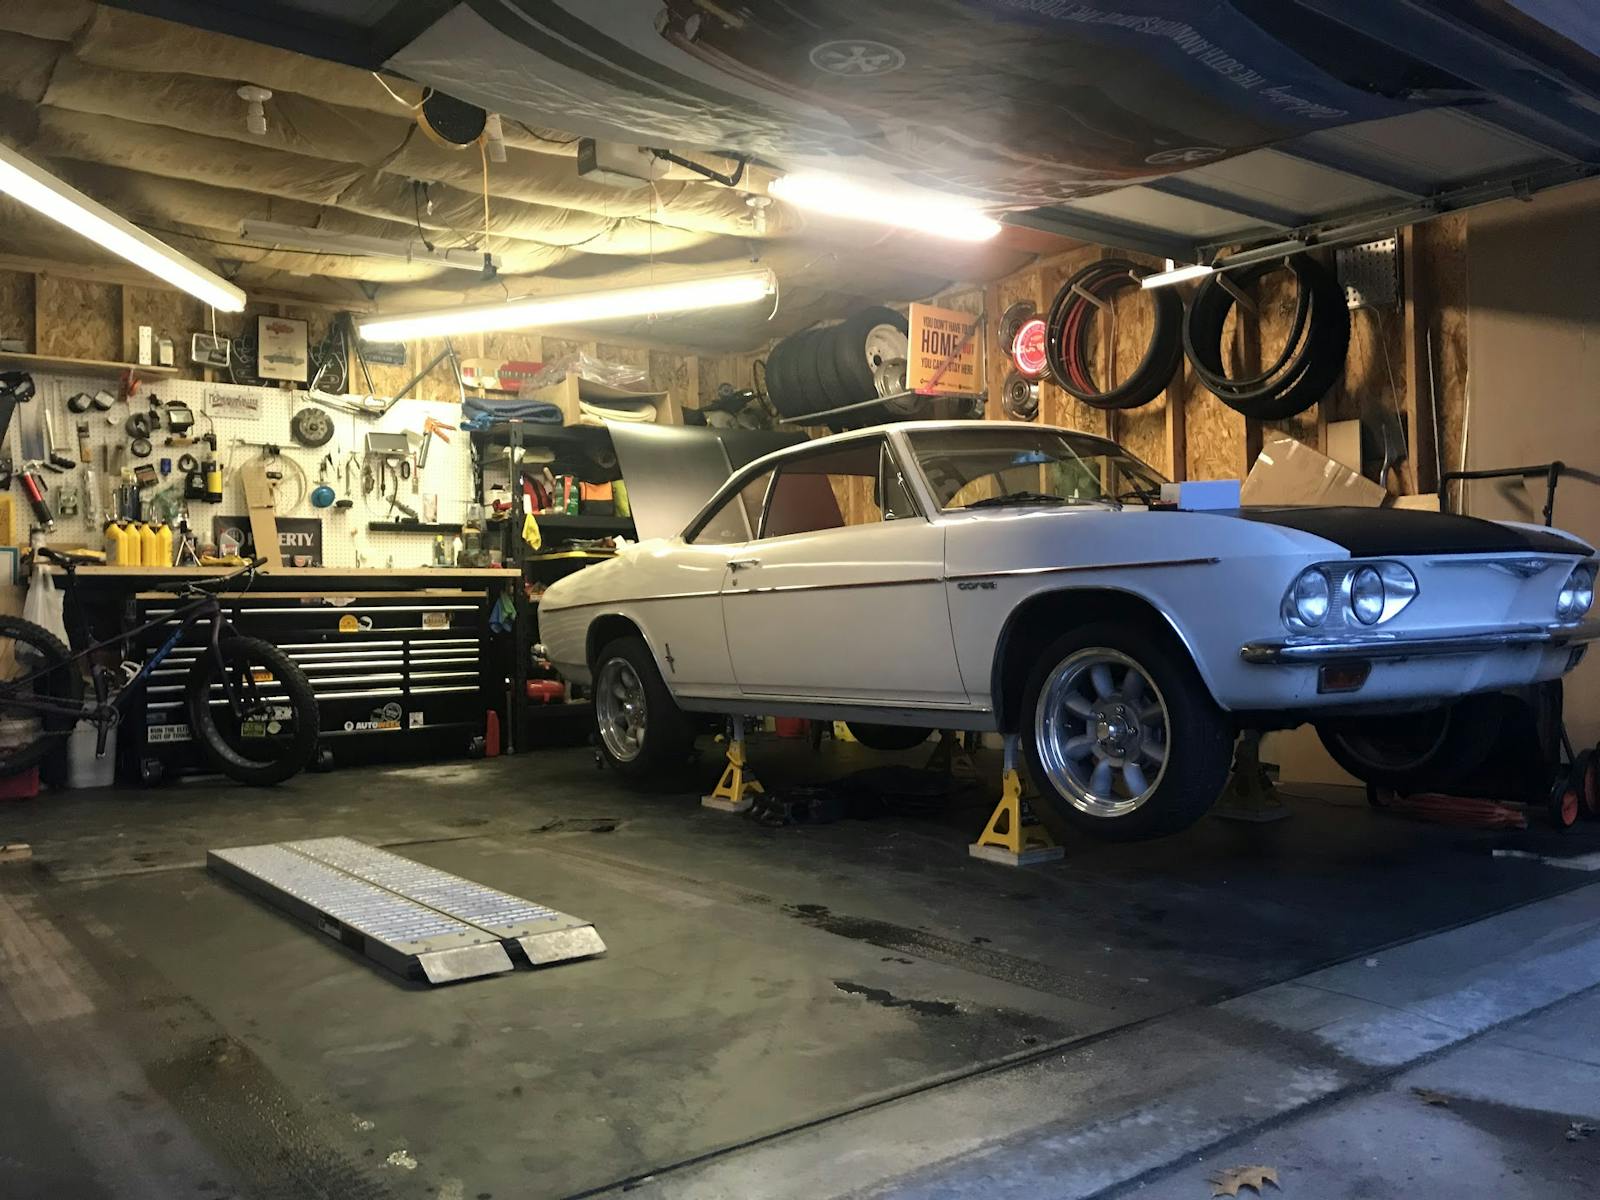
- Place the vehicle on jack stands. This step avoids tire flat spots and adds longevity to the suspension because it is not supporting the vehicle’s weight during storage.
- For your battery, take one of the following actions: Unhook the battery by removing the negative cable first and store it separately — never on a concrete floor and preferably where it will not freeze; or leave the battery in the car and put a battery tender on it, if there is power available. That way if you want to start it a few times in the winter you don’t have to put the battery in and out.
- Close all of the windows.
- If the vehicle will be exposed to freezing temperatures, be certain no personal items that may freeze or burst are left in the vehicle.
- There are varying theories about periodically starting the vehicle. This writer feels unless you get the engine up to operating temperature for a good 10-plus minutes to burn off the water vapors that initially develop at startup-cold operation, starting is not a good idea. Anything less will leave water in the combustion chamber and all exhaust components.
Bringing your baby back to life
- Charge the battery for a solid 24 hours. When returning the battery to the vehicle, attach the positive cable first.
- Once your car is uncovered, inspect it for any signs of insect or vermin damage.
- Remove the baking soda units. If you forget them, they may spill during driving.
- It’s a good idea to check for floor leaks, check all fluid levels, and check the tire pressures.
- Remove plastic bag (aluminum foil) from over air cleaner/air inlet and exhaust pipe(s).
- Apply the brakes ensure they work and that you have a good pedal. The steel brake lines can rust out and leak, and vermin can chew through the rubber brake hoses.
- Start the vehicle and check for any fluid leaks.
- Give it some extra time to warm up, and check the lights, horn, etc., while the temperature begins to rise. Drive it slowly for a mile or so. Some components such as transmissions and rear-ends require movement for full/proper lubrication.
- After driving a bit, check it again for leaks, etc.
- Your car cover may have become dusty over the long winter months — give it a good cleaning according to the manufacturer’s instructions.
- Lastly, but most importantly, do a burnout for me!
Marketplace
Buy and sell classics with confidence


For winter storage (Wisconsin here) you need to start and run the car for at least 10-15 miles to get the fluids working. Just starting and idling won’t work, the tranny needs to warm up as well. Just choose a time when the roads are dry and mild temps.
I agree John Been doing this in NY for years
They say Ramblers don’t like NE winters. I can not store mine so I have found out the next best thing is to winterize it and drive it as a second car. I have done this for 12yrs. now and have had no problems. My auto body guy sad at least once a month take it to the car wash and get the under carriage cleaned to keep the car from rusting. So far so good. 1965 Rambler Ambassador V8.
They say Ramblers don’t like NE winters. I can not store mine so I have found out the next best thing is to winterize it and drive it as a second car. I have done this for 12yrs. now and have had no problems. My auto body guy said at least once a month take it to the car wash and get the under carriage cleaned to keep the car from rusting. So far so good. 1965 Rambler Ambassador V8.
Much of the above. + I fill my tires to the maximum pressure and every 6 weeks or so I lift the car and turn the wheels 1/3 so they sit on a new spot.
With so much good advice, I can only add that using a single Dri-Z-Air canister for the interior is a wonder. It should be placed on a small pan in case you bump the collected water. It’s amazing how much water it will pull from the air during a single month.
I do not leave my trunk open. I DO leave my hood open with a prop rod for support. Mice like to nest in dark concealed places like engine bays. I cover the flat surfaces of the car (trunk, roof, hood) with microfiber twin size sheets rather than a full car cover (which mice climb up and nest under).
I place 8 glue boards on the garage floor under the car (one just inside each tire, two under engine, one under rear axle, one under each side rocker panel). Mice need to be eliminated as soon as possible before they multiply, they cannot be deterred.