Media | Articles
Ranked: 5 Ways to Break a Stuck Fastener
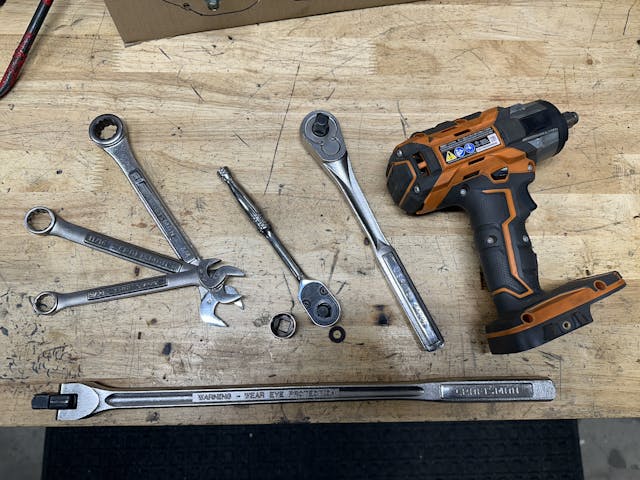
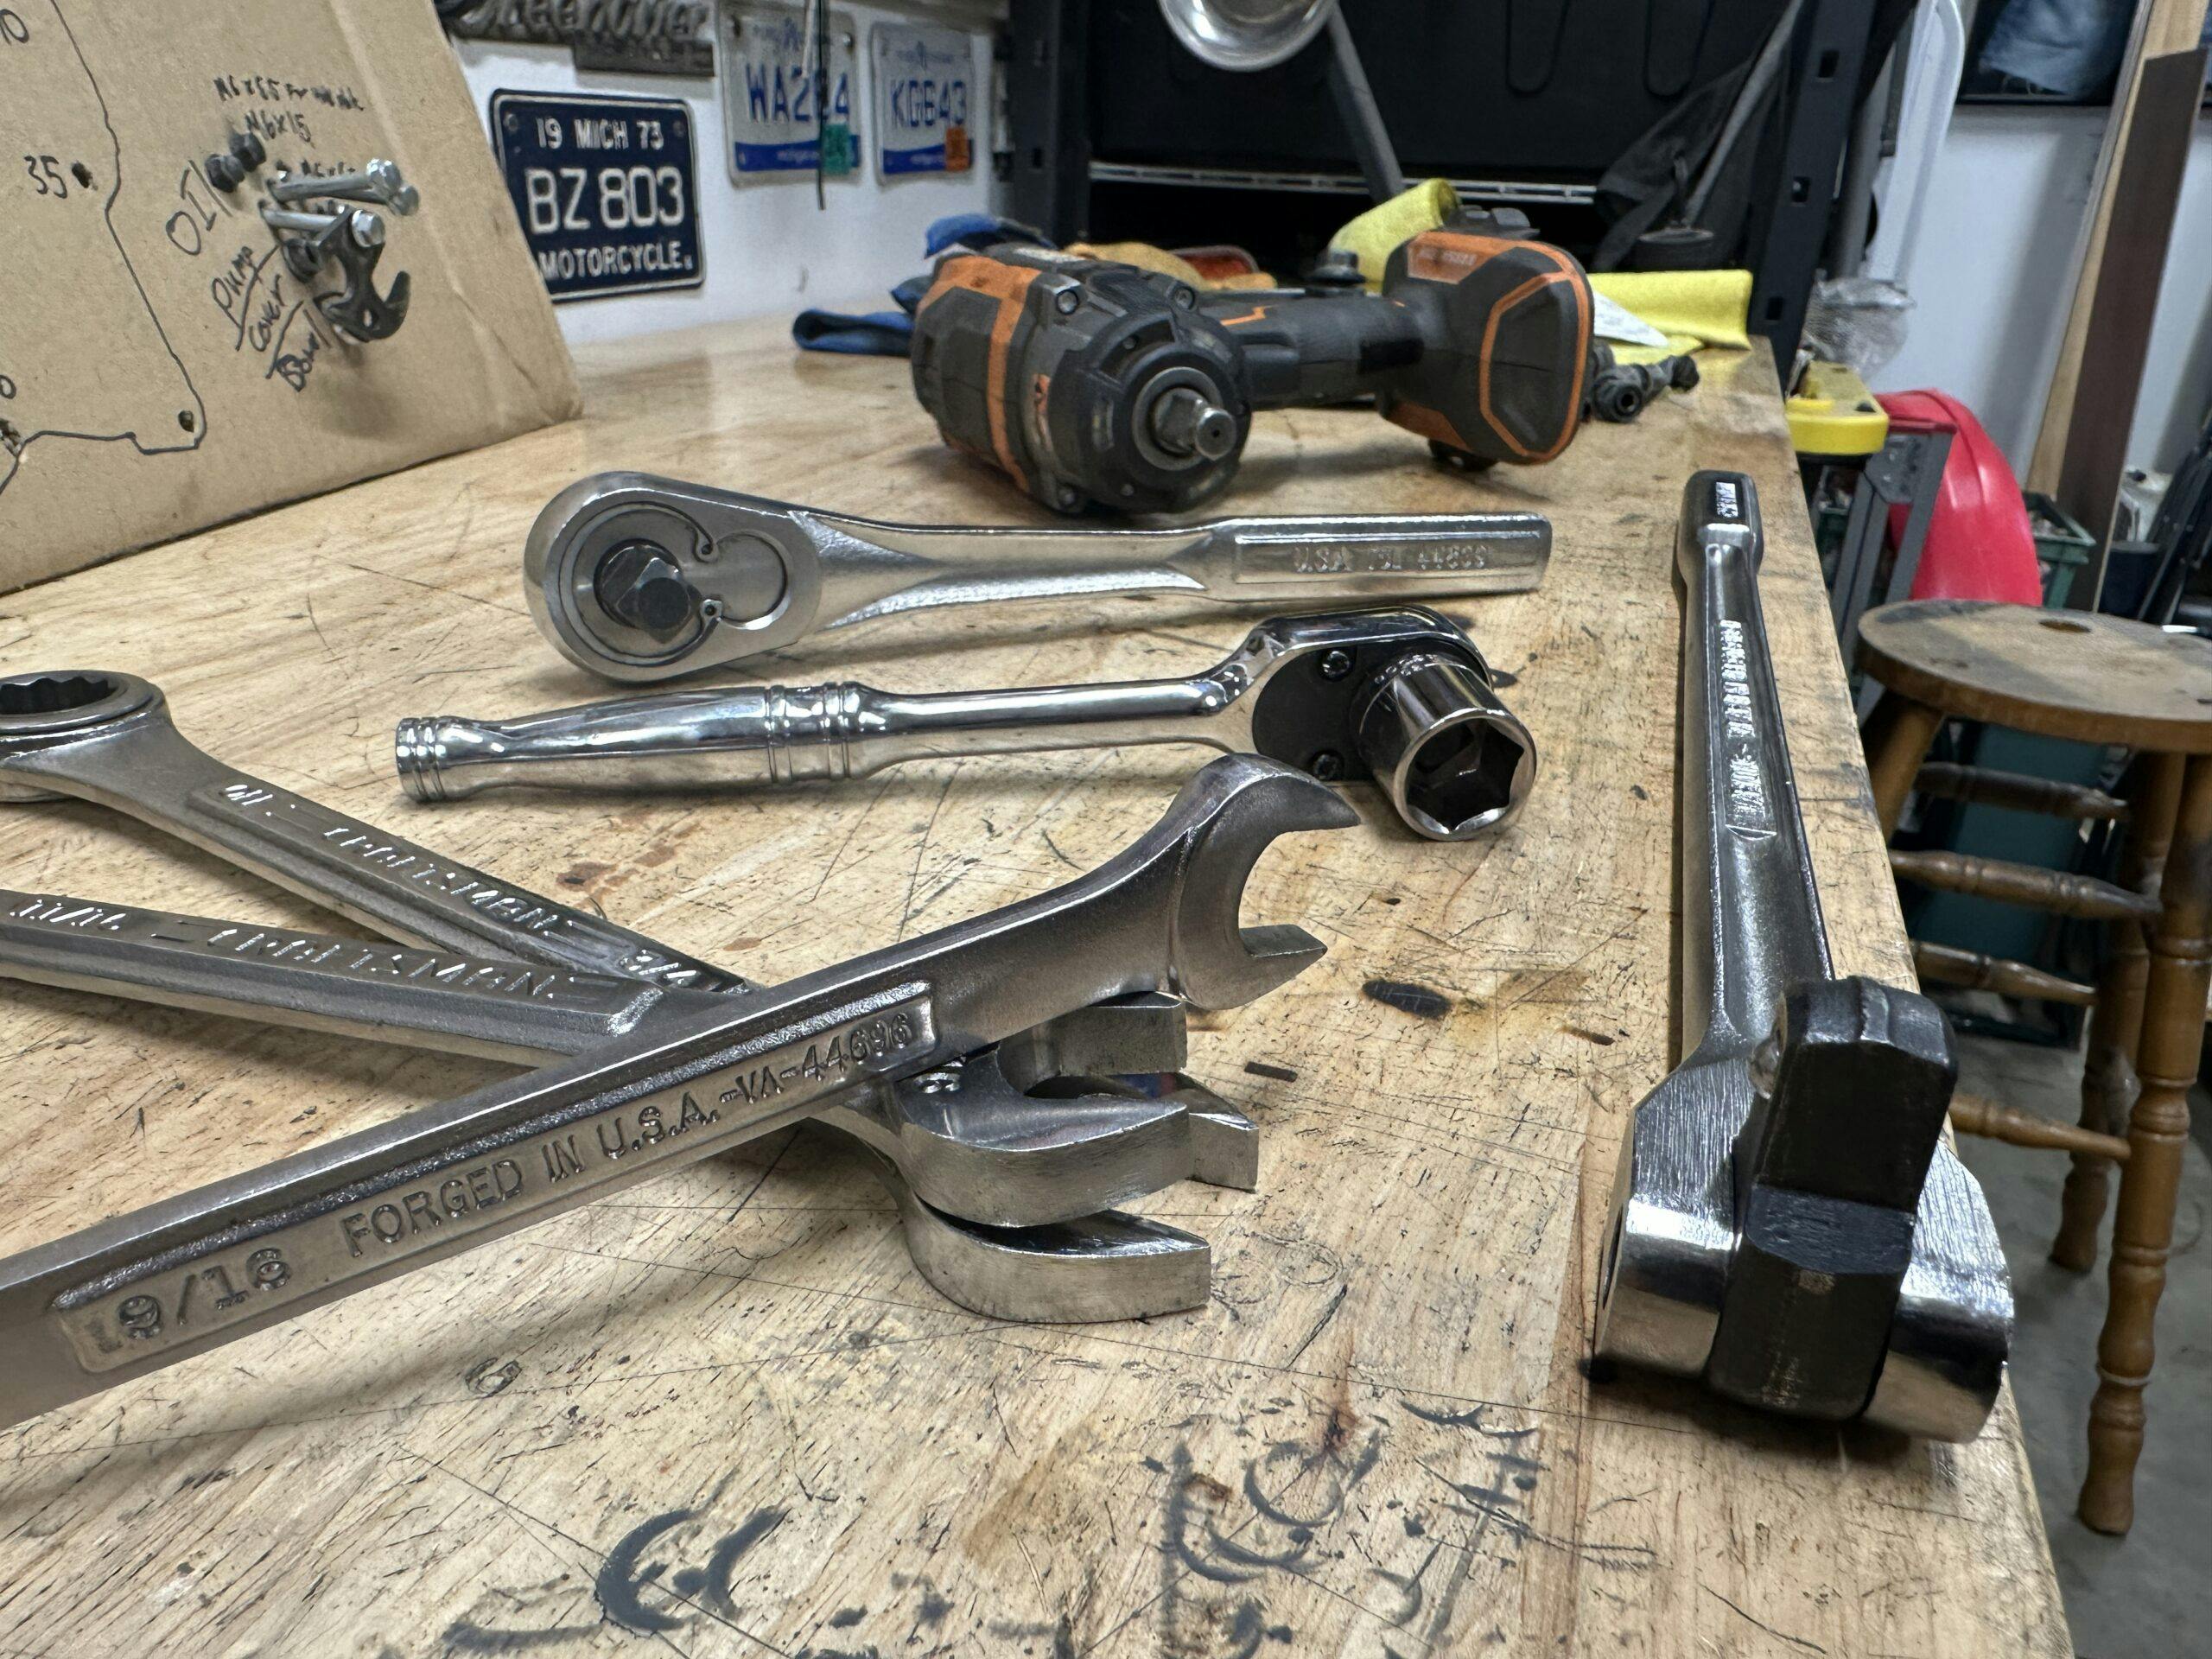
Any car is an assembly of parts. Since bolted joints are both strong and easy to assemble, just about any service or maintenance on a car or truck requires you to remove some type of bolt. Anyone who has worked on a car for more than three minutes knows that even a larger project is not so bad if the hardware is not difficult to deal with. Those with many years of experience know how difficult corroded and stuck fasteners often give up, but convincing them to surrender requires force. How you generate that force is defined by the severity of the situation. Let’s look at the levels of bolt persuasion, from least to most aggressive, and some of the reasons why they fall in this order.
Level #5: Open-End Wrench
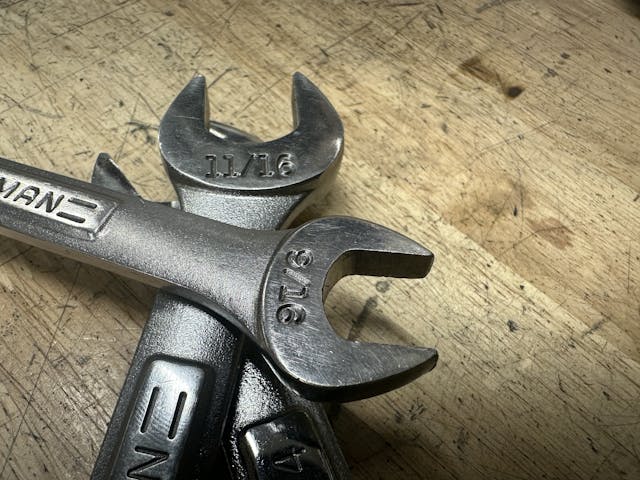
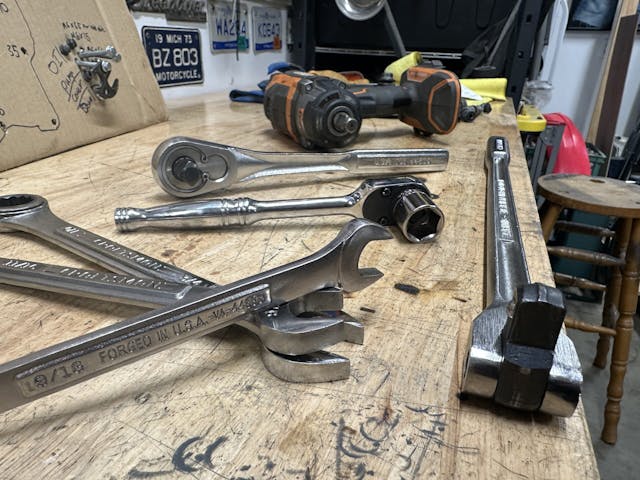
An open end wrench is nothing more than two parallel surfaces that meet two sides of a fastener. This often means only truly gripping near the corners due to tolerance in production of both the hardware and the tool. Sometimes, the fit is plenty tight and less than one foot of leverage is plenty. There is a reason wrenches are standard in every automotive toolkit since people started working on cars; wrenches pack light, are simple to produce, and are durable for many years if not abused. Sure, long-handle versions exist, but most of those are box-end, which means they are basically a worse version of a …
Level #4: Socket and Ratchet
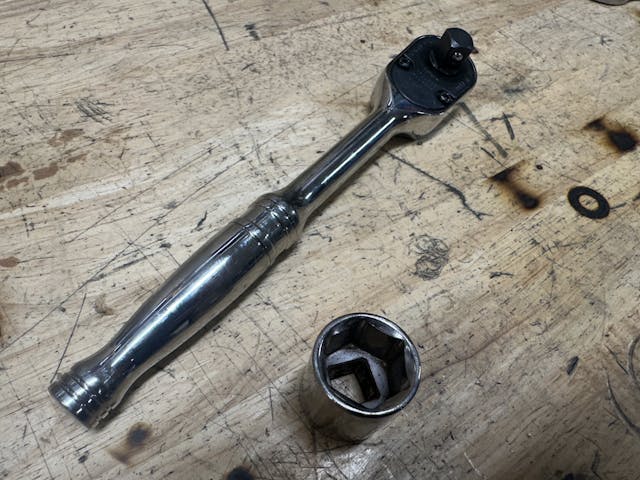
The combination of a socket and a ratchet steps things up in a couple different ways: First, by providing additional contact points with the stuck fastener. Whether 12-point or 6-point, a socket provides more even contact with the fastener, and a ratchet allows us to shift the angle of the lever to maximize the force applied by our muscles. That handle can easily be exchanged for a …
Level #3: Longer Ratchet
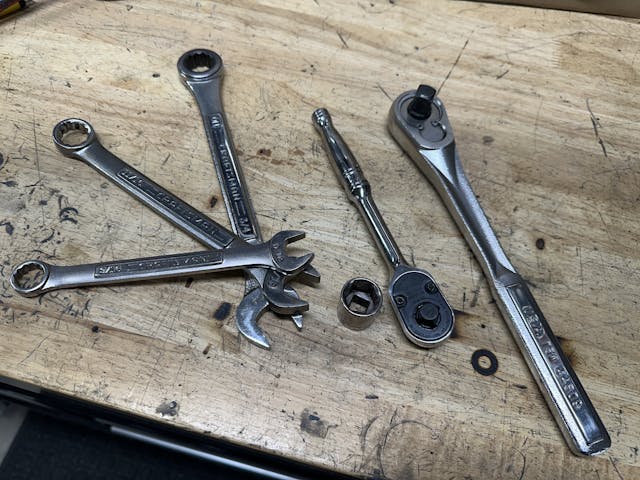
The socket is giving us good positive engagement on the hardware, so if it hasn’t moved yet, we must add force. Long-handle ratchets are handy, because it can be difficult to reposition a long wrench multiple times just to rotate a fastener one turn. Sadly, the most helpful part of a ratchet—the rotating head—is also the weak point, and if you treasure your tool you will likely grab one with a longer handle before adding a cheater bar or hitting the handle of your ratchet with a hammer. Sure, you can buy rebuild kits for some ratchets … or you could avoid stripping out the catch pawls inside the head in the first place.
Level #2: Impact Wrench
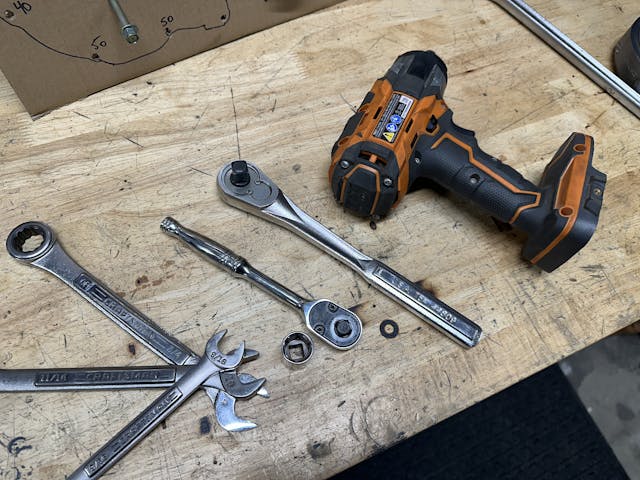
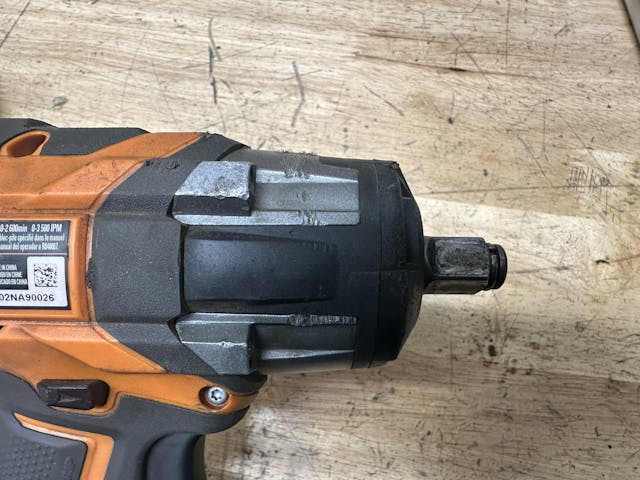
Leaning your weight on a long lever is one way to impart force. The other is to apply it suddenly with a spinning hammer. That is the basic function of an impact wrench, which generates high amounts of force in short bursts to help break loose the corrosion that forms inside threaded joints. Better yet, impact wrenches are powered by compressed air or by batteries, not by elbow grease, making them the hot ticket when dealing with stuck stuff. The only problem is that the torque capabilities of an impact wrench are limited by design, as the motor, hammer, and anvil can go get so large before the tool becomes unwieldy. You might have to switch back to brute force and grab the …
Marketplace
Buy and sell classics with confidence
Level #1: Breaker Bar
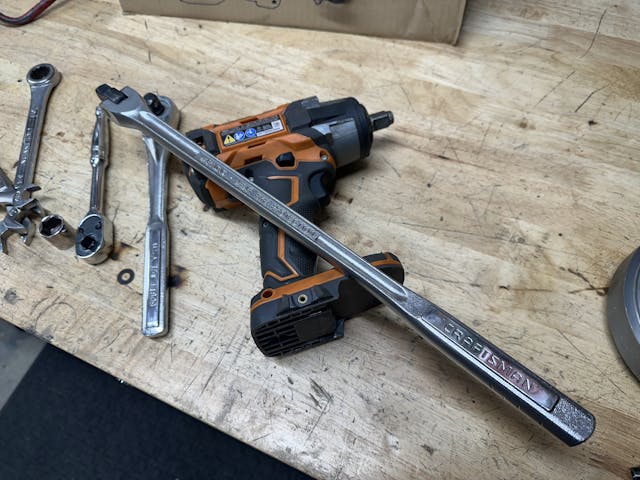
At the end of the day, physics always wins. While inconvenient compared to the luxury of an impact wrench, using a long bar to apply torque to a proper-fitting socket is by far the best way to put absurd amounts of torque onto a stuck fastener.
A long enough lever will snap the hardened head off every breaker bar you can find. And that is what you are often hoping for, at this point—the sweet release of tension by any means necessary. Just break already. The drill and tap set are already on the workbench.
***
Check out the Hagerty Media homepage so you don’t miss a single story, or better yet, bookmark it. To get our best stories delivered right to your inbox, subscribe to our newsletters.


Even clearer is that it’s not easy to come up with new articles on a regular basis that please everyone. Some of the old hands on here could be a bit more understanding when something more fundamental shows up on their screen.
I rarely criticize someone who takes the time to author an automotive related article. However, being an avid car guy for over 60 years (presently own a fleet of classic cars), and doing all the restoration work myself. The step following “Level 5” is allowing a good shot of PB B’laster to do its job. Usually no need for further levels…
A fleet of 60 vintage cars? You are indeed a lucky man! And 60 cars that you’ve done all the restoration work on? And PB blaster is usually enough to get any stuck faster loose? They must be in pretty damn good shape and rust free before you start. You are a smart man as well! 👍
Absolutely, every article like this says, “soak it with WD 40, PB blaster, penetrating oil, what have you”.
If you live in Canada or the rust belt that will NEVER EVER work.
Go straight for the heat.
I guess this is a repeat but I think its worth saying again. Way back when I was much younger and much more impetuous I used to wrench with a guy who had lots of exposure to some pretty good mechanics. His advise was this in regard to loosening tough nuts/bolts. Take your time, lots of penetrating oil, take your time, go slow, take your time. The logic was this: Would you rather take 5 -10 minutes to get a nut off/bolt out or would you rather snap it off in 30 seconds, take 10 minutes to find your drill, 5 minutes to figure out the tap size, 5 minutes to find the right size bit, go look for the correct size tap, take half an hour to go to the hardware store to buy the right tap, snap the tap off in the hole, try to figure out how to remove the broken tap, repeat……. So I learned to start a day before, lots of penetrating oil. Everyone has their favorite. Croil, CB Blaster, I have come to like the WD40 penetrating oil. I am probably delusional, but I think it works faster and better than others. And then clean what ever threads as best you can get at with a wire brush, if you get a nut to move or bolt, go slow, keep adding oil, once moving I use motor oil to lube the threads. Maybe back and forth to remove the gunk build up. And keep cleaning the gunk off threads you have to go over. Obviously this approach won’t always work but wrenching sloooooooowly is a heck of a lot easier than drilling and tapping a new thread. And I never reassemble anything without either never-seize or Loc-tite as appropriate. A huge number of equipment failures are due to loose fasteners.
See previous comment.
There is nothing like heat and quench to free rusted threads. If that doesn’t work, there is always drill and easy-out as a last resort.
Many times some penetrating oil and a left-handed drill will save having to use a tap
One thing to remember ….. you have to be smarter than that fastener…….
One last ditch trick I learned from a friend who did a stint in an Army motor pool is to use a hammer and chisel against the pointed side of the fastener head. You point it in the direction to loosen the bolt far enough away from the point that it won’t cut through the bolt but still have as much leverage as possible. Kind of hard to describe in words but it usually works as a last resort especially when you round off the fastener. I think you put force on a tangent, better described as a right angle to a line from the center of the bolt to the outside of a point on the bolt. I ruins the fastener but you can always get another bolt or nut for reassembly. Wish I could draw a picture it might make more sense in way fewer words.
On method I have used it to shock, vibrate, it with air hammer. A fair amount of the time it will bust up the corrosion and allow the fastener to back out.
Lost in the rust belt.
I needed heat to remove nuts/bolts from an exhaust where it was attached to the turbos. Without heat it did not want to budge.
If BFH doesn’t do the trick, it’s time for the heat wrench.
1) I usually try tightening nuts just a bit to break them loose as there is no or less rust on the threads going that way. Saves having to replace the stud/bolt. Running a die over the rusted exposed threads helps get it off too.
2) PB Blaster or equivalent, applied over multiple days.
3) Take your time. Don’t force it too much especially on old car parts where replacements don’t exist.
I would NEVER use a ratchet to break loose a nut or a bolt. Sure, you can put a pipe on the end to extent the handle for a lot more force, but you will end up breaking the ratchet. A ratchet is not made to break loose stuck nuts/bolts. That’s why they make a breaker bar. Get it??? Breaker bar! Use some Sea Form or whatever, let it sit for a while, or use heat, or both. You might get lucky with a propane torch, but you need to heat the stuck nut quickly, before the surrounding metal also heat up. Heat expands, so you need to heat it quick. The “Red Wrench” is the best (otherwise known as Acetylene). Everyone I know has a busted ratchet because they used it like you just said to. DON’T.
My father always used paint thinners on a frozen or rusted bolt. It is very thin and will penetrate a very small space. Follow with some sewing machine oil after a few minutes. It is also thin. Most times you don’t need to light the torch. Also, I have used the cutting torch to blow out broken manifold bolts in a cast iron head then tap out the slag and the remainder of the bolt. Cast does not melt like steel with oxy acetylene.
I’m sorry, but this is one of the worst stories I have ever read on auto mechanics. If you need this article then you are no mechanic and actually should not be working on cars at all, get someone to help you.
While I understand your sentiment, I also believe that nobody is BORN being a mechanic. It is something that is learned and built upon over time. We all started at the same experience level… none! Getting tips from others is better than learning the hard way and breaking something. Naturally, those who have high mechanical aptitudes climb the learning curve more quickly, but those who are just joining the group and trying their hand at repair are to be encouraged, not disparaged!
My solution to this much debated problem is in the following order: break open my bourbon bottle and slowly smell it’s aroma; pour an ounce into a shot glass and then sit sown and stare at it; slowly pick up the glass and take a sip; look at the vehicle and then decide if today is the right time to tackle this problem; it yes then proceed with the best tool I have at my disposal; if no then continue drinking and enjoy the moment.
There is something special in that Bourbon aroma, isn’t there?
Things that make a difference:
1. Flank drive open ended wrenches
2. Time to let penetrating oil sink in
3. Air impact instead of battery.