Media | Articles
Project Valentino: Let’s unring a bell, together
Welcome to the latest installment of Project Valentino, a series dedicated to the decades-long story of senior editor Sajeev Mehta and the machine that got him into cars: the 1983 Lincoln Continental Valentino designer series. Join us as Sajeev restores this Ford enigma to its original glory and then some! —Ed.
It’s been said that you cannot unring a bell, as this action creates an unforgettable sound. A bell that, rather than a ring, makes a “thud” when you activate the push-down hammer? That’s about as memorable as it gets, and the difference proves the value, in certain automotive applications, of a little dab of butyl rubber on a metal part.
Dynamat’s iconic display at many a car audio store provided an unforgettable experience for countless enthusiasts of automotive audio. Well, unforgettable at least for me, after I experienced that un-rung bell at my local Circuit City.
(Remember those? I loved walking up and down the darkened rows of aftermarket audio alternatives, enjoying the gentle glow created by red neon lighting and Alpine head units with their iconic six green buttons.)
That moment at Circuit City, in which I experienced improvements in sound insulation first-hand, opened my eyes to the differences between a luxury car and just about anything else on the road. Back when the Project Valentino car was merely daily transportation for a high school student, and that student had friends with inferior automobiles, plowing the speeding Lincoln over a heavily-worn set of railroad tracks brought about surprised reactions. “I can’t believe how quiet this car is!”
Railroad crossings must be an NVH (noise, vibration, and harshness) engineer’s worst nightmare: The chassis is exposed to multiple stressors in rapid succession, and anything bolted to a vehicle can make a noise. Ford apparently went bananas with insulation when it made a Ford Granada to fight the Cadillac Seville, and that sensitivity stuck around when it came time to make a downsized Lincoln Continental out of a Ford Fairmont.
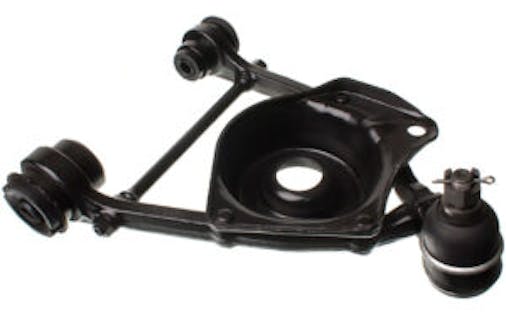
Historical footnotes in platform sharing in mind, I’d like to wax poetically on how helpful the Continental’s unique cast-iron lower suspension wishbones were in reducing NVH even further … that diversion sticks in my head because of its disturbingly painful hit to my wallet. Oh the money, where did it go? That’s the joy in Project Valentino, as mundane bits like lower control arms and sound insulation require efforts you’d not expect from a typical vehicle restoration.
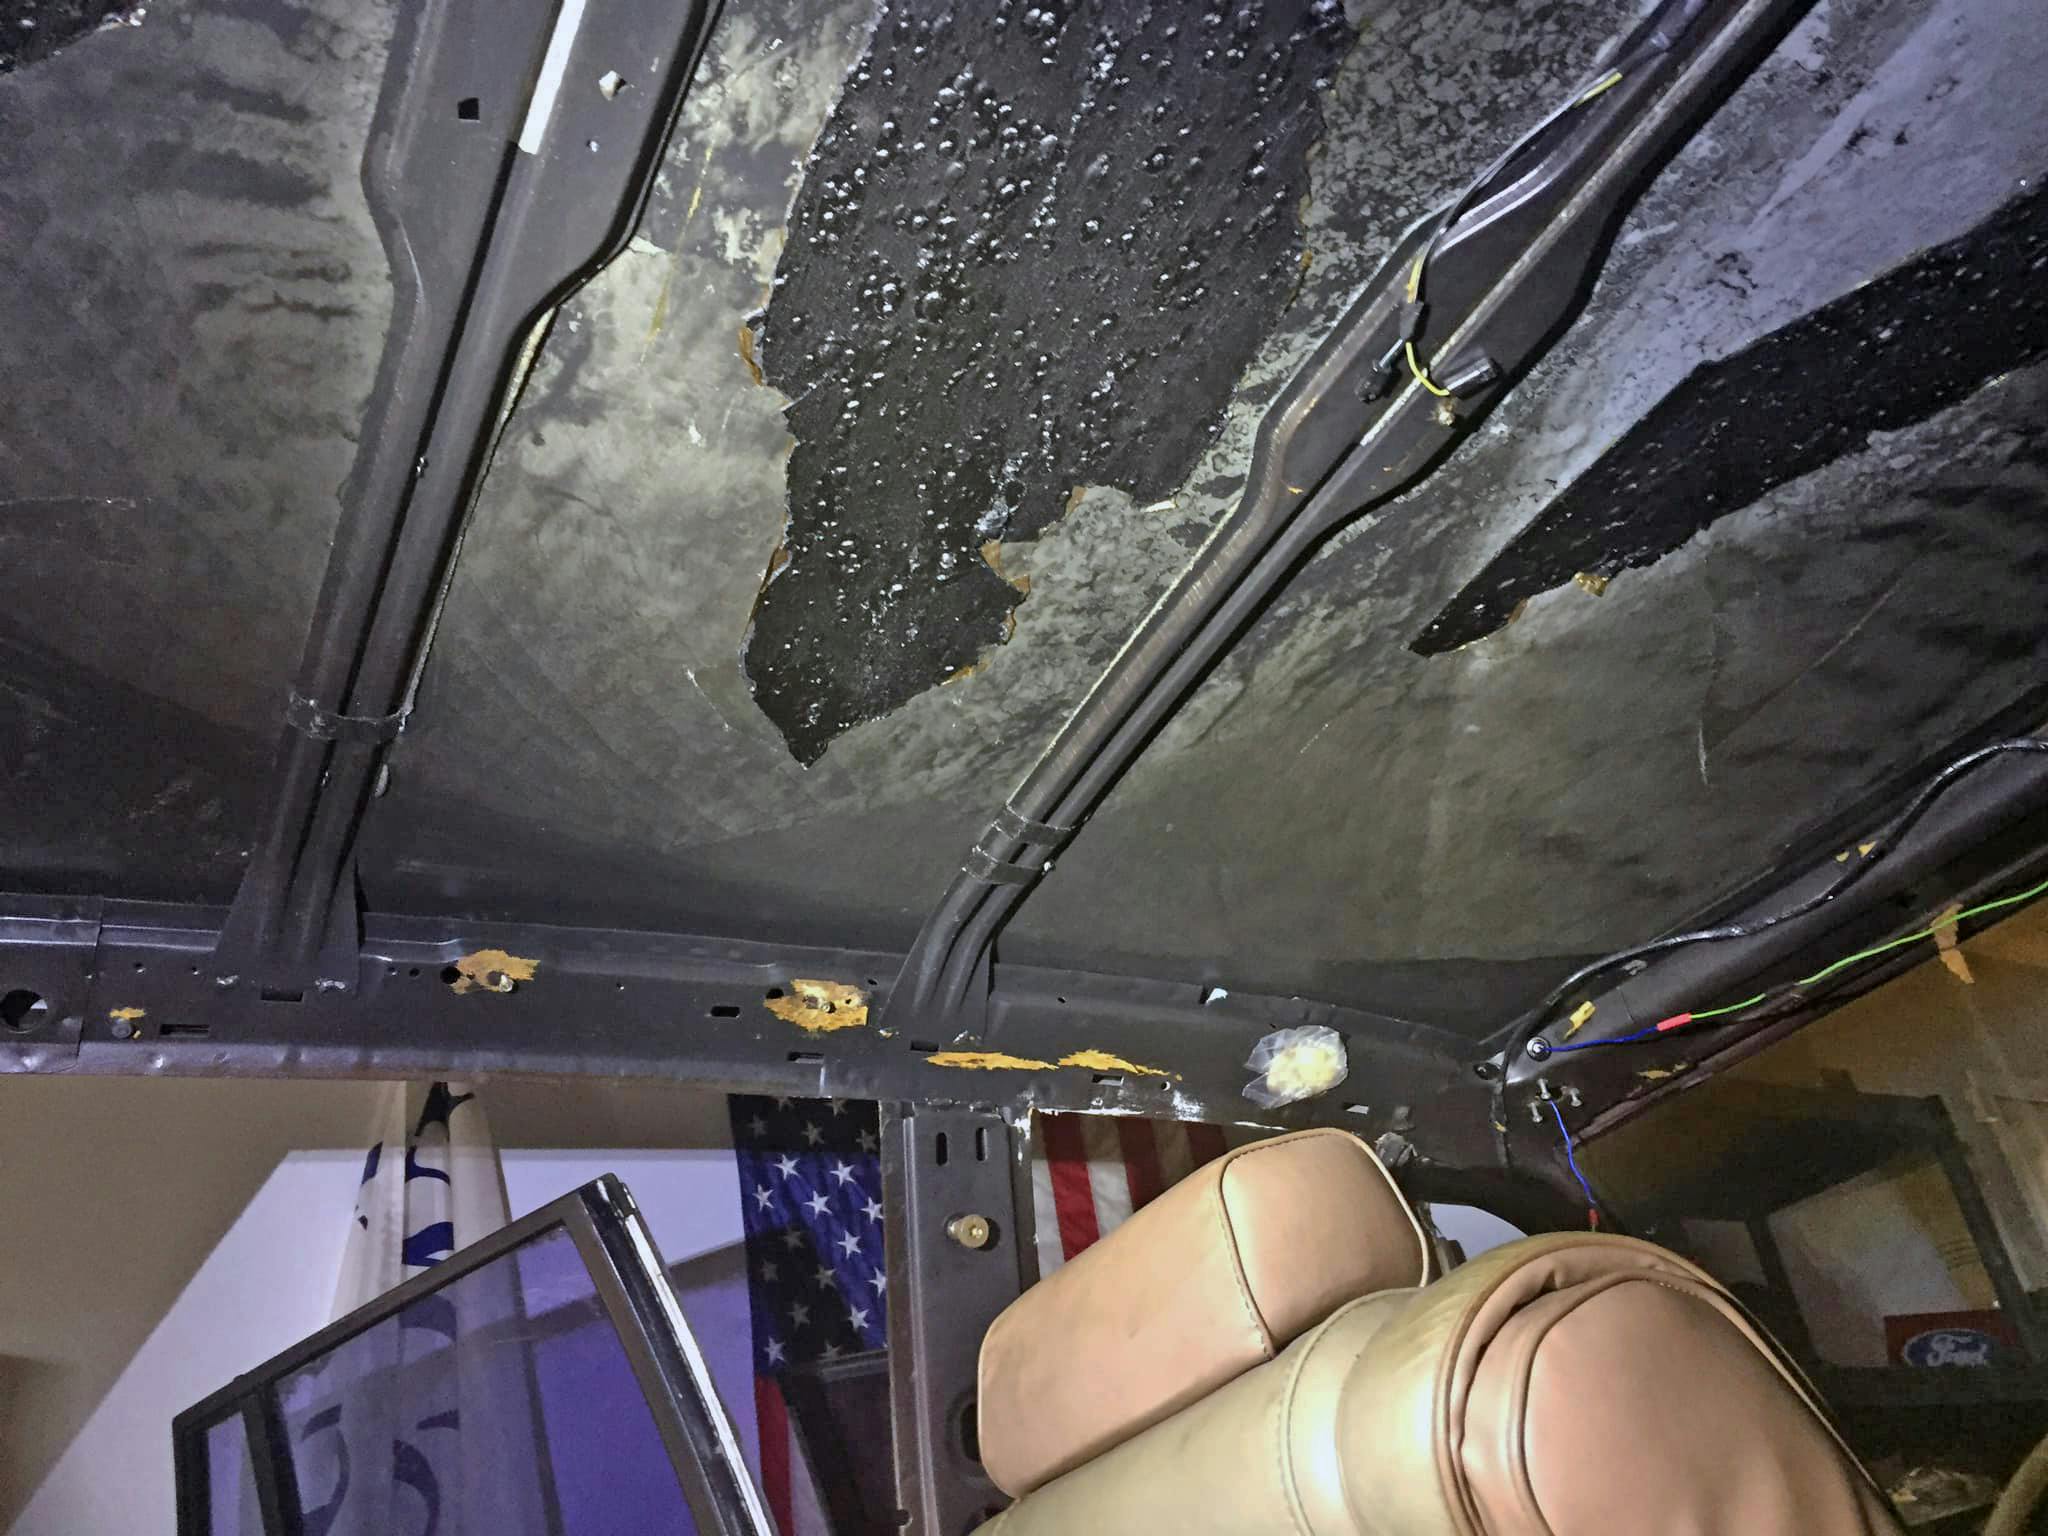
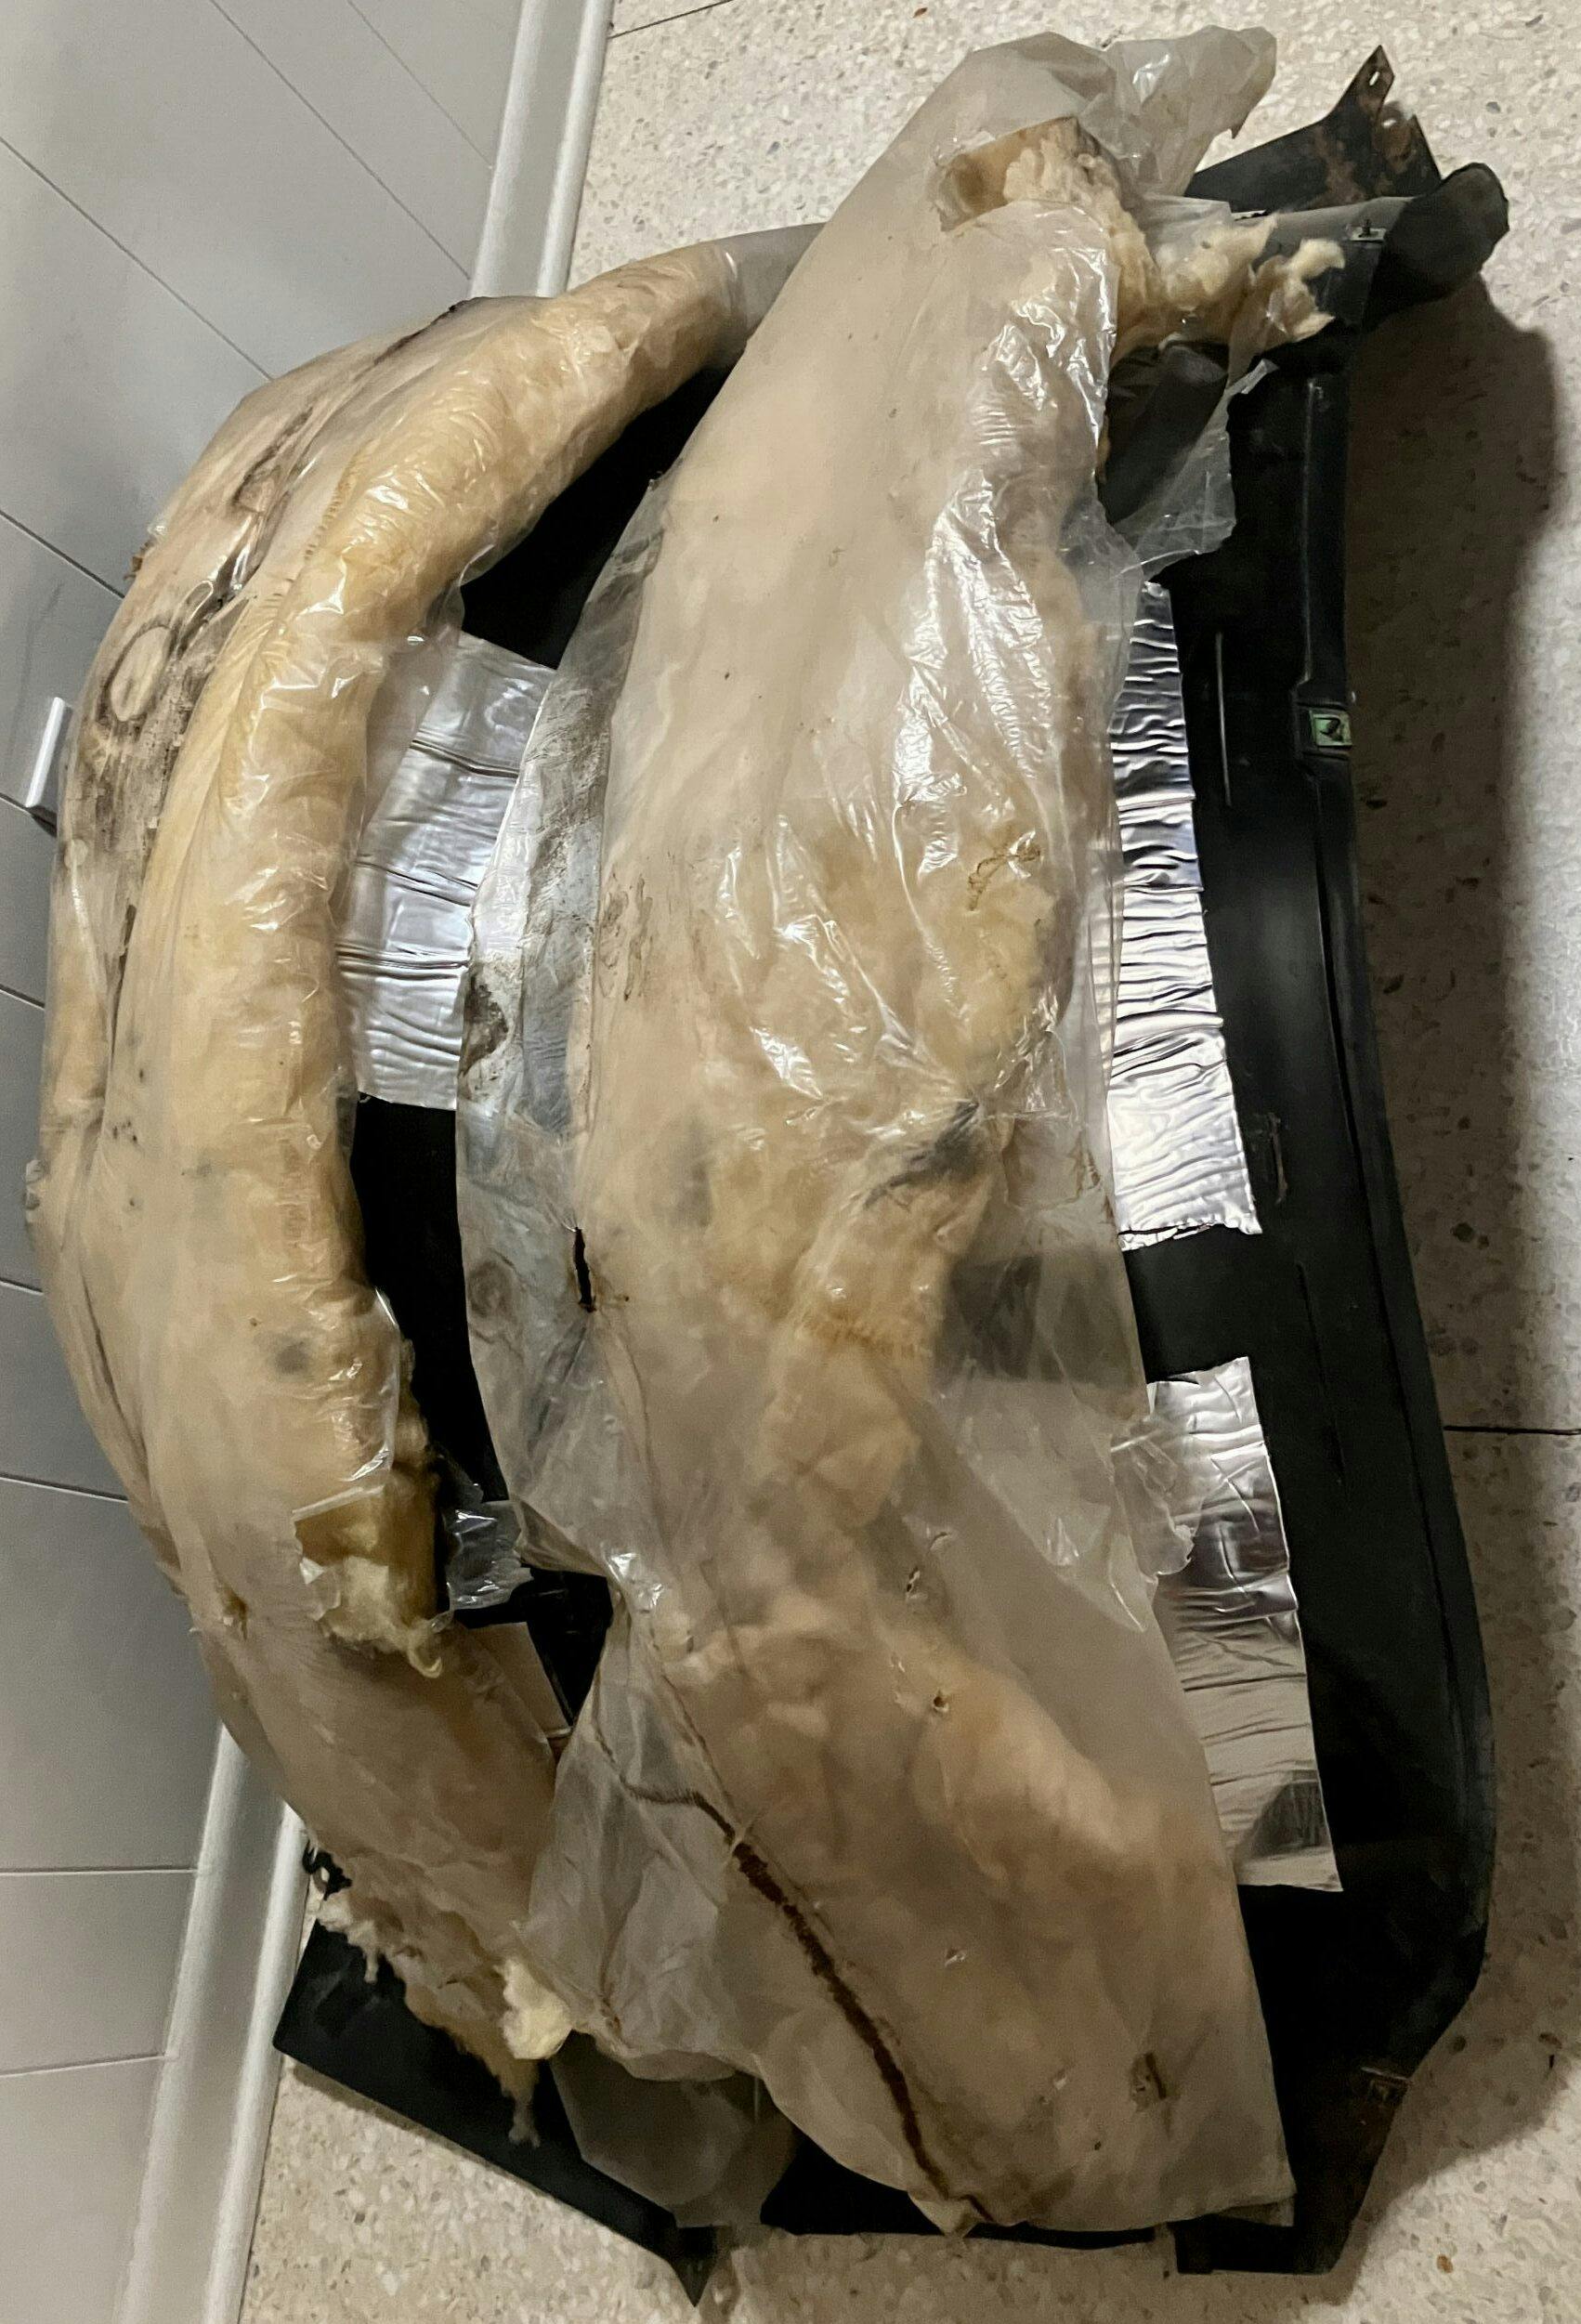
After 40 years of service, the Valentino’s sound insulation dried up, peeled off, and generally made a mess in some areas. (Did Ford make it out of asphalt?) However, like the rest of the car, I can replace the insulation with a modern, upgraded version. The new insulation is shockingly lighter, and sports a heat-insulating sheet of aluminum foil. I expect the change will help Project Valentino, even if the Mustang-based Bassani exhaust system will negate a lot of my recent work. Not the end of the world—sounds generated by a component that almost triples the engine’s horsepower are righteous and welcomed.
Now that we’ve discussed why adding extra, aftermarket insulation is valuable, let’s dig into the who, what, when, where, and how. I will be sprinkling my personal recommendations learned by Project Valentino (and others) throughout, as I have repeated this process for at least 15 cars in my career (as it were) in noise reduction.
Who needs extra insulation?

Sound insulation is a big part of NVH control in an automobile, especially in SUVs and CUVs, which have large swaths of uninsulated sheetmetal above their passenger compartments. By the same token, older cars of all shapes, sizes, and brands can benefit from the latest sound insulation technology. It not only reduces (improves?) noise inside the cabin but can do a better job insulating the cabin from outside elements, making the HVAC system work more efficiently.
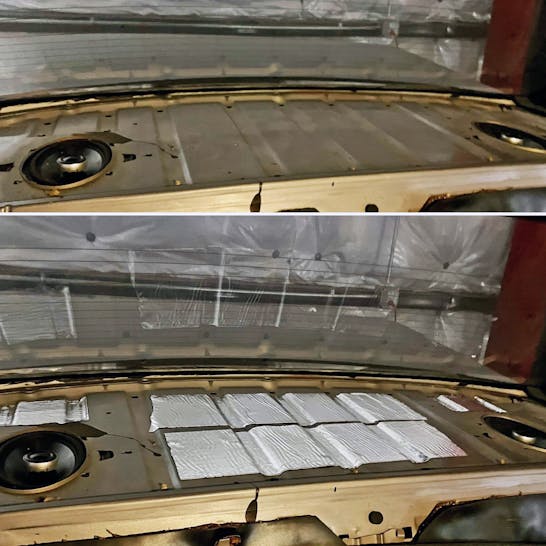
However, the biggest market for aftermarket vehicle insulation is audiophiles. The diversity of tastes adds another layer to the complication of adding extra insulation to an automobile: Just as people are loyal to Alpine stereos or Focal speakers, what rings my bell (sorry) could be overkill/wildly inadequate for your uniquely tuned cochleas. Project Valentino will, of course, get a period-correct audio upgrade worthy of all its other restomodifications. Well, eventually,
What insulation is needed?
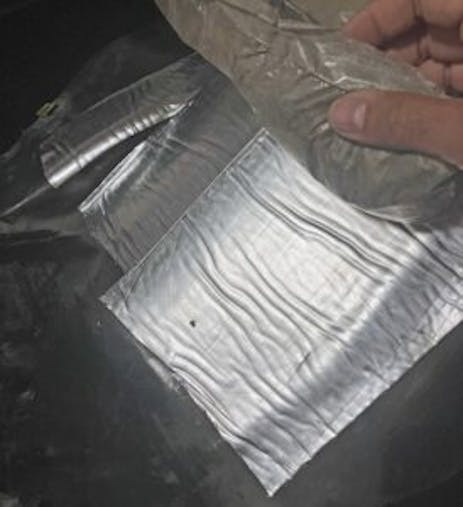
This is more than just a roll of cut-to-fit butyl with an aluminum foil topping, but to be fair, that’s a large percentage of your insulation choices. In addition to convenient, spray-on insulators, there are expanding foams for voids in sheetmetal, foam pads for hoods/headliners, and wool pads to luxuriate carpeting.
Finding the right stuff for your application is as easy as checking the website of a leading brand of sound insulation (here, here, and here). You don’t have to buy the products from the same site, but one of those is a good place to start.

But we can’t forget the usual culprits of NVH reduction: old door/window seals, not-screechy wiper blades, missing body grommets, and low-quality tires. The last is a bigger problem on older vehicles, but keep this in mind when buying a used car: If the tires carry an unfamiliar brand name, odds are they will add unwanted NVH into the driving experience, especially as they age.
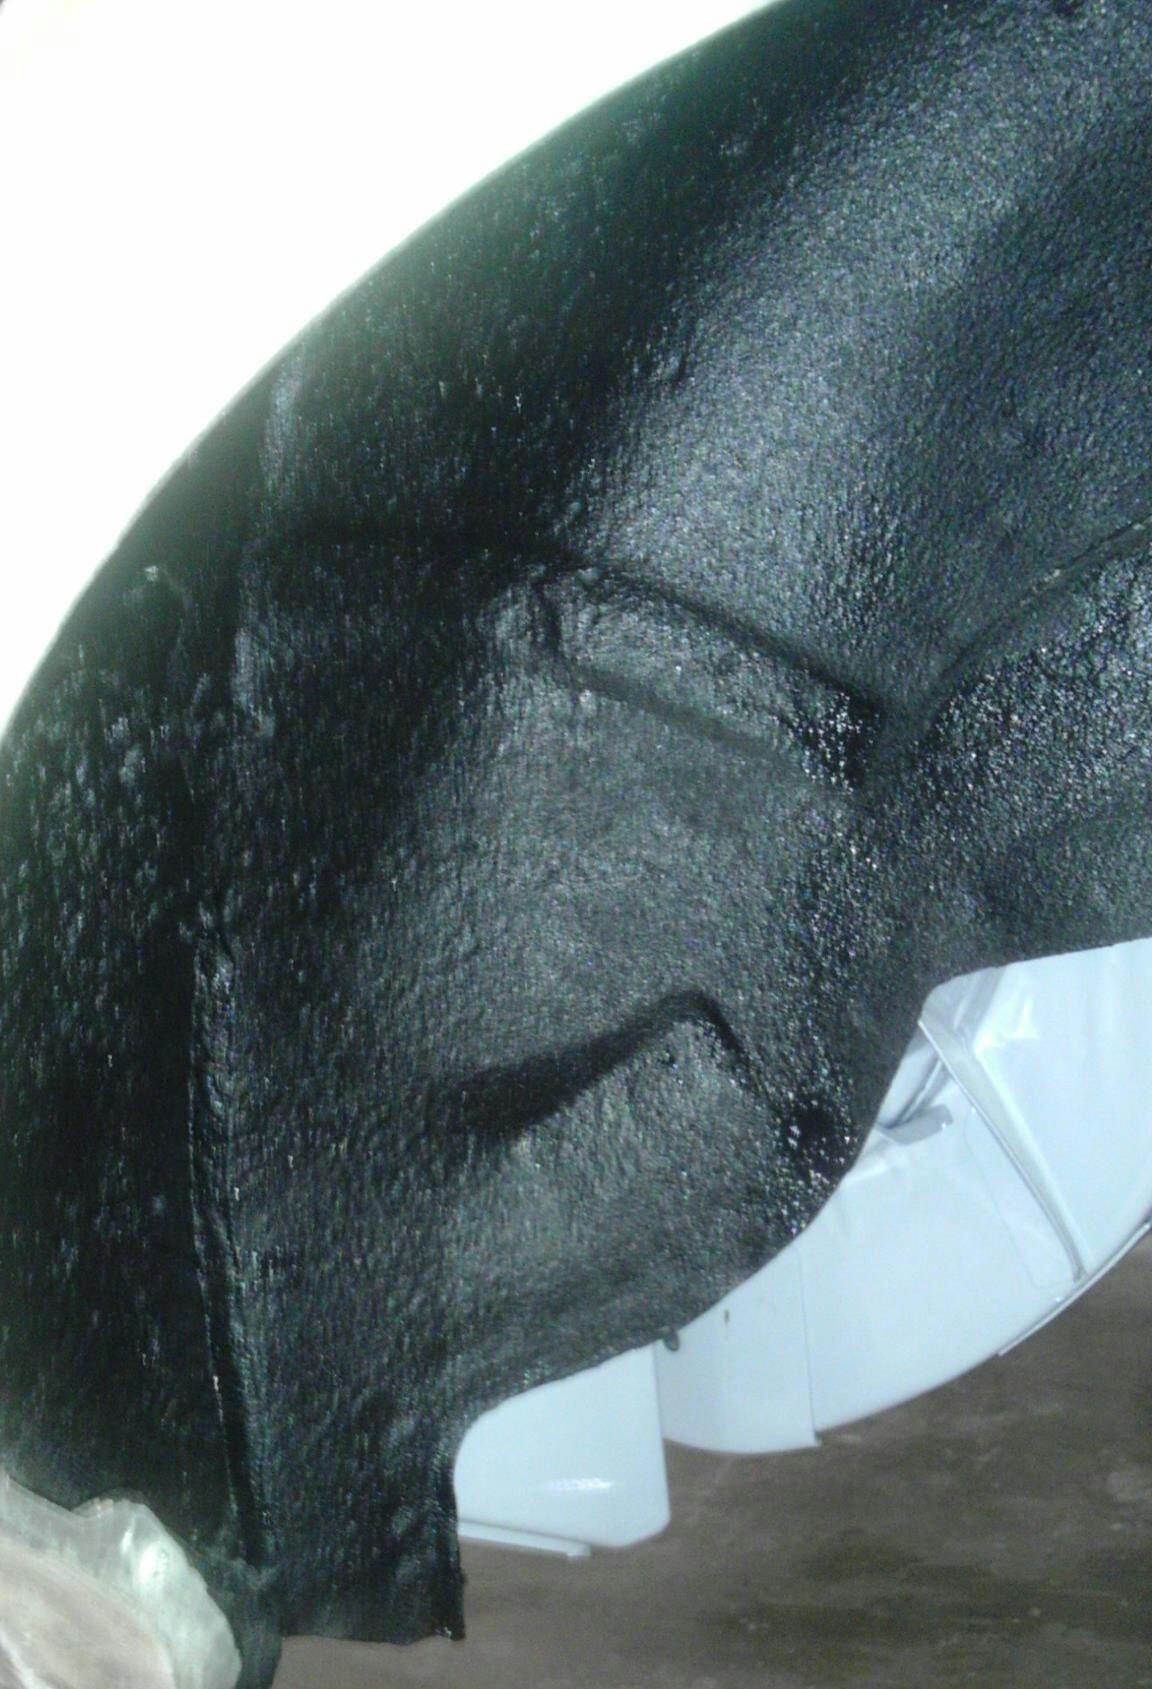
Kyle Smith just wrote a fantastic piece on this matter, and I suggest you read it now. I’ll add that you need not pay big money for big-name insulators, as roof flashing tape from the hardware store can work in areas that won’t be affected by melting and oozing. Definitely don’t put such tape on the roof of a car, and remember this is a “use at your own risk” affair. I only used roof flashing tape on wheel arch liners … a little ooze ain’t gonna hurt anything there.

You need not pay a dime for some insulators: repurposing structural packing foam (the stuff that protects sensitive equipment in transit, not the cheap junk you’d find in an Amazon box) in the voids of a vehicle body works very well. Don’t use it as a hood liner, but take a shot at putting it elsewhere; the material is valueless once the product is delivered.
That said, some structural packing foam doesn’t last, turning into dust after several years. I’ve hoovered up my past mistakes when going back in a door to replace a power window motor, so in my book, the more plasticky the foam, the longer it lasts. Your mileage, of course, may vary.
When should you insulate?
Timing is everything, because you will need heat to properly install most stick-on and spray-on insulations. The hotter the better: You’ll find it far easy to manipulate a roll of insulation on metal that’s ready and willing to accept a butyl rubber coating. However, some of us need a winter project; if you’re one of them, leave the vehicle outside on a sunny day for several hours. Or put it in a heated garage, and use a heat gun (SAFELY!) to warm up individual locations before applying insulation.
If you are nutty enough to take on something like Project Valentino, pull parts off the car and apply insulation in a heated living space. Yes, those are the Valentino’s fenders in my living room.
Where do you insulate?
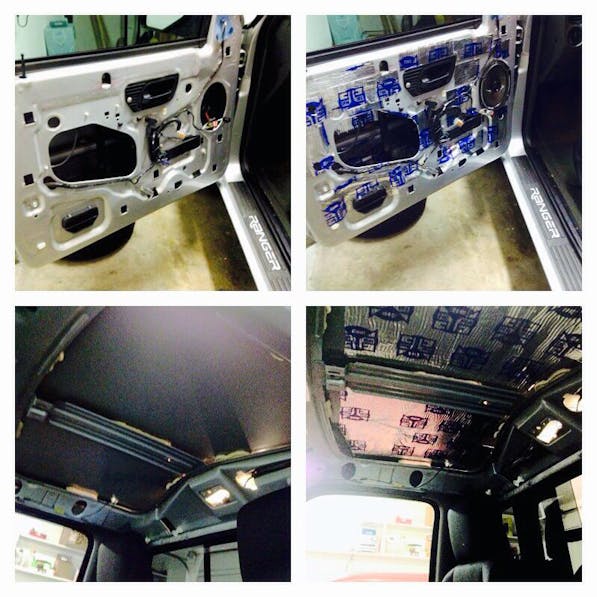
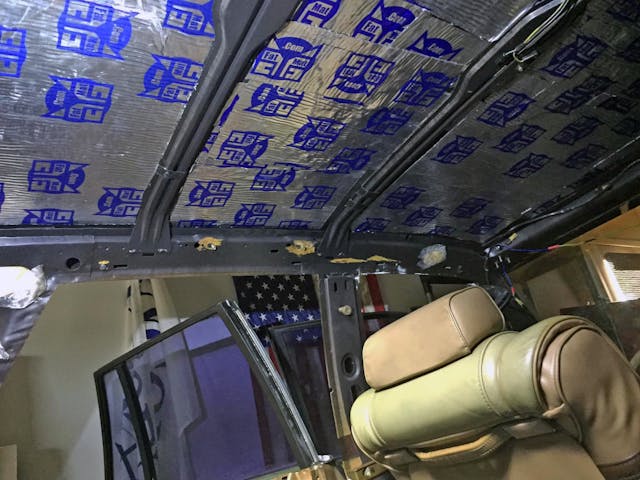
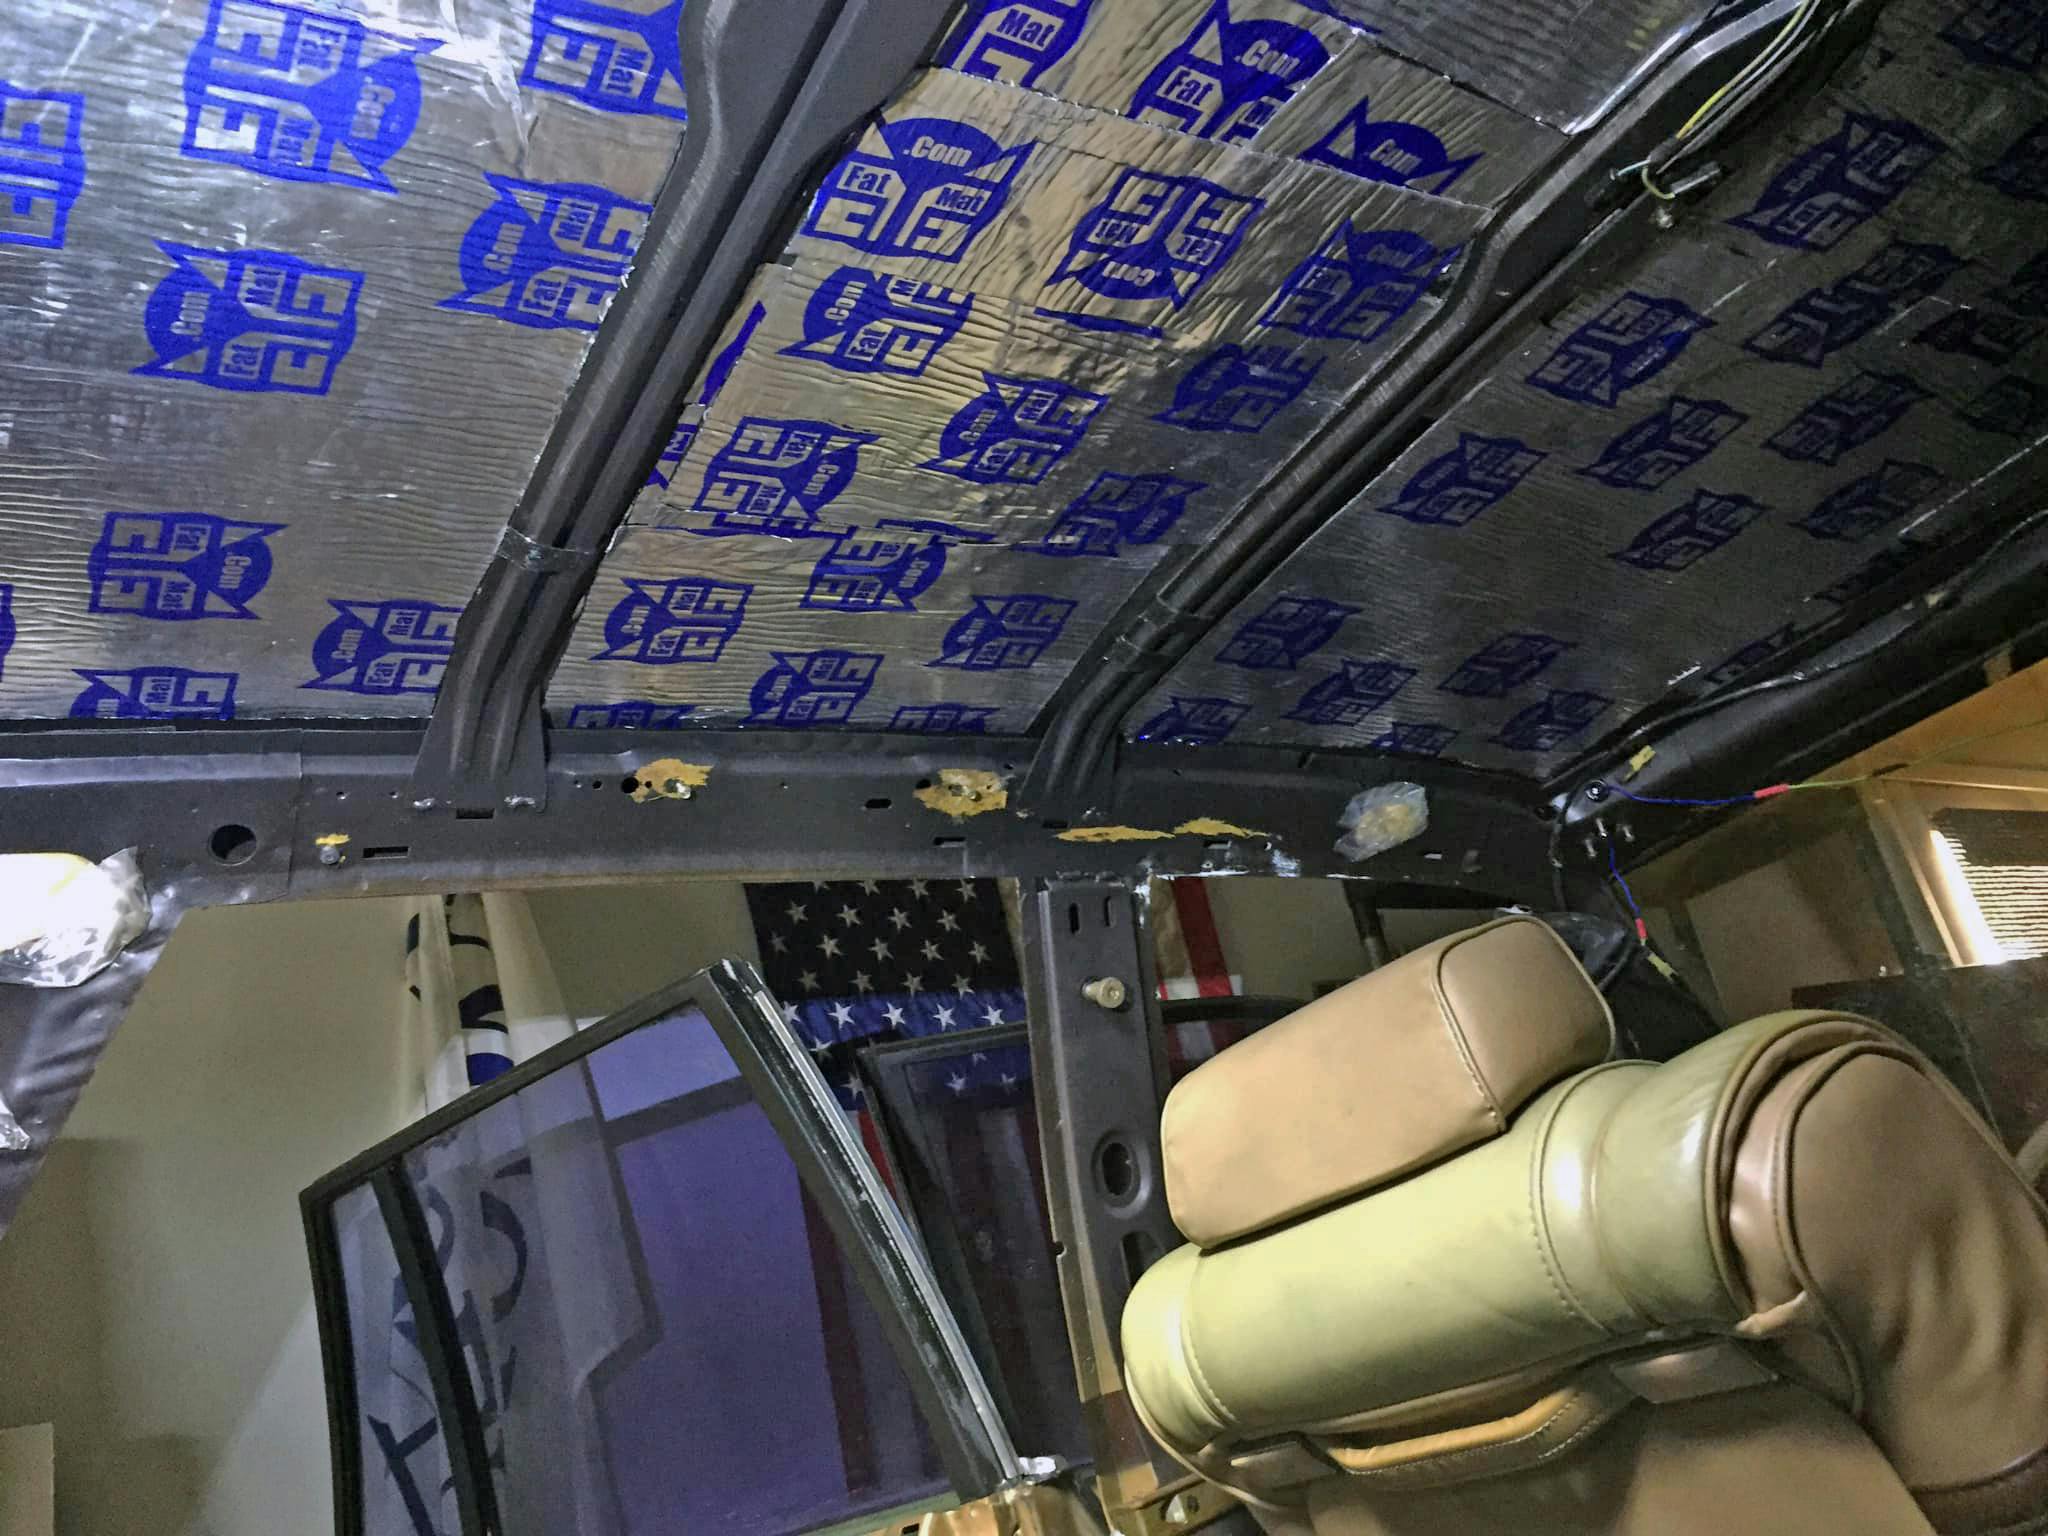
Adding insulation in the right places is crucial to improving NVH in any vehicle. I would suggest that you consider a place most folks ignore: The roof, which actually can ring like a bell. Heck, some roof pillars are even curved like a bell’s waist. More to the point, once you own a vehicle with a nicely insulated roof, it’s hard to go back to anything else.
The Valentino is one such example. Its factory-fitted roof insulation made it disturbingly quiet in thunderstorms. When my mother dropped her purse onto the roof, it emitted only a low-pitched thud. (Hey, everyone has bad days, rare occasions when stress manifests as an act of paint brutality.) Once I matured into a more savvy car enthusiast, I ensured she stopped leaving personal items on paintwork, but perhaps her actions were a great learning experience?
No matter, whenever I realized the Valentino’s insulating prowess, it motivated me to knock on the roofs of supposed luxury cars to see which examples met my newly minted standard. I was dismayed at how many failed the test. Even though cars are improving over time, I still tap on the roofs of high-end cars at shows, dealerships, or when proving someone needs to upgrade their ride. I get a little thrill when an allegedly luxurious machine makes “bangs” and “clangs.”
Because Project Valentino is still in pieces, let’s replicate that life-changing experience by testing the roof of Foxy Brown, the other, mostly stock 1983 Lincoln Continental that joined the Mehta fleet to complement the restomodification of Project Valentino. The end result is a delightful knock, knock, knock down memory lane for yours truly, and it hopefully proves a point for you, dear reader.
The vehicle locations in need of extra insulation are about as diverse as the ones that need to be painted. It’s probably more logical to list them:
- Under the hood, for less engine noise (use insulation designed specifically for hoods).
- Inside the wheel wells (use spray-on insulation on metal, and stick-on for plastic liners).
- Doors, both inner and outer metal skins (use stick-on insulation, in varying amounts relative to the speakers used in the doors).
- Roof, for the reason I mentioned in the beginning of the article (use stick-on and foam insulation).
- Floors, for less road noise, especially over railroad tracks (use stick-on, and foam if the carpet is too thin for your tastes).
- Trunk lid, if you are a bass head with a subwoofer back there (use stick-on insulation).
How do you insulate?
Most of the insulation work I did for Project Valentino pertained to removing rotted-out insulation. With any luck you don’t need to heat/scrape off your factory insulation; you can simply put new stuff on the bare metal panels that you deem worthy of treatment. Removing dirt from areas to the insulated is crucial, so make sure all surfaces are factory-fresh before application.
Installation is easy enough if a bit laborious: You will need something like an X-Acto knife to cut the material to size, work gloves to keep your hands from “paper cuts” via exposed aluminum foil edges, and a roller tool to press the material on the car. As previously mentioned, a heat gun is great for colder climates.
That’s about it. You will learn as you go, getting better at cutting the material to fit the panel and installing it with fewer and fewer air bubbles over time. (The latter is quickly resolved with a quick incision from an X-acto knife, followed up by the roller tool. Rocket science this ain’t.)
At some point, installing this stuff becomes both fun and easy, relative to all the other things we must do when working/restoring a car. Frustrations lie elsewhere; insulating has become more of a zen-inducing action for me.
Speaking of frustrations, I still don’t have everything lined up to complete Project Valentino’s interior. Some parts are hard to find, and others need the assistance of professionals in specific trades. I haven’t even touched the doors yet, which need new rubber before I even consider a healthy application of Dynamat (or whatever is a good value at my time of purchase). But everything happens for a reason, and it all happens in due time. At least that’s what I keep on telling myself.
***
Marketplace
Buy and sell classics with confidence
Check out the Hagerty Media homepage so you don’t miss a single story, or better yet, bookmark it. To get our best stories delivered right to your inbox, subscribe to our newsletters.








NVH – I’m sure you meant noise, vibration, and harshness
Argh, that’s embarrassing. Fixing now!
You don’t have to completely cover every square inch on a panel to be 100% effective. Several credible videos on this very thing. All that extra – is nothing more but wasted money and added weight – sorry
Well I am not covering every inch, even if I went a little too far on the roof.
About time we saw something on PV, Sajeev! I feel like I’ve had a small “fix” for now, but please don’t go so long without providing another injection. Thanks!
Your kind words do not go unappreciated. I was thinking about you yesterday when I was trying to figure out how to install PV’s signature tape stripes. Something to the effect of “DUB6 is gonna get a kick out of this story!” 🙂
👍
Good update!
We lived an interesting experiment in NVH with our 2013 Ford Edge Sport.
Factory rims were 22 inch with low profile side wall.
Mechanic sourced 17 inch rims for snow tires with a more traditional deep sidewall.
The personality change was profound. Quieter, cushier I much preferred the snows on bare pavement. Performance depreciation was not noticeable in the vehicles commuting use life… maybe if we did autocross you could prove the disadvantage, but then this wouldn’t be my choice for an autocross platform.
99% sure the Edge would do better with 17s on dynamic tests too, if the tire compounds were the same between the 17s and 22 AND if the 17s are alloy wheels and not steelies. 20+ inch wheels are for cosmetic purposes only, to make all these tall vehicles look less frumpy.
The extra sidewall lowers unsprung weight, lowers rotational mass. The latter means more responsive acceleration and braking. And while 17s on an SUV might have a bit too much sidewall for aggressive driving, it ensures that the edges of the tread don’t pull up in high load corners like they can with 22s. More tread on the road = more grip.
Spot on. When I last upgraded/traded vehicles, I was going from a 2017 to 2021 version of the same vehicle. The 17 had come with factory 17 inch wheels, the 21 on their lot had the factory optional 19s. Since the lug spacing was the same (and I had very low mileage on the tires on the 2017 having replaced them less than a year prior), I asked the dealership to just swap the tires on delivery. Even in test driving the difference in the 17 to 19 rims was noticeable. I have no regrets (plus convinced them to discount the 21 due to “de-optioning” those fancy rims and them therefore getting an “upgraded” 2017 with new wheels on trade).
Oh man, talk about a win-win!
Slowly and surely getting there.
Really enjoying following along on your journey Sajeev, keep it going!
I have a stack of various sizes/types of sound deadening waiting for my pair of toys when I get some time so this was good reading.
I hope I motivate you to get those projects moving! Thank you for your kind words!
This gives me motivation for this winter! I have to disassemble the entire interior of my ’86 300SDL this winter (seats, door panels, & dash replacement with better condition bits)
May as well deaden the whole thing while I’m there!
You will love the end results. Those MBs are built very well, but I am sure there’s room for a little more sound insulation (I am thinking the doors can take some) and you will love the end result come spring!
I found a page where you can calculate the sqtf sound deadening material for your car (approx) https://noico.info/calculation-per-car/
Really enjoying your journey, Sanjeev! I also loved my parents’ 87 Continental as a kid (last of the Fox body of this style before the front wheel drive makeover). What are the insulation patches you but on the doors? Are they Dynamat and which product? Thanks!
Hi Andrew, I used FatMat for this application, but honestly any butyl rubber product with an aluminum sheet over it will work about the same. I am not sophisticated enough to tell a difference between these products.