Media | Articles
About time you checked your engine’s ignition timing?
Exactly when the spark sparks, lights a fire in the combustion chamber and makes some power and noise is important because these things take time. The timing of exactly when that spark happens is important to how the engine runs, its performance, fuel consumption, and crucially, its well-being.
On a modern classic with a distributorless electronic ignition system, a crank sensor usually controls spark timing by sending a signal to the engine ECU (electronic control unit). By knowing the exact angle of the crank in degrees, the ECU software can fire the spark for each cylinder at the right time. That means there’s no setting of the ignition timing to do, as it’s controlled by the ECU software (known as an ignition map).
On older classics with a distributor, the timing needs to be set and checked periodically to make sure it’s still correct. As a reminder, a spark is triggered for each cylinder as the cam in it rotates at half crankshaft speed. Lobes on the cam open and close the contact breaker points and each time they open, a spark is triggered by the ignition coil. For more info on distributors and exactly how they work, check out an earlier column here.
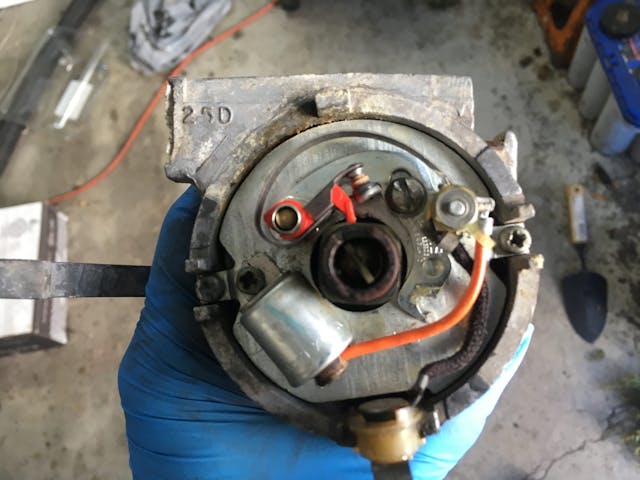
Contact breaker points can be replaced by optical or Hall effect sensors, but the timing is still controlled by their position in relation to the distributor’s cam. For now though, we’ll stick with old-school contact breaker points because if they are incorrectly gapped, they too can affect timing to some extent. But before getting to the nitty-gritty of timing the ignition, why does it matter?
When fuel and air is ignited in a petrol engine it burns, and like a bonfire, that flame takes time to spread. Not much time, granted, just milliseconds, but it’s still a progressive process. Because events are happening in the engine very quickly, like the colossal speed of pistons traveling up and down the bores, then there may not be enough time for the fuel to burn and release its energy at the right point in the engine’s cycle.
Marketplace
Buy and sell classics with confidence
For that reason, the fuel is usually ignited early to give it time to burn fully by the time the piston reaches the top of its stroke (top dead center, or TDC) and begins its downwards power stroke. That’s what is meant by ignition timing, the precise point, relative to the position of the piston in the bore, when the fuel is ignited.
The position of the piston relates to the rotational angle of the crankshaft relative to TDC which is 0°. As the engine revs increase, so does the speed of the pistons and the time allowed for the fuel to burn reduces. To get over that, the mixture has to be ignited sooner the faster the engine goes. In engine speak, the ignition timing must be “advanced” as revs and load on the engine increase.
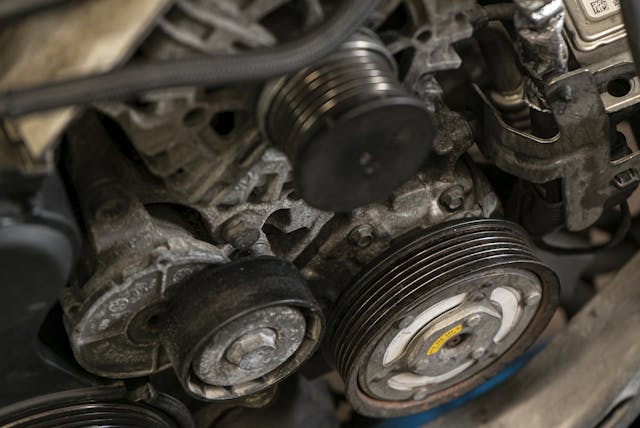
For that reason ignition timing on distributor-timed engines can be checked both statically with the engine turned off, and with it running. The starting point though, is static timing. Ignition timing settings listed in a workshop manual will usually give the amount of advance (before top dead center, BTDC) static and with it running. So the Haynes Mini manual gives an early 998 Mini saloon setting as 5° BTDC static, and 8° BTDC at 600 rpm with the vacuum advance pipe disconnected.
Automatic advance of the timing is controlled by two things. The first is a pair of bobweights in the distributor which rotate the distributor cam as the engine speeds up, meeting the heel of the points sooner and advancing the ignition. The second is a vacuum advance system consisting of a vacuum pipe connecting the distributor to the inlet manifold. As the throttle opens and load on the engine increases (it works harder), then pressure in the inlet manifold drops, which in turn advances the ignition timing at the distributor.
To check ignition timing, first start on the bookshelf by referencing the proper setting and any special procedures for checking and adjusting in the factory service manual. The specs found there are the best baseline to start with. Once armed with knowledge, remove the spark plugs so the engine can be rotated easily and turn the engine in small amounts either through judicious shoving with the car in second or third gear or in neutral with a socket on the crank pulley. The aim is to align the timing mark on the crankshaft pulley with the corresponding number in degrees which is often stamped on an engine cover right next to it. In rare cases, the marks may be elsewhere. On early Minis, the marks are stamped on the flywheel behind a small inspection plate. Make sure the final alignment of the marks is done in the direction of the engine’s rotation to make sure all backlash between the crankshaft and distributor is taken up.
At this point, the contact breakers should be on the cusp of opening or already opened for number one spark plug. Undo the clamp fixing the distributor to the engine block and rotate the distributor body in the same direction as the cam to make sure the points are fully closed, then rotate it back again until they just open. That is the moment at which the spark will be generated.
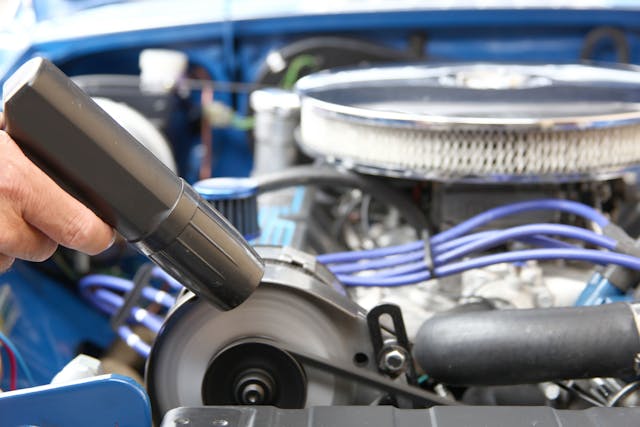
To be accurate, with the ignition on, a multimeter in parallel with the points connected between earth and the negative terminal of the coil, will give a reading the instant they open. If you don’t have one, a 12-volt bulb wired across the points will illuminate at the same instant. Another quick and easy method is to rotate the distributor with the ignition on, until the instant a spark jumps across the points.
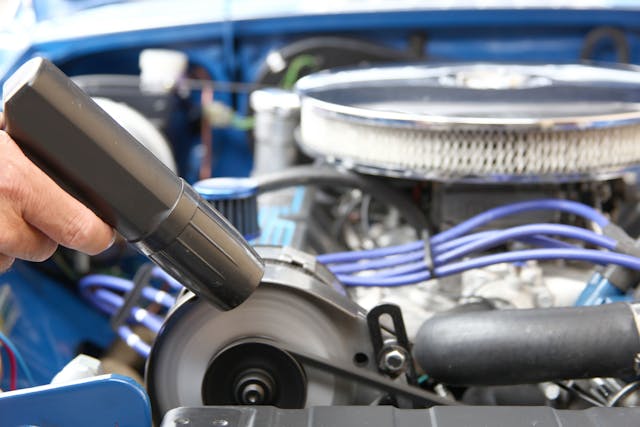
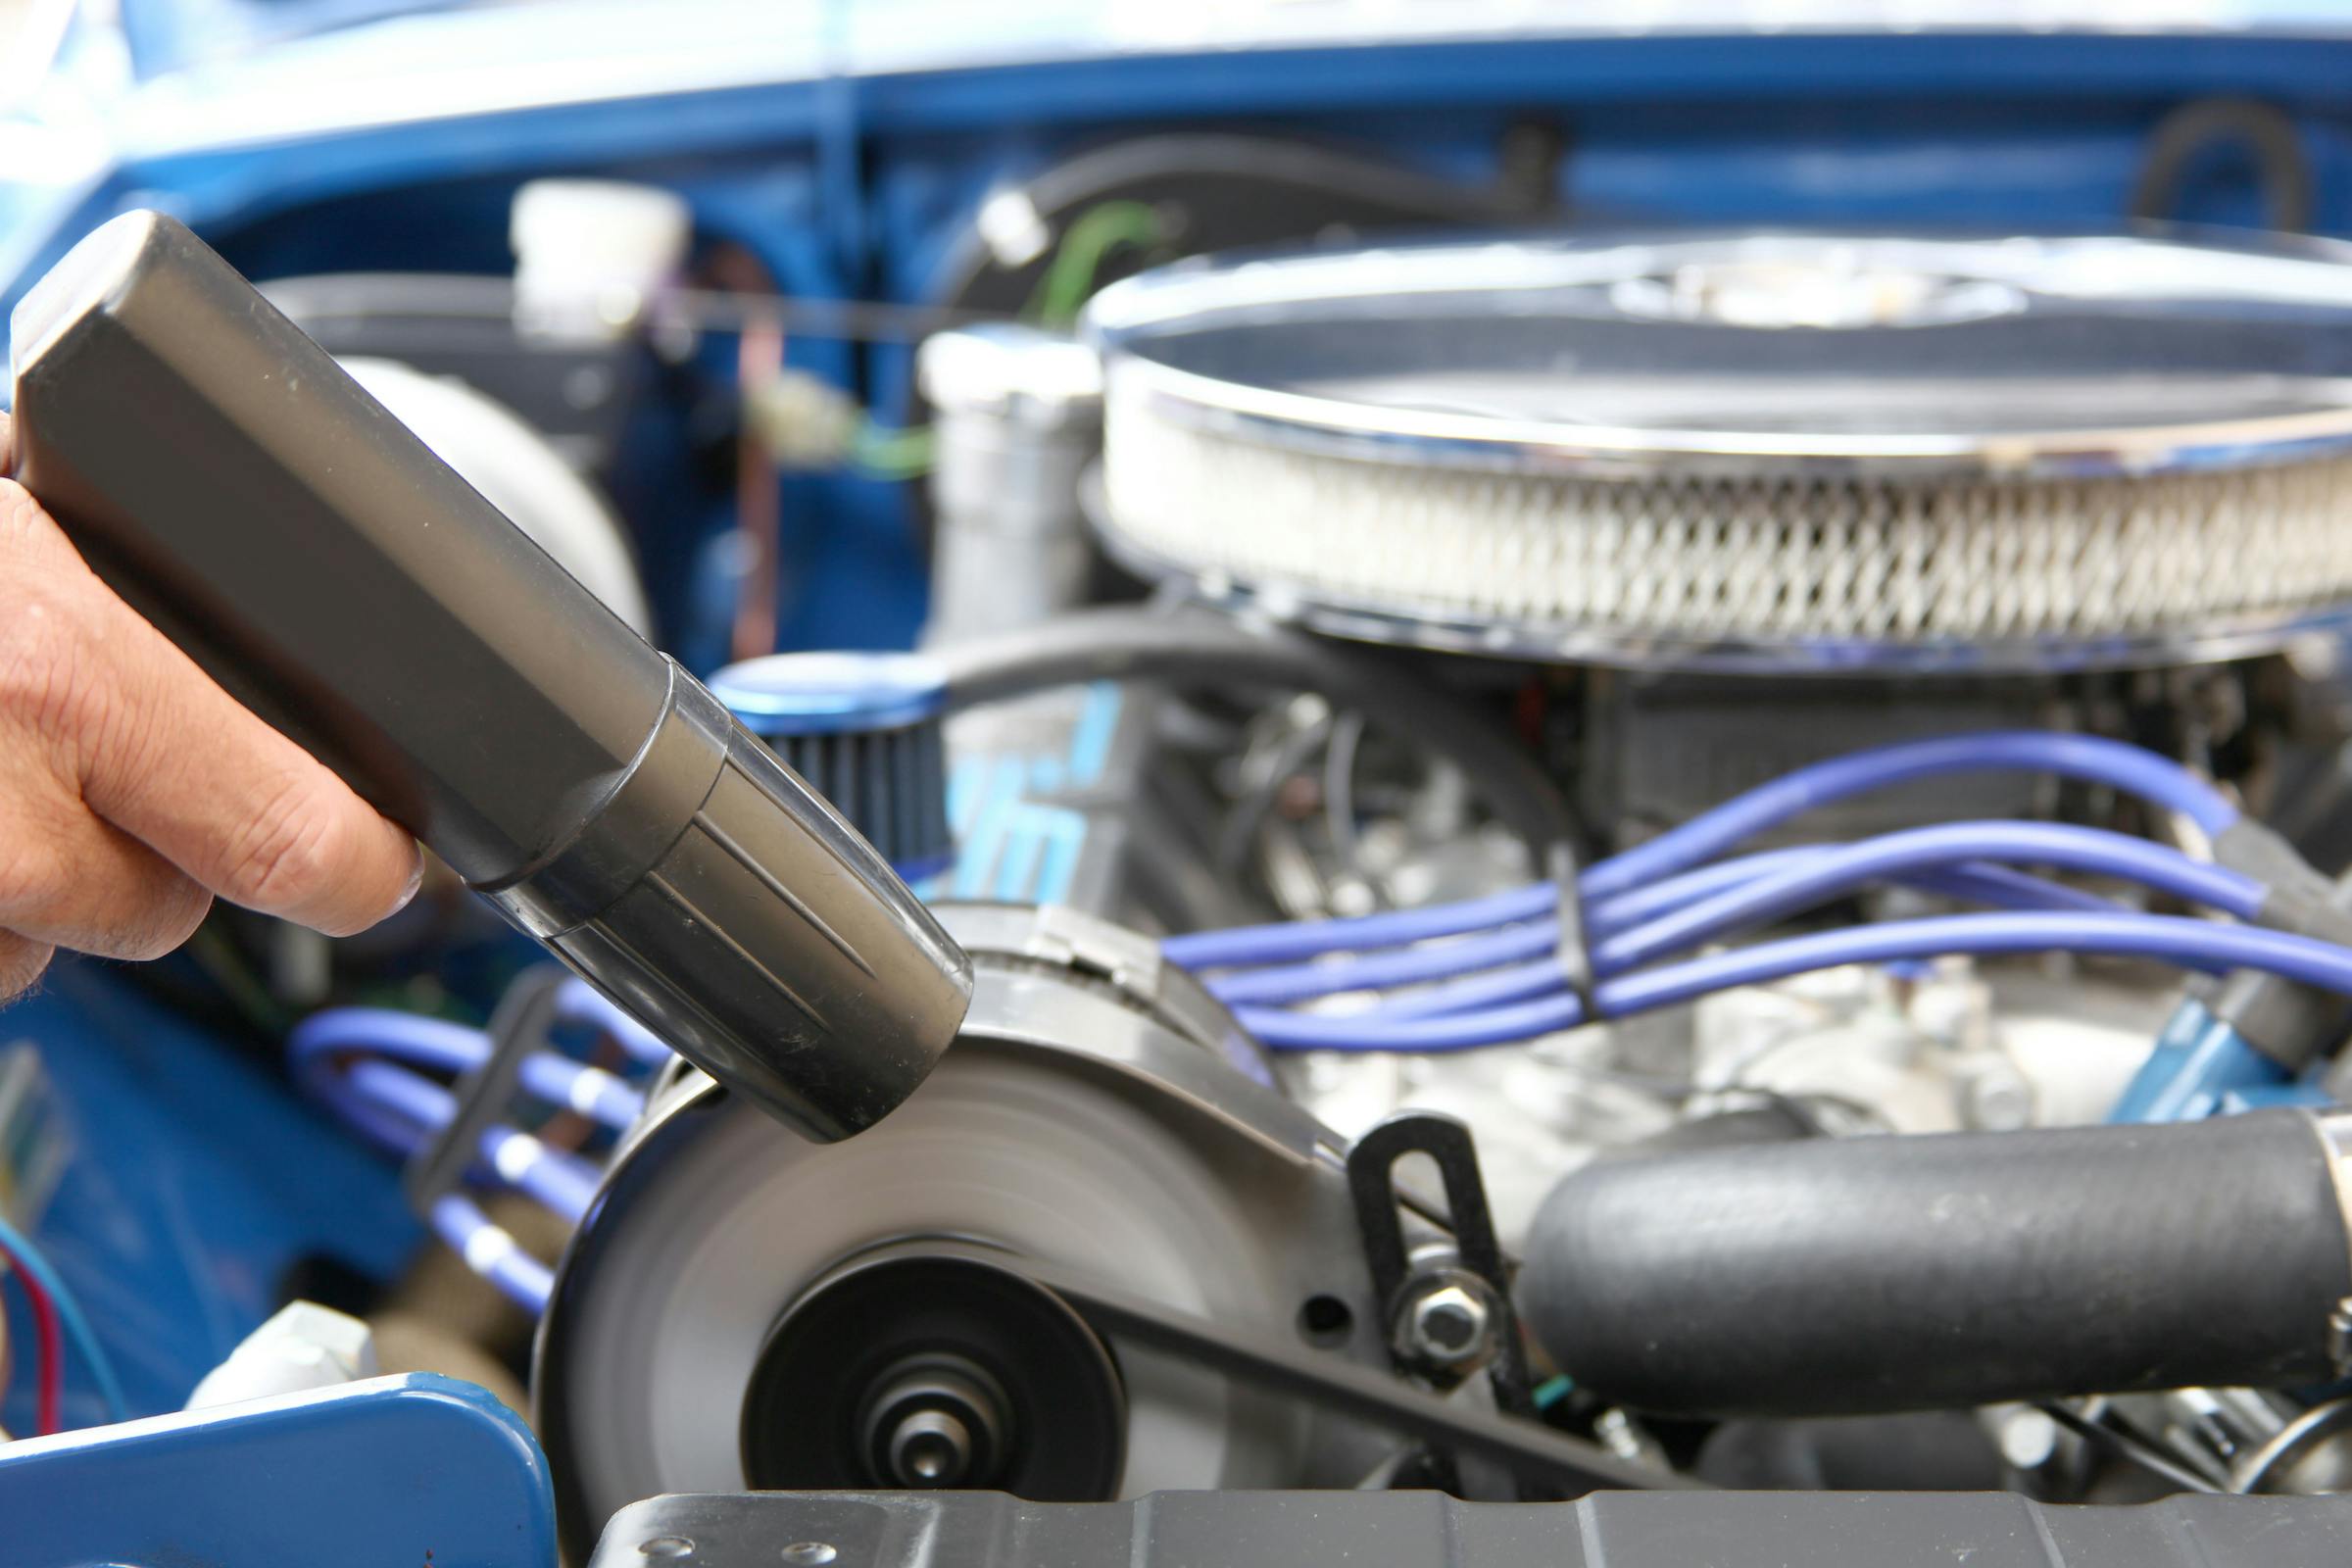
For testing with the engine running, you’ll need a stroboscopic timing light. Connected across the HT lead and spark plug on number one cylinder, the light will flash every time the plug sparks. Directing the light from the strobe light at the timing marks used for static timing, will reveal the advancing timing as the revs increase. Timing lights with built in rev counters make it easy to check at the revs listed in the manual.
If the distributor is fitted with points rather than an electronic ignition trigger, it’s important to check the points gap before you start because if it’s incorrect, that will also affect the timing. If the points gap is too small, the heel of the points will meet the cam lobe sooner, advancing the ignition slightly. Badly retarded timing causes overheating, back firing, poor performance and poor fuel consumption. Timing that’s too advanced can cause pinking (detonation), so it’s worth making a fairly regular check part of the routine.


There is an error in this article; the writer stated that vacuum advance increases when vacuum drops upon wide open throttle under load, however, the opposite is true; the amount of vacuum advance provided decreases when less vacuum is applied to it. The mechanical advance takes care of the engine’s full throttle acceleration needs by advancing the timing as rpm increases, but the vacuum side of things is designed to provide extra timing at idle and part throttle cruising only, and is supposed to drop off under full acceleration, or highest load; this is for two reasons: first is because an engine’s timing needs are highest at part throttle cruising, for economy and emissions reasons, and because the lack of a heavy load on the engine means you can run more timing safely, so why not, and too much advance under full load is a problem as we all know. The second reason is because it alows you to run a lower base (or initial) timing for easier starts, since you’ll have your desired idle timing once the engine provides vacuum after it starts but not before, allowing for much less strain on the starter and electrical system because as base, or intial, timing is increased, there is more kickback and resistance to rotatation on the starter, causing more strain on the system which is not a good thing. At part throttle cruising you should have the most timing: base timing+some mechanical+vacuum advance for a total of around 48°- 52° BTDC, depending on the engine. At full throttle, under load (where pre-ignition is detrimental and timing must be decreased) is where you only want base timing+mechanical advance for about 32°- 36° BTDC or so. At idle it would only be base timing+vacuum advance, for about 20°-26° of advance, about 8°-10° of base timing+about 10°-18° provided by the vacuum advance, again, depending on the particular engine and its requirements. But that is why procedure dictates you have to disconnect the vacuum advance when setting base timing, it is supposed to be applied at idle. It’s a common misconception and myth that vacuum advance is for advancing the timing under full throttle acceleration (no, thats what the mechanical advance is for,) and that misconception causes many people to mistakenly hook it to the timed port on the carburetor causing it to advance timing under a full throttle condition which is incorrect (the mechanical advance already does this) instead, it should be hooked to the full-time vacuum port so it can drop off under full load like it was designed to do.