Media | Articles
A beginner’s guide to 3D printing car parts
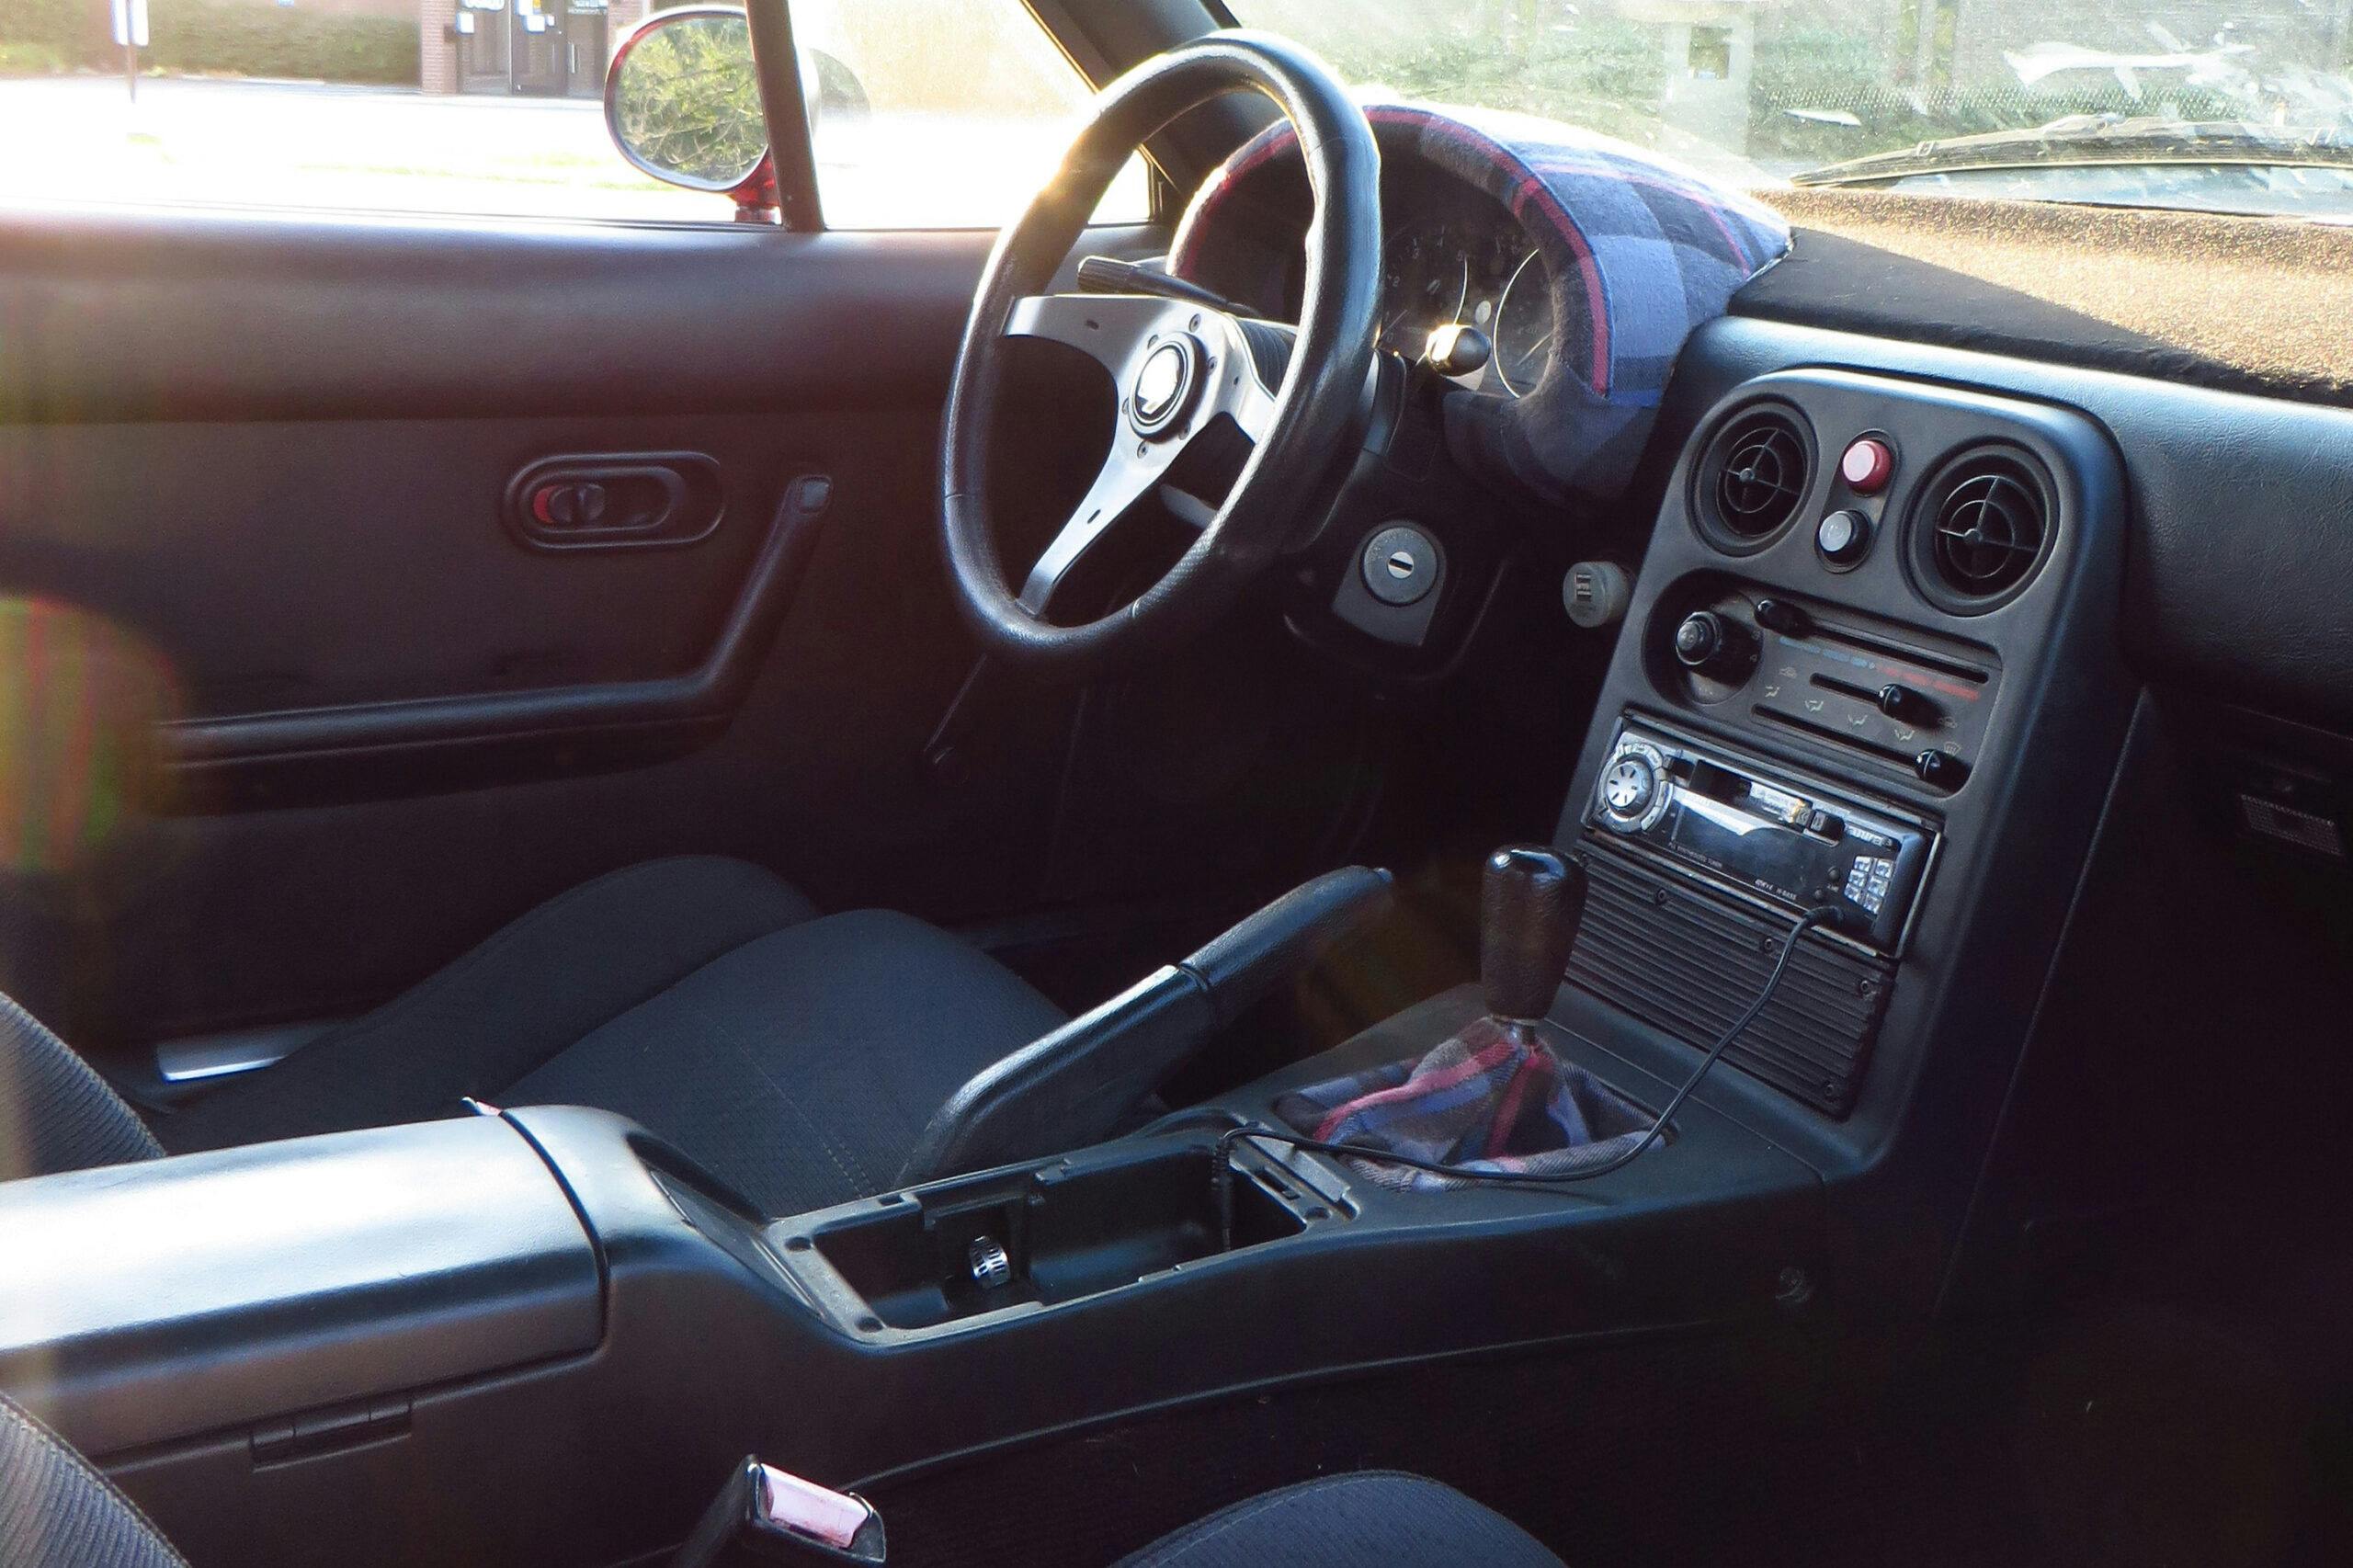
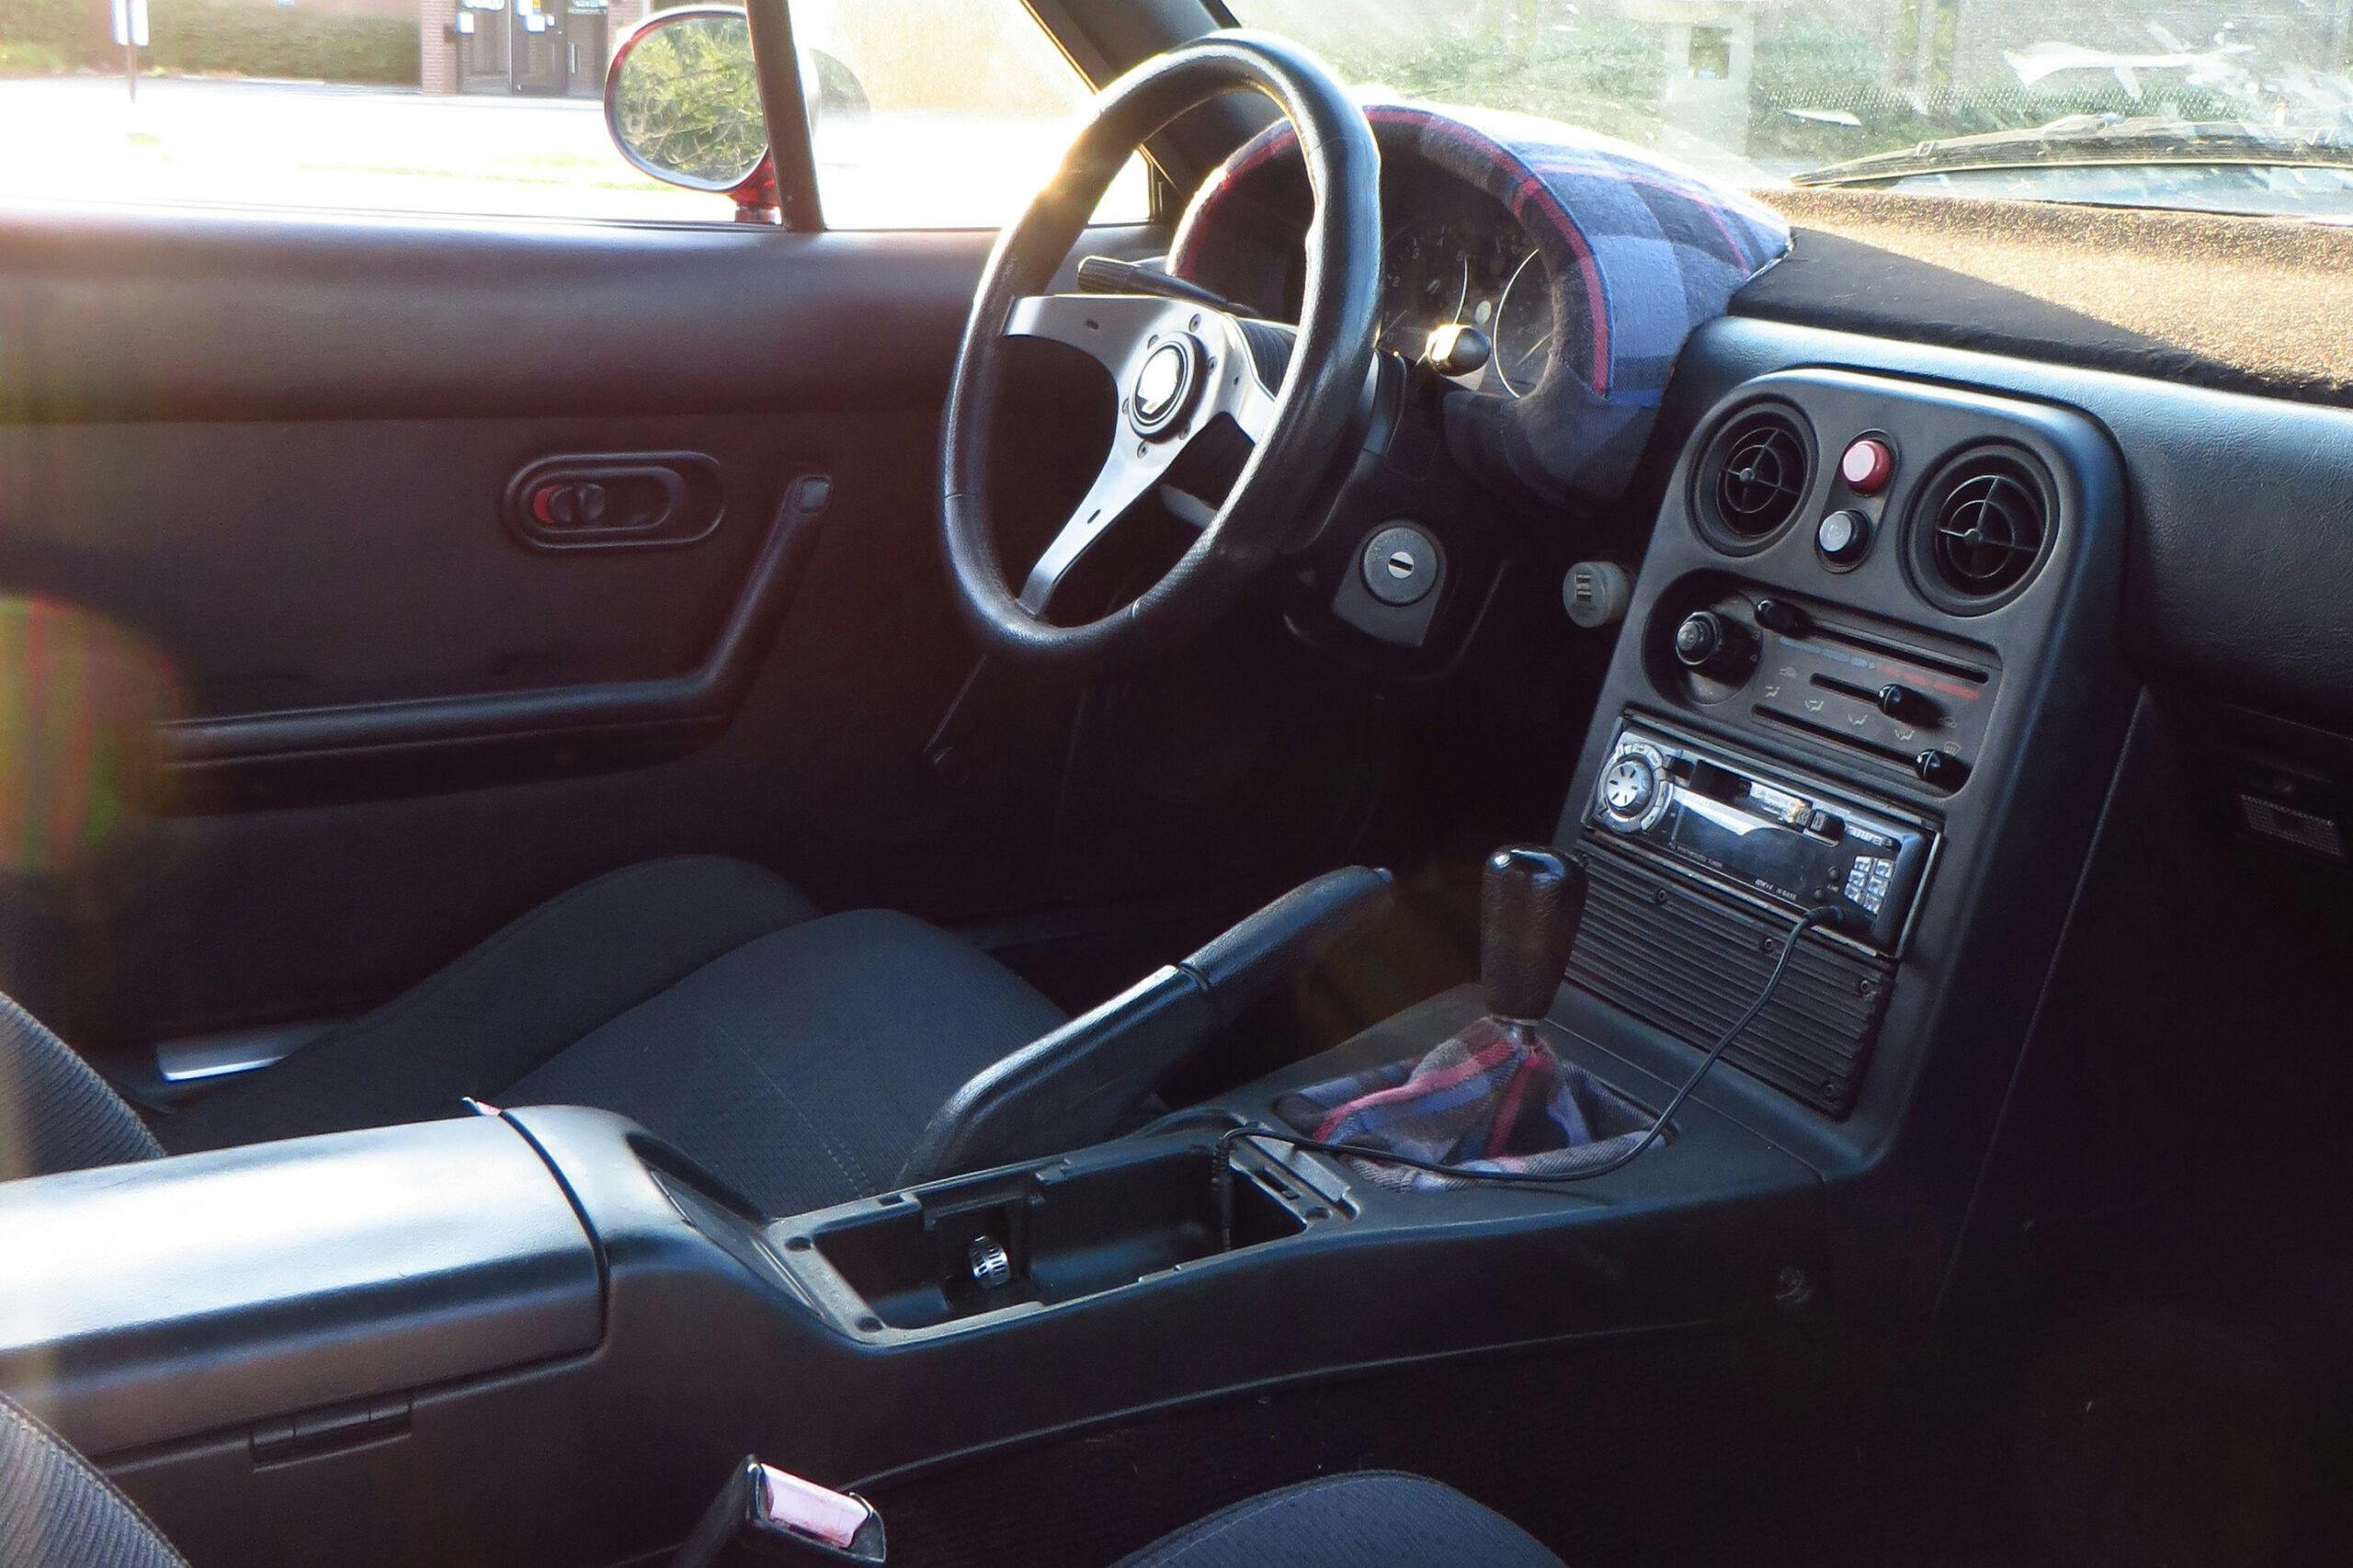
Oh no! After 40-plus years of baking in the sun, an unobtainium piece of your car’s interior has shattered to bits. So what now?
Unfortunately, used interior bits tend be expensive and hard to find. Not to mention there’s no guarantee they won’t meet a similar fate as the original piece that just broke. Wouldn’t it be nice to press a few buttons on a machine and that spits out an exact copy of your part, à la Star Trek Replicator?
Well, it turns out you can. Sort of.
With a 3D printer and free, open-source blueprints from a database like Thingiverse, you can make some pretty amazing stuff for your car. How about cold-air intake, custom body parts, or tools for a tricky mechanical job? Heck, this guy even 3D-printed a full-scale hardtop for his Miata. The only limitations are your imagination and skills in the 3D modeling virtual world. We’ve even done it as part of our Redline Rebuild engine series.
Because consumer-grade 3D printers have been around for the better part of a decade, costs have amortized. A really solid 3D printer can now be had for under $300. The low cost of entry makes them an easy addition to your fabrication tool kit. In this guide, I’ll show you how to get started on your 3D-printing journey.
Marketplace
Buy and sell classics with confidence
The printer
For the purposes of this guide, and because it’s what I have on hand, the focus will be on Fused Deposition Modeling (FDM) printers. They are the best entry-level printers for making car parts, and it’s what beginners use.

FDM printers work by feeding plastic filaments through a heated chamber. This process melts the plastic in a heated chamber and pushes it through a metal nozzle onto a flat surface, known as the bed. The heated chamber and nozzle exist in a single unit, which deposits melted plastic along a path dictated by your part’s 3D file. From the bed up, the printer builds your design layer by layer until it is finished.
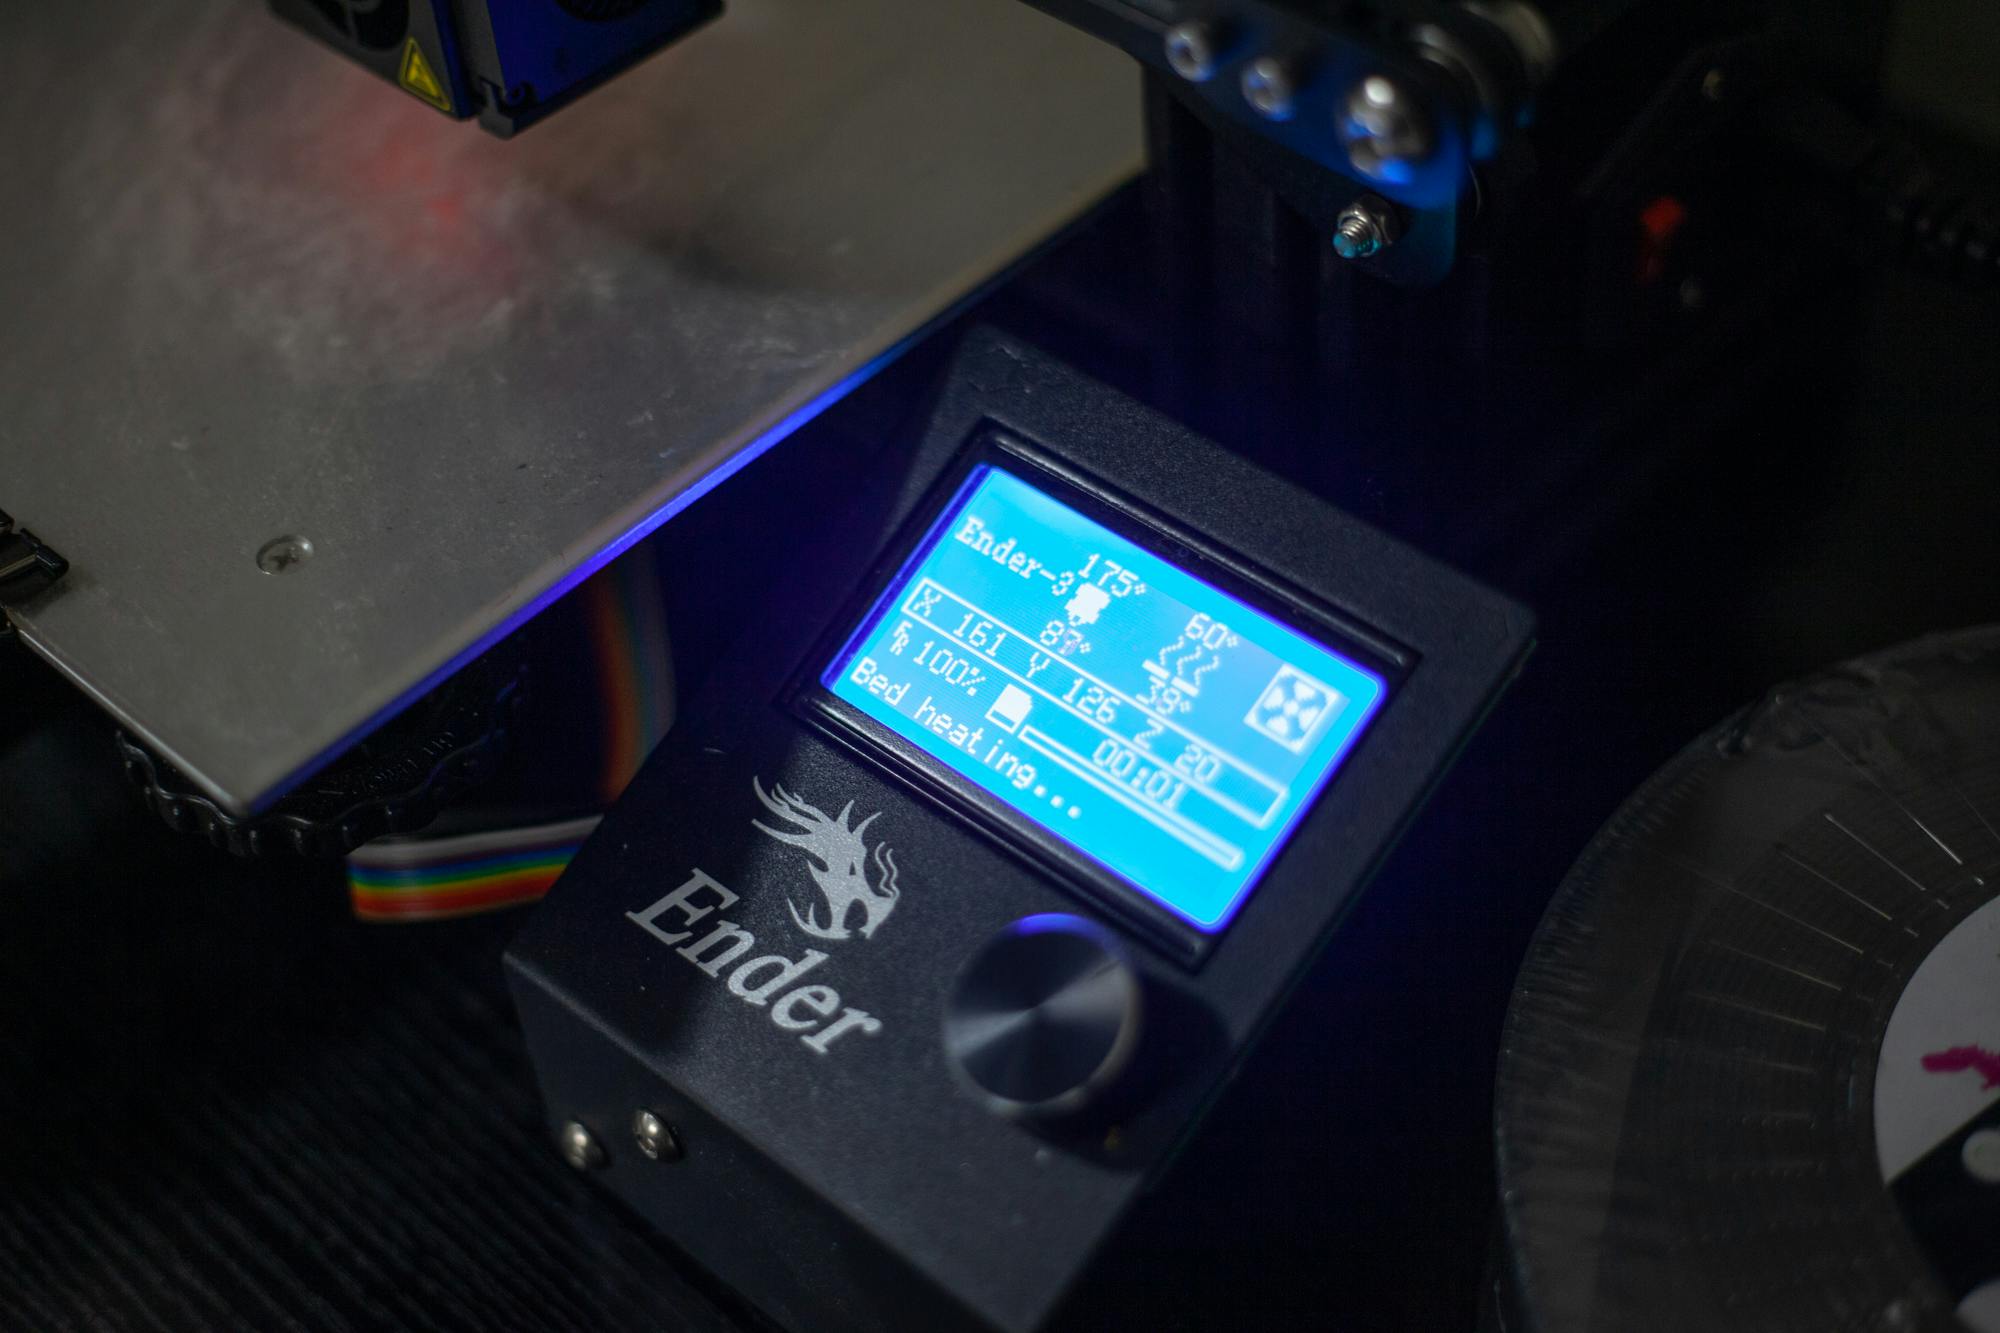
Within the FDM world, there are many printer brands and models from which to choose. I use the Creality Ender-3—a popular choice due to its low price of around $200 and supportive user community. Assembly of the Ender-3 is a bit fiddly, as there are a lot of components and the included directions aren’t especially clear. That’s where the user community comes in, offering robust assembly and troubleshooting guides as well as recommendations for aftermarket upgrades. These third-party mods are plentiful for the Ender-3: a glass print surface should you want more consistent print quality, or a sensor that reduces the amount of time you spend twisting knobs to level the bed.
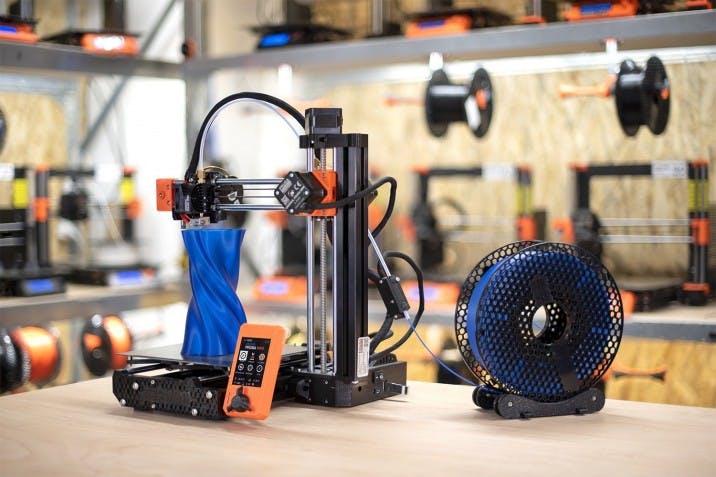
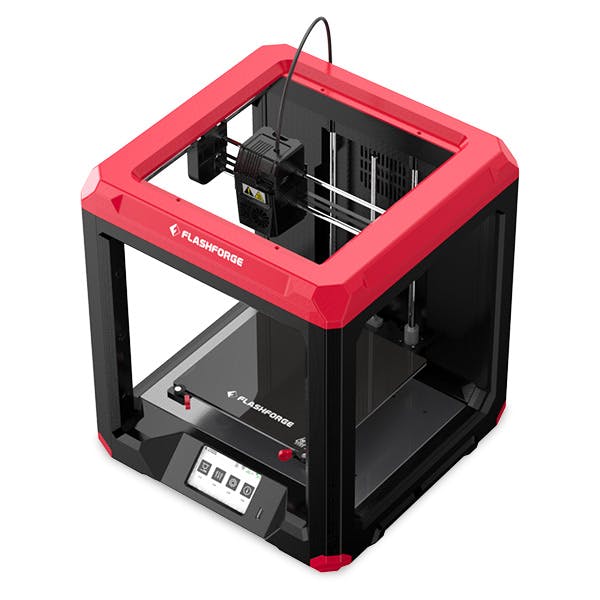
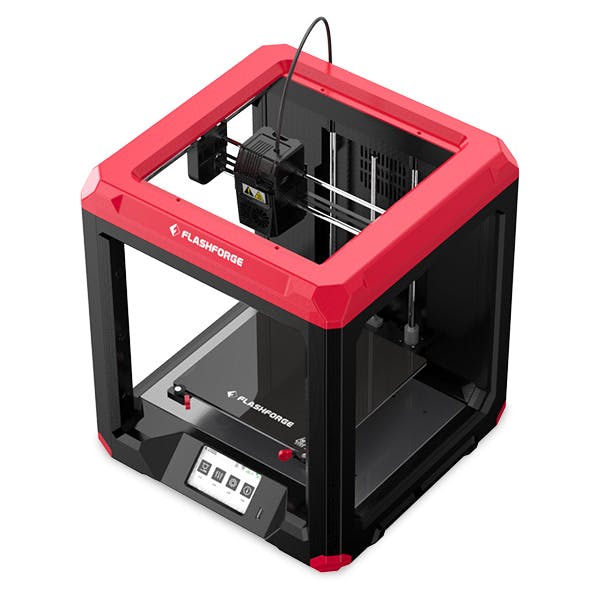
There are other highly rated printers on the market which will totally work, but they tend to cost a bit more than the Ender. Models like the Prusa Mini Plus and the Flashforge Finder 3 offer a more plug-and-play experience.
The material
After you have acquired a printer, you’ll need some filament. Online retailers have a dizzying array of color and material choices available. The three most common types of plastic filament that an entry-level machine can easily print: PLA (Polylactic Acid), ABS (Acrylonitrile Butadiene Styrene), and PET-G (Polyethylene Terephthalate-glycol-modified). Each type is has its advantages and disadvantages.

PLA is great for creating mock-ups and prototypes. It’s cheap—around $20 for a standard, 1-kg roll—and you can find it almost anywhere. (Once, I bought a roll from Jo-Ann Fabrics.) However, PLA has poor heat and UV resistance, which makes it unsuitable for under-hood or exterior applications.
Then there is ABS filament, which has very strong and high heat and wear resistance—good for most automotive uses. It also doesn’t cost much more than PLA. The downside is that it can be tricky to print; the material has a tendency to shrink and warp when it cools.

PET-G is a great middle ground. It is both easier to print than ABS and stronger and more durable than PLA. Naturally, it costs more. You get what you pay for.
Parts to print
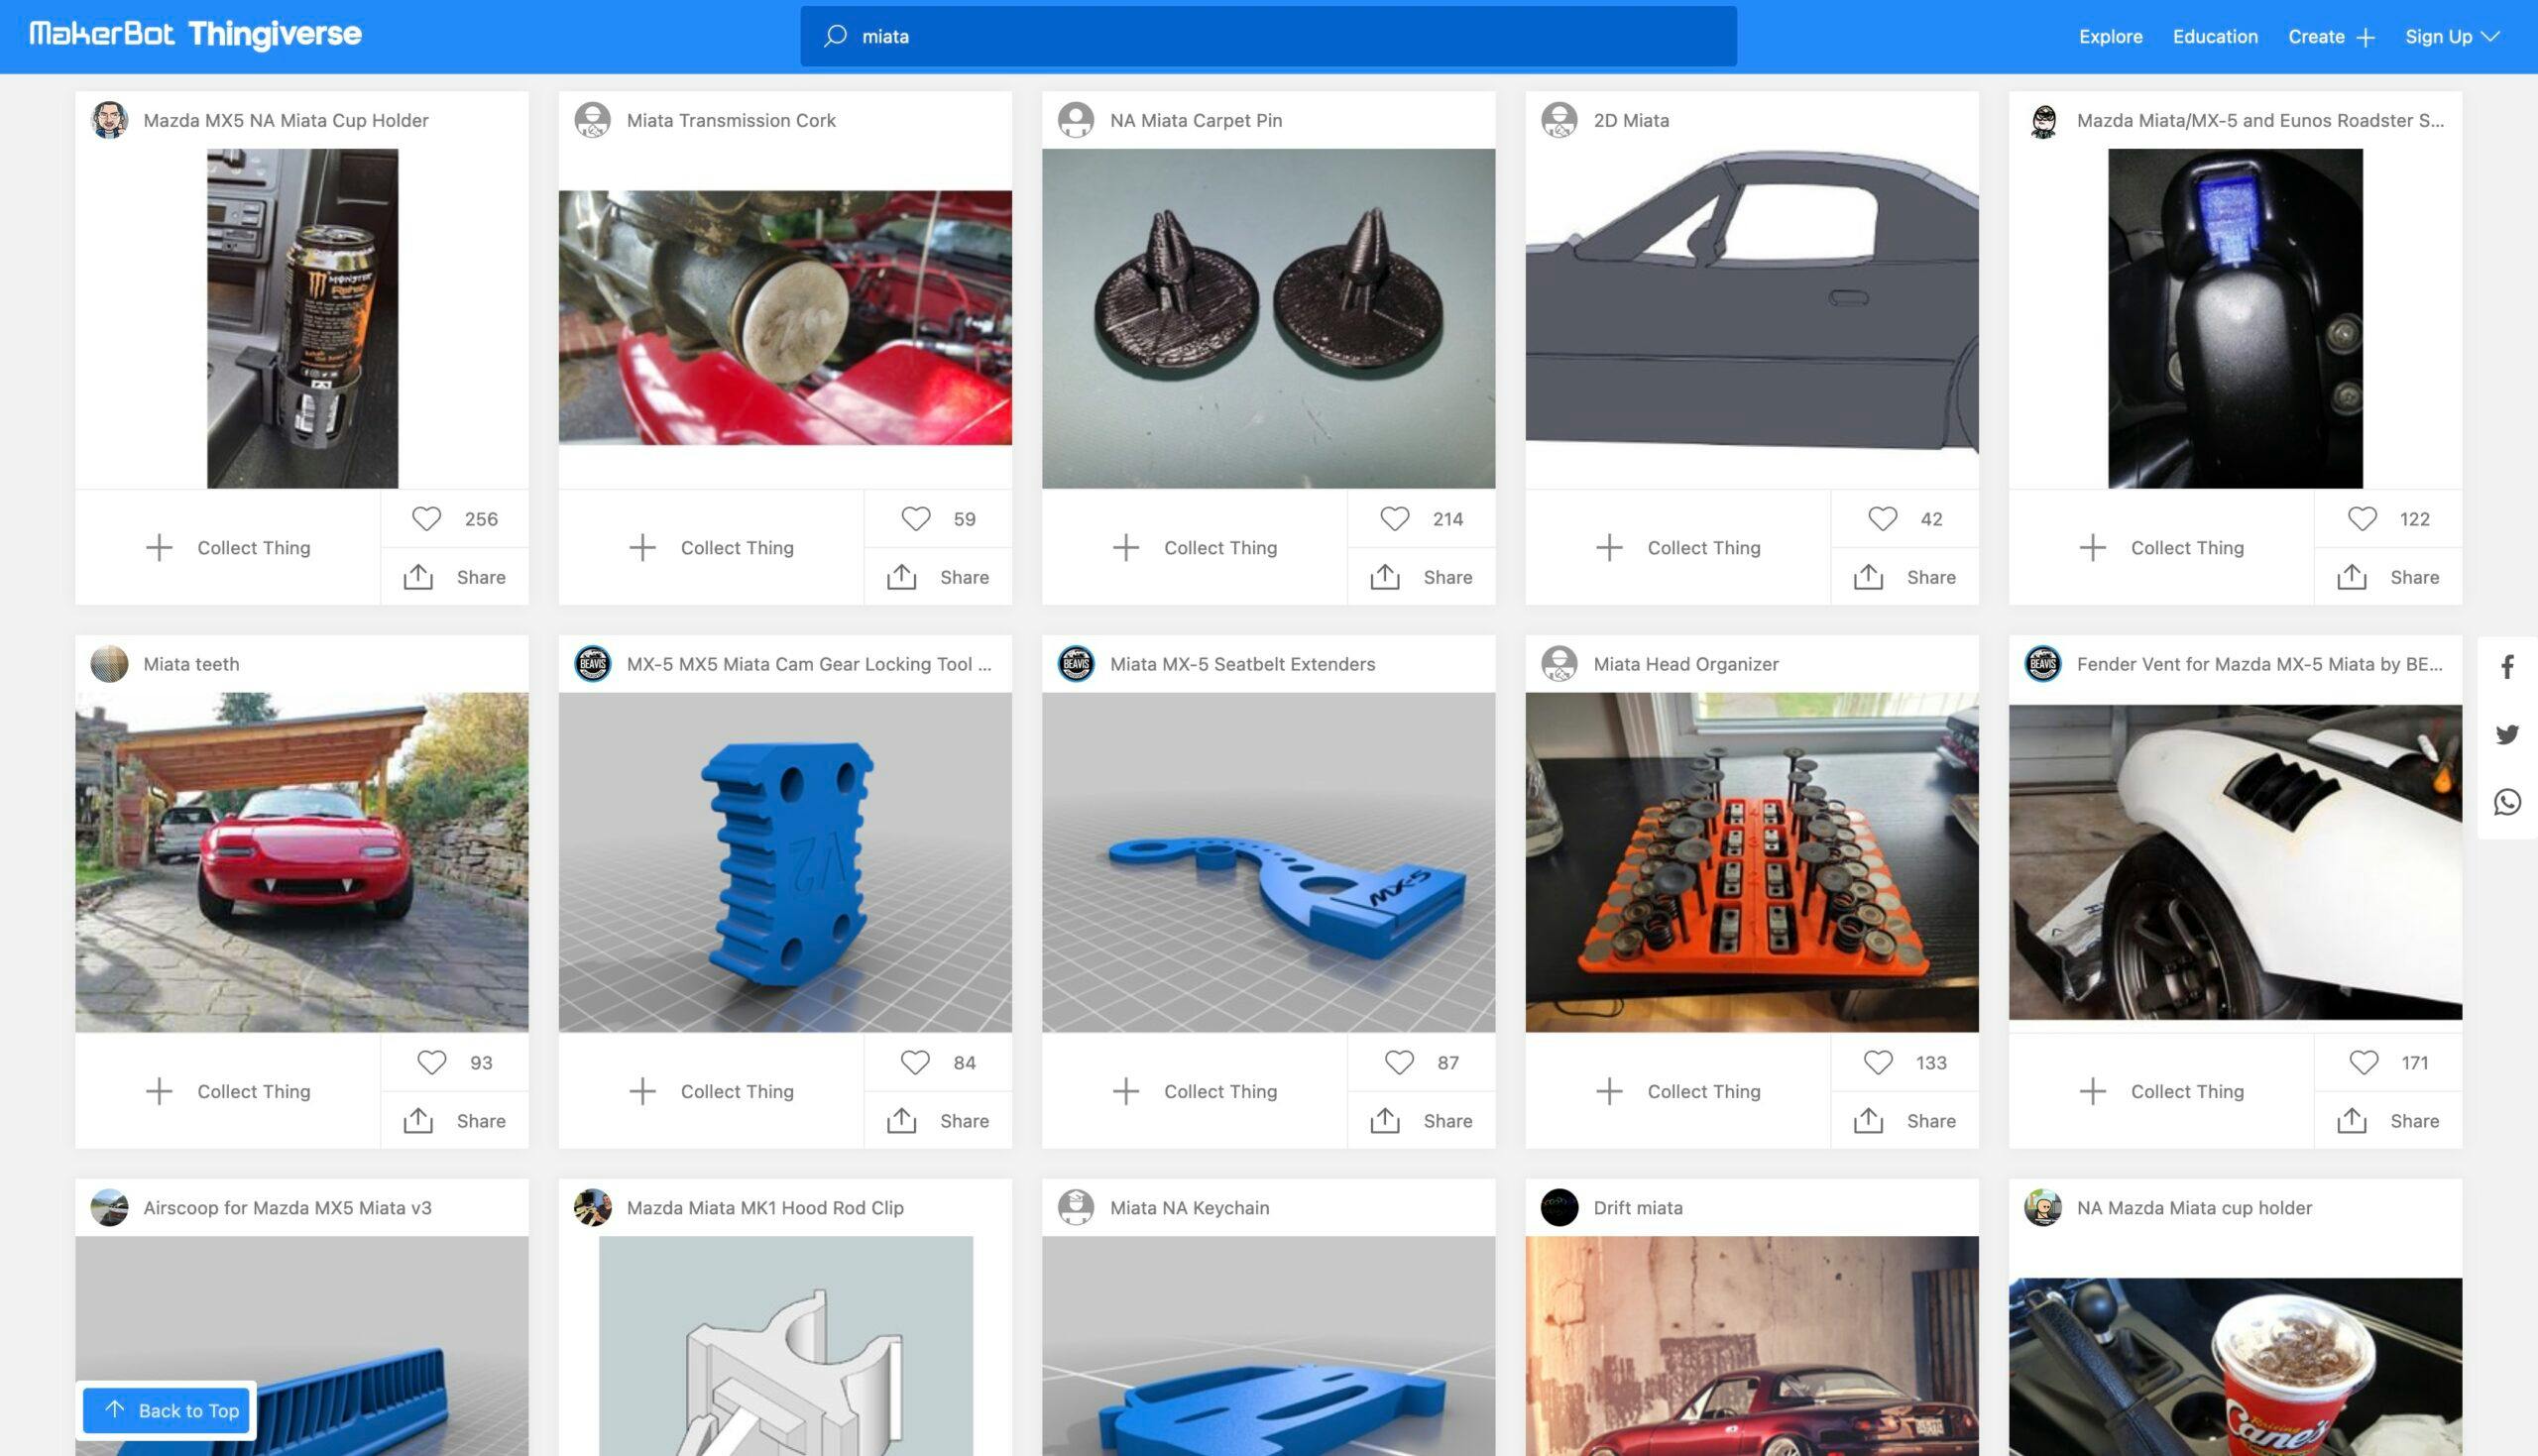
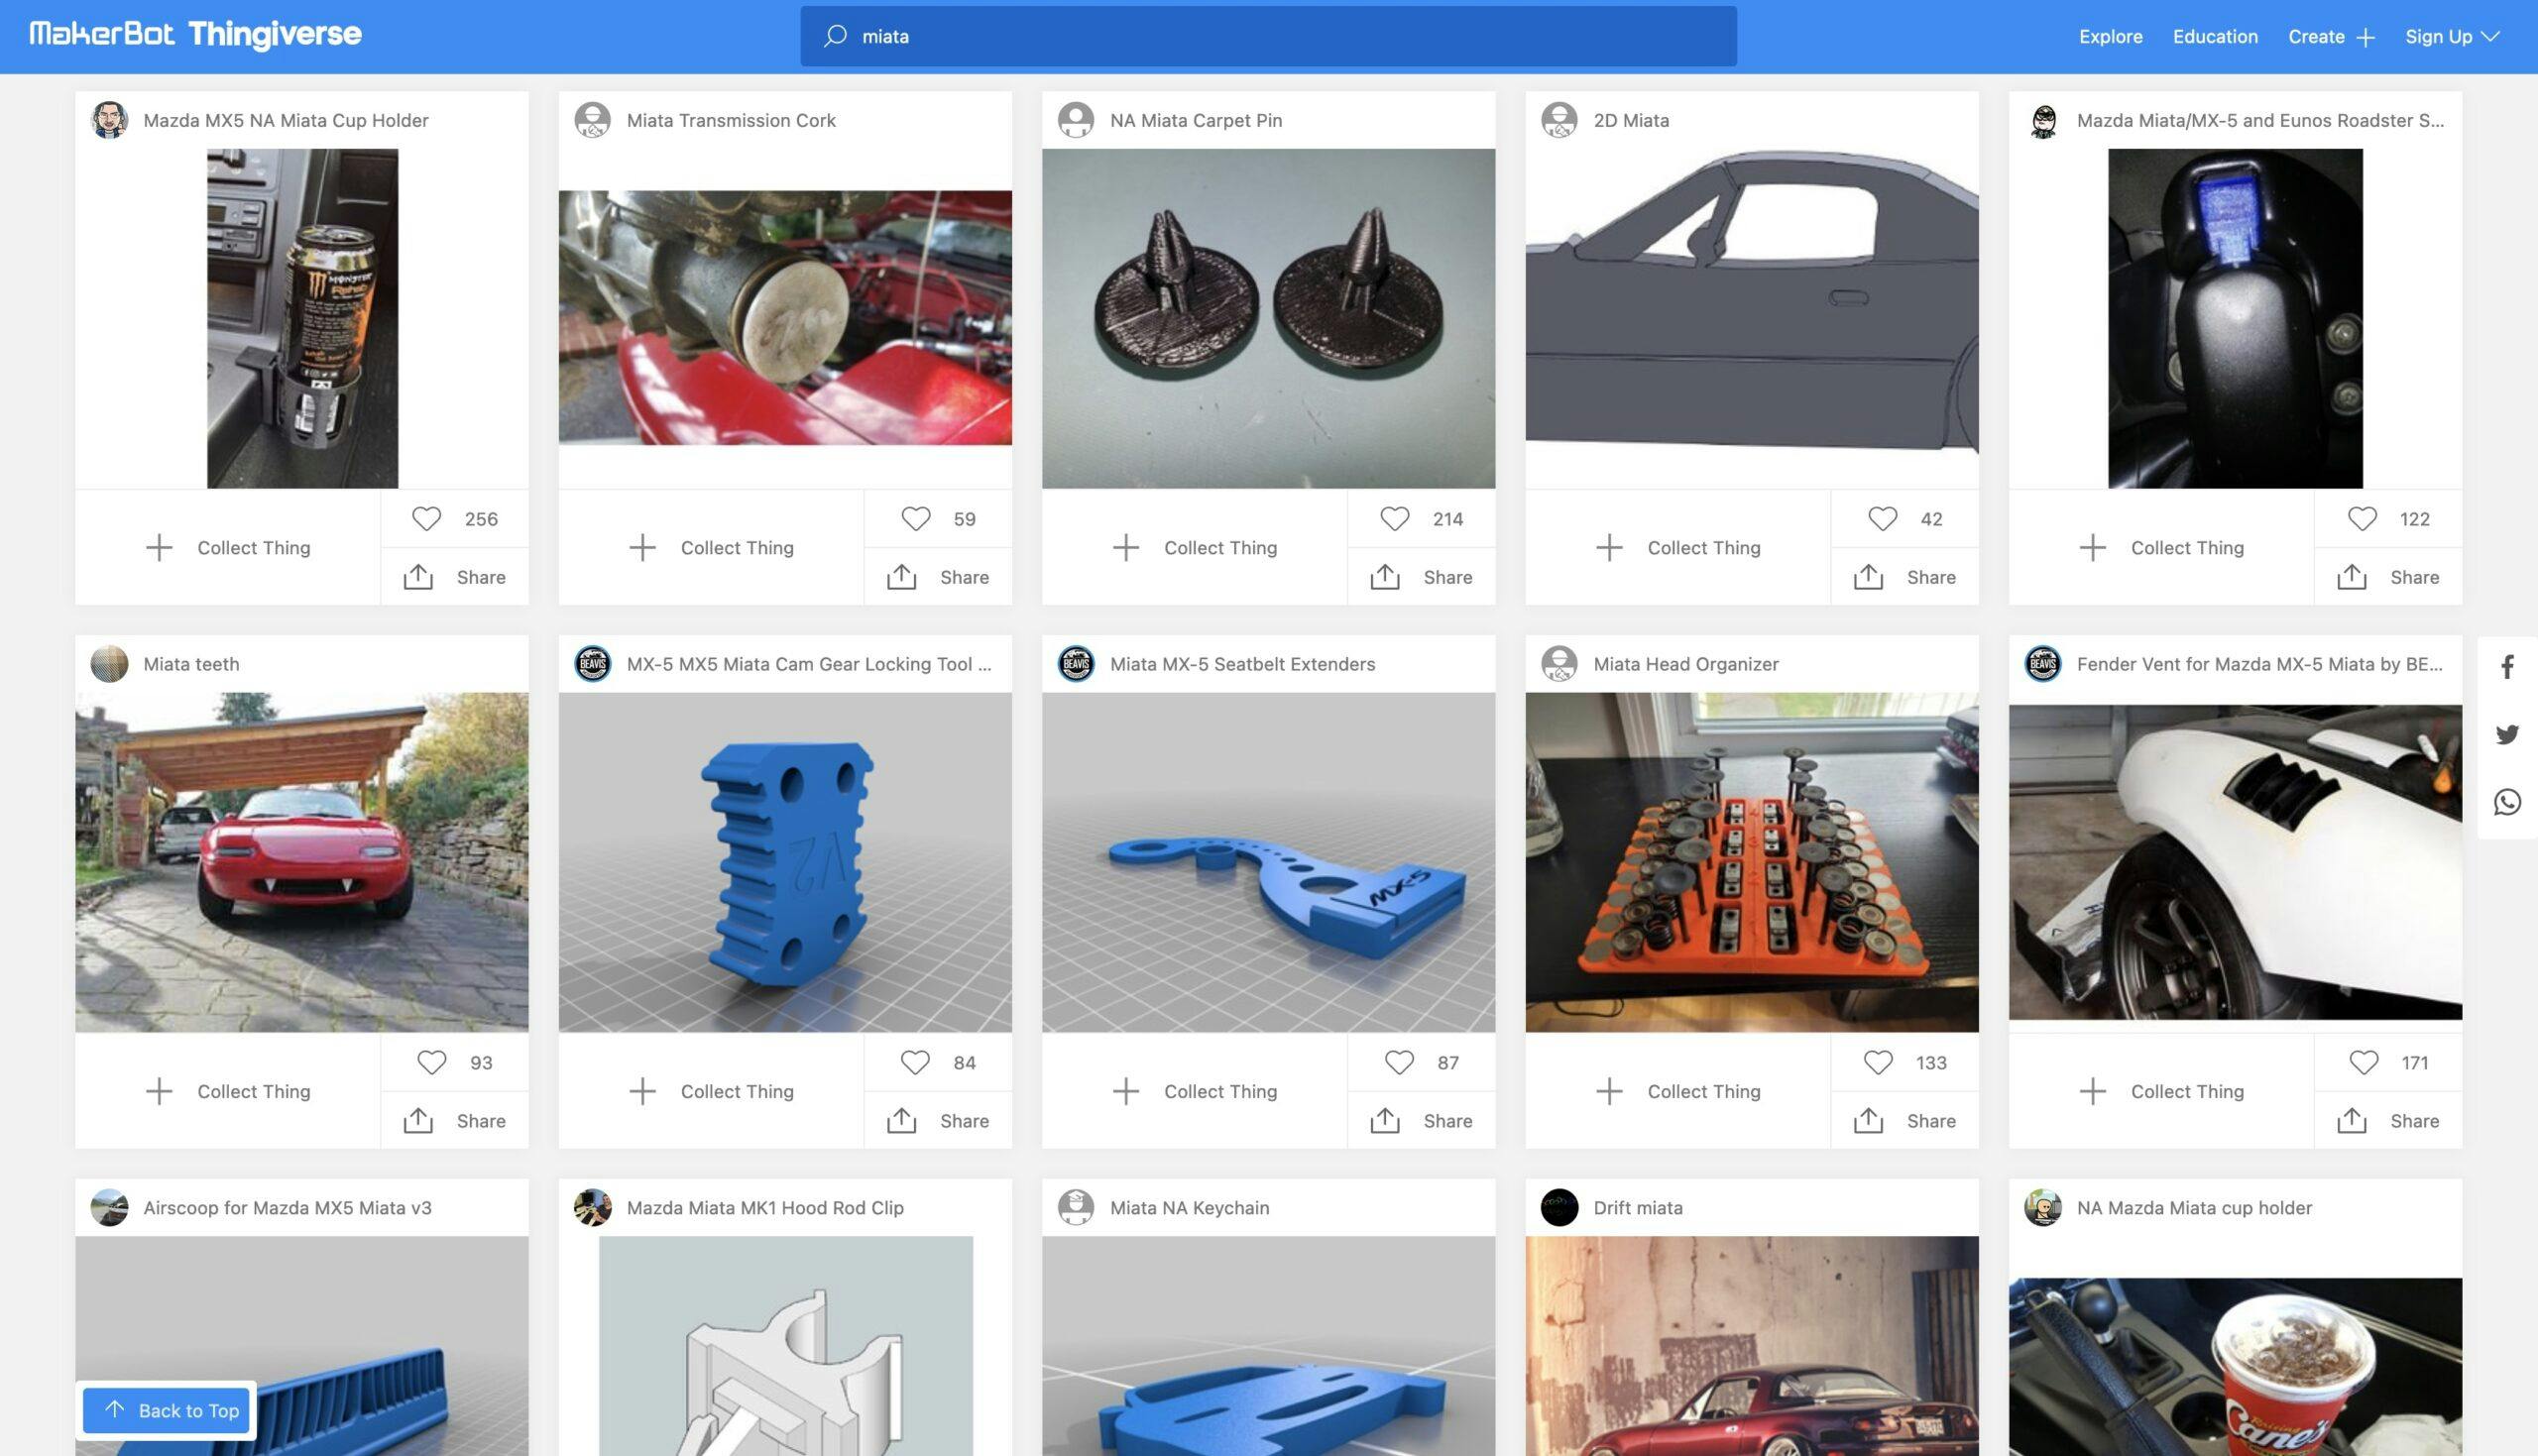
Now that you have the hardware, you need stuff to print. Thingiverse, that online repository of free-to-download parts, should be your first stop. Other options include GrabCAD or Thangs. If you have a popular car like a Miata or a BMW 3 series, there are plenty of uh, thangs, to download. Think door panel repair kits, brake cooling ducts, pedal spacers, cupholders, shifter boot trim, and so on.

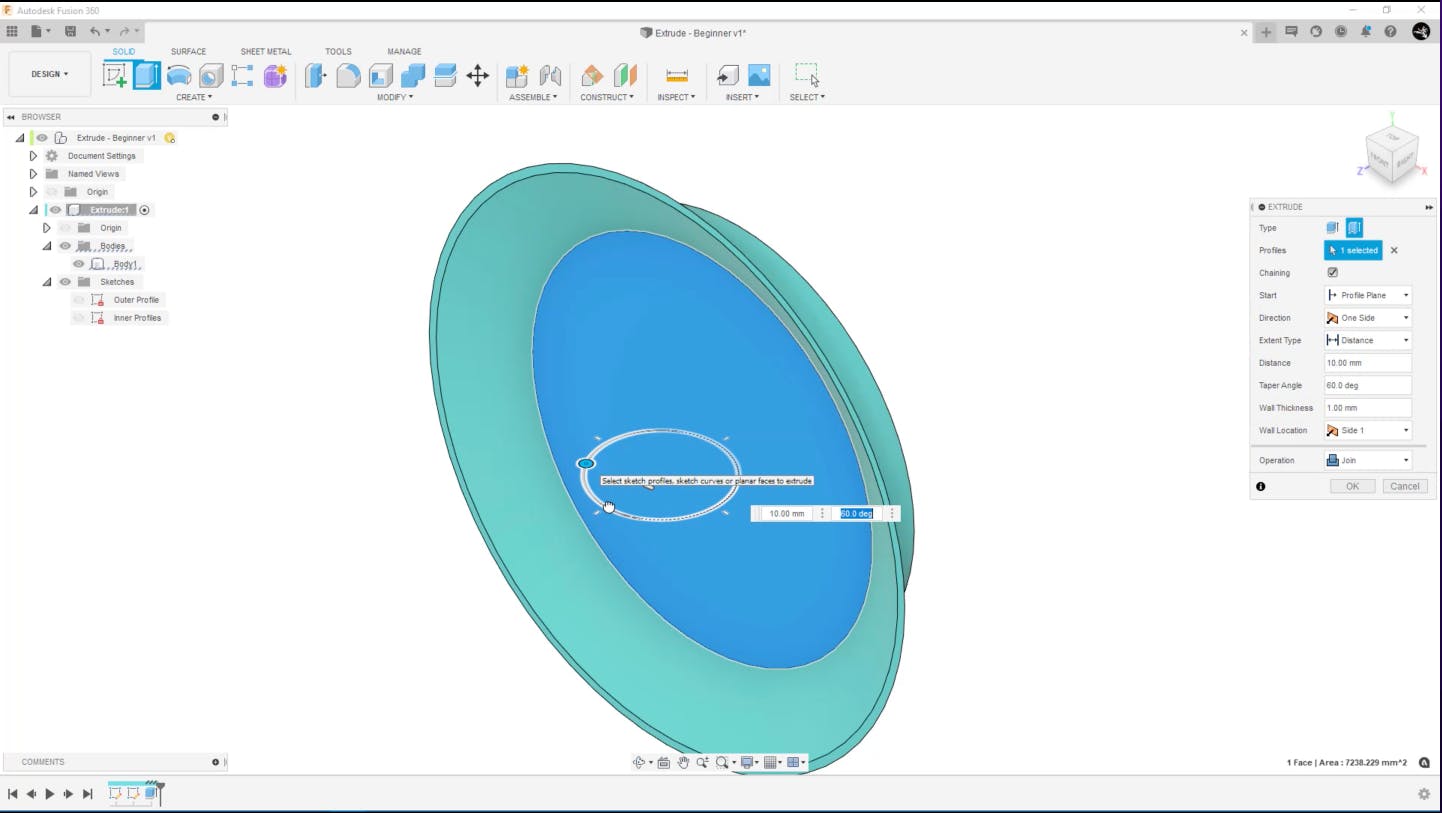
If you can’t find pre-made blueprints for your specific car or application, you’ll have to 3D model the part yourself. There are free programs and tutorials online if you are unfamiliar with 3D modeling. I recommend Fusion 360, which is free for personal (non-commercial) use. Learning to design your own parts will be beneficial in the long-term, as you will not be limited to what others have created.
Printing parts
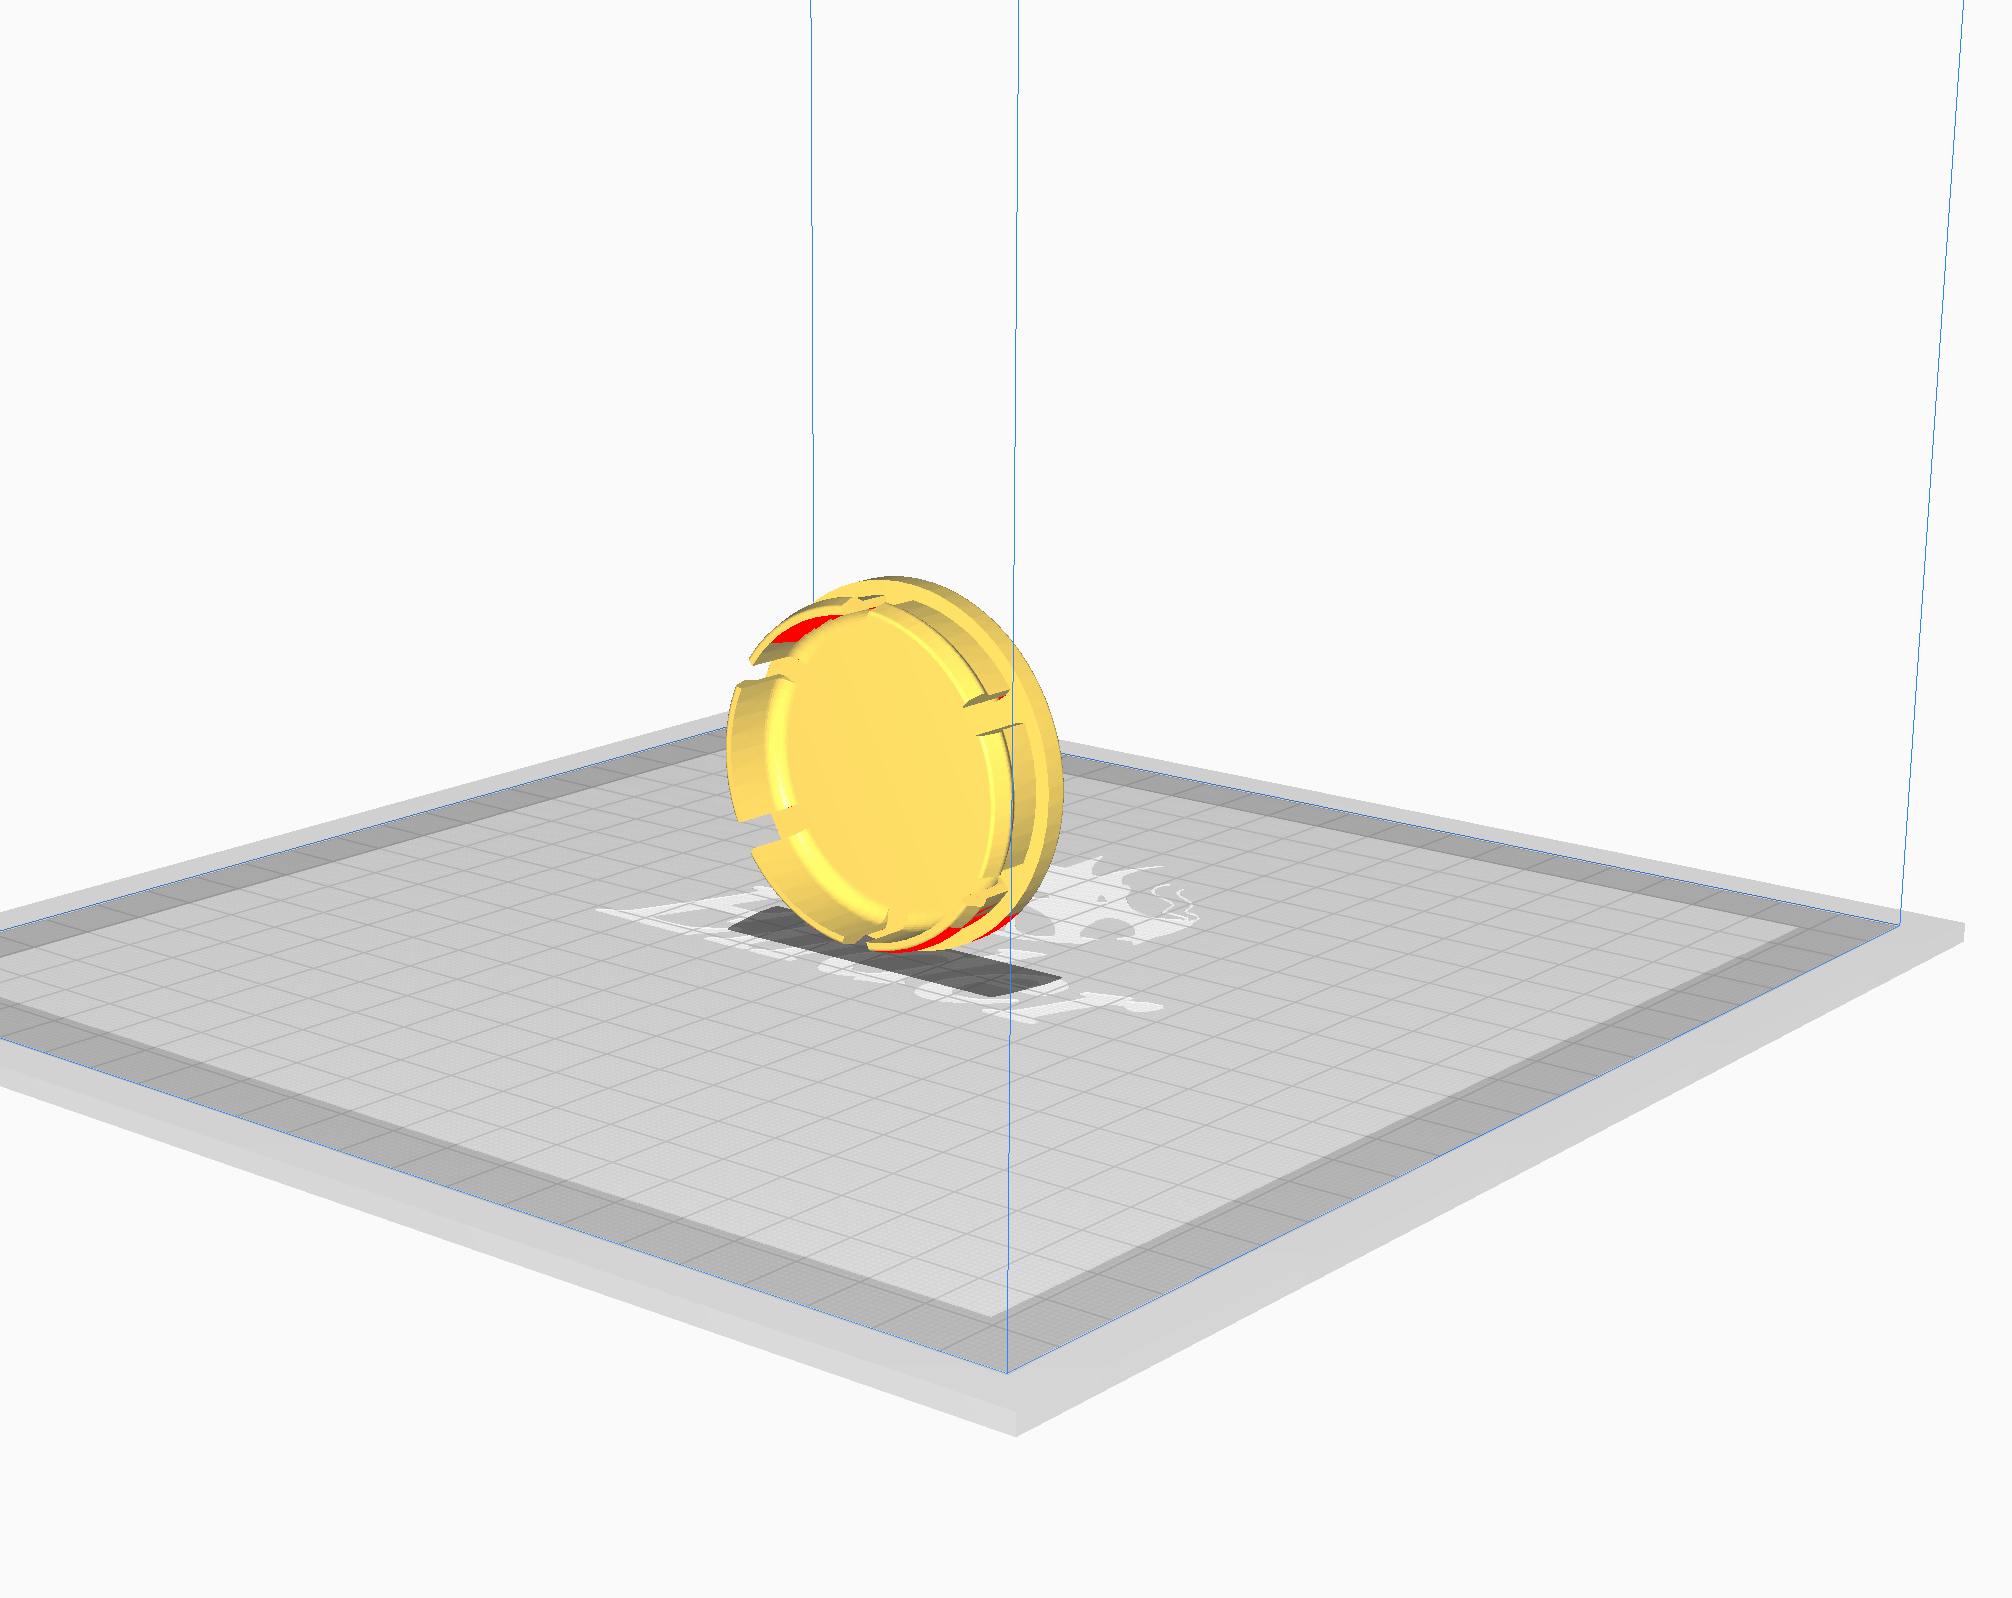
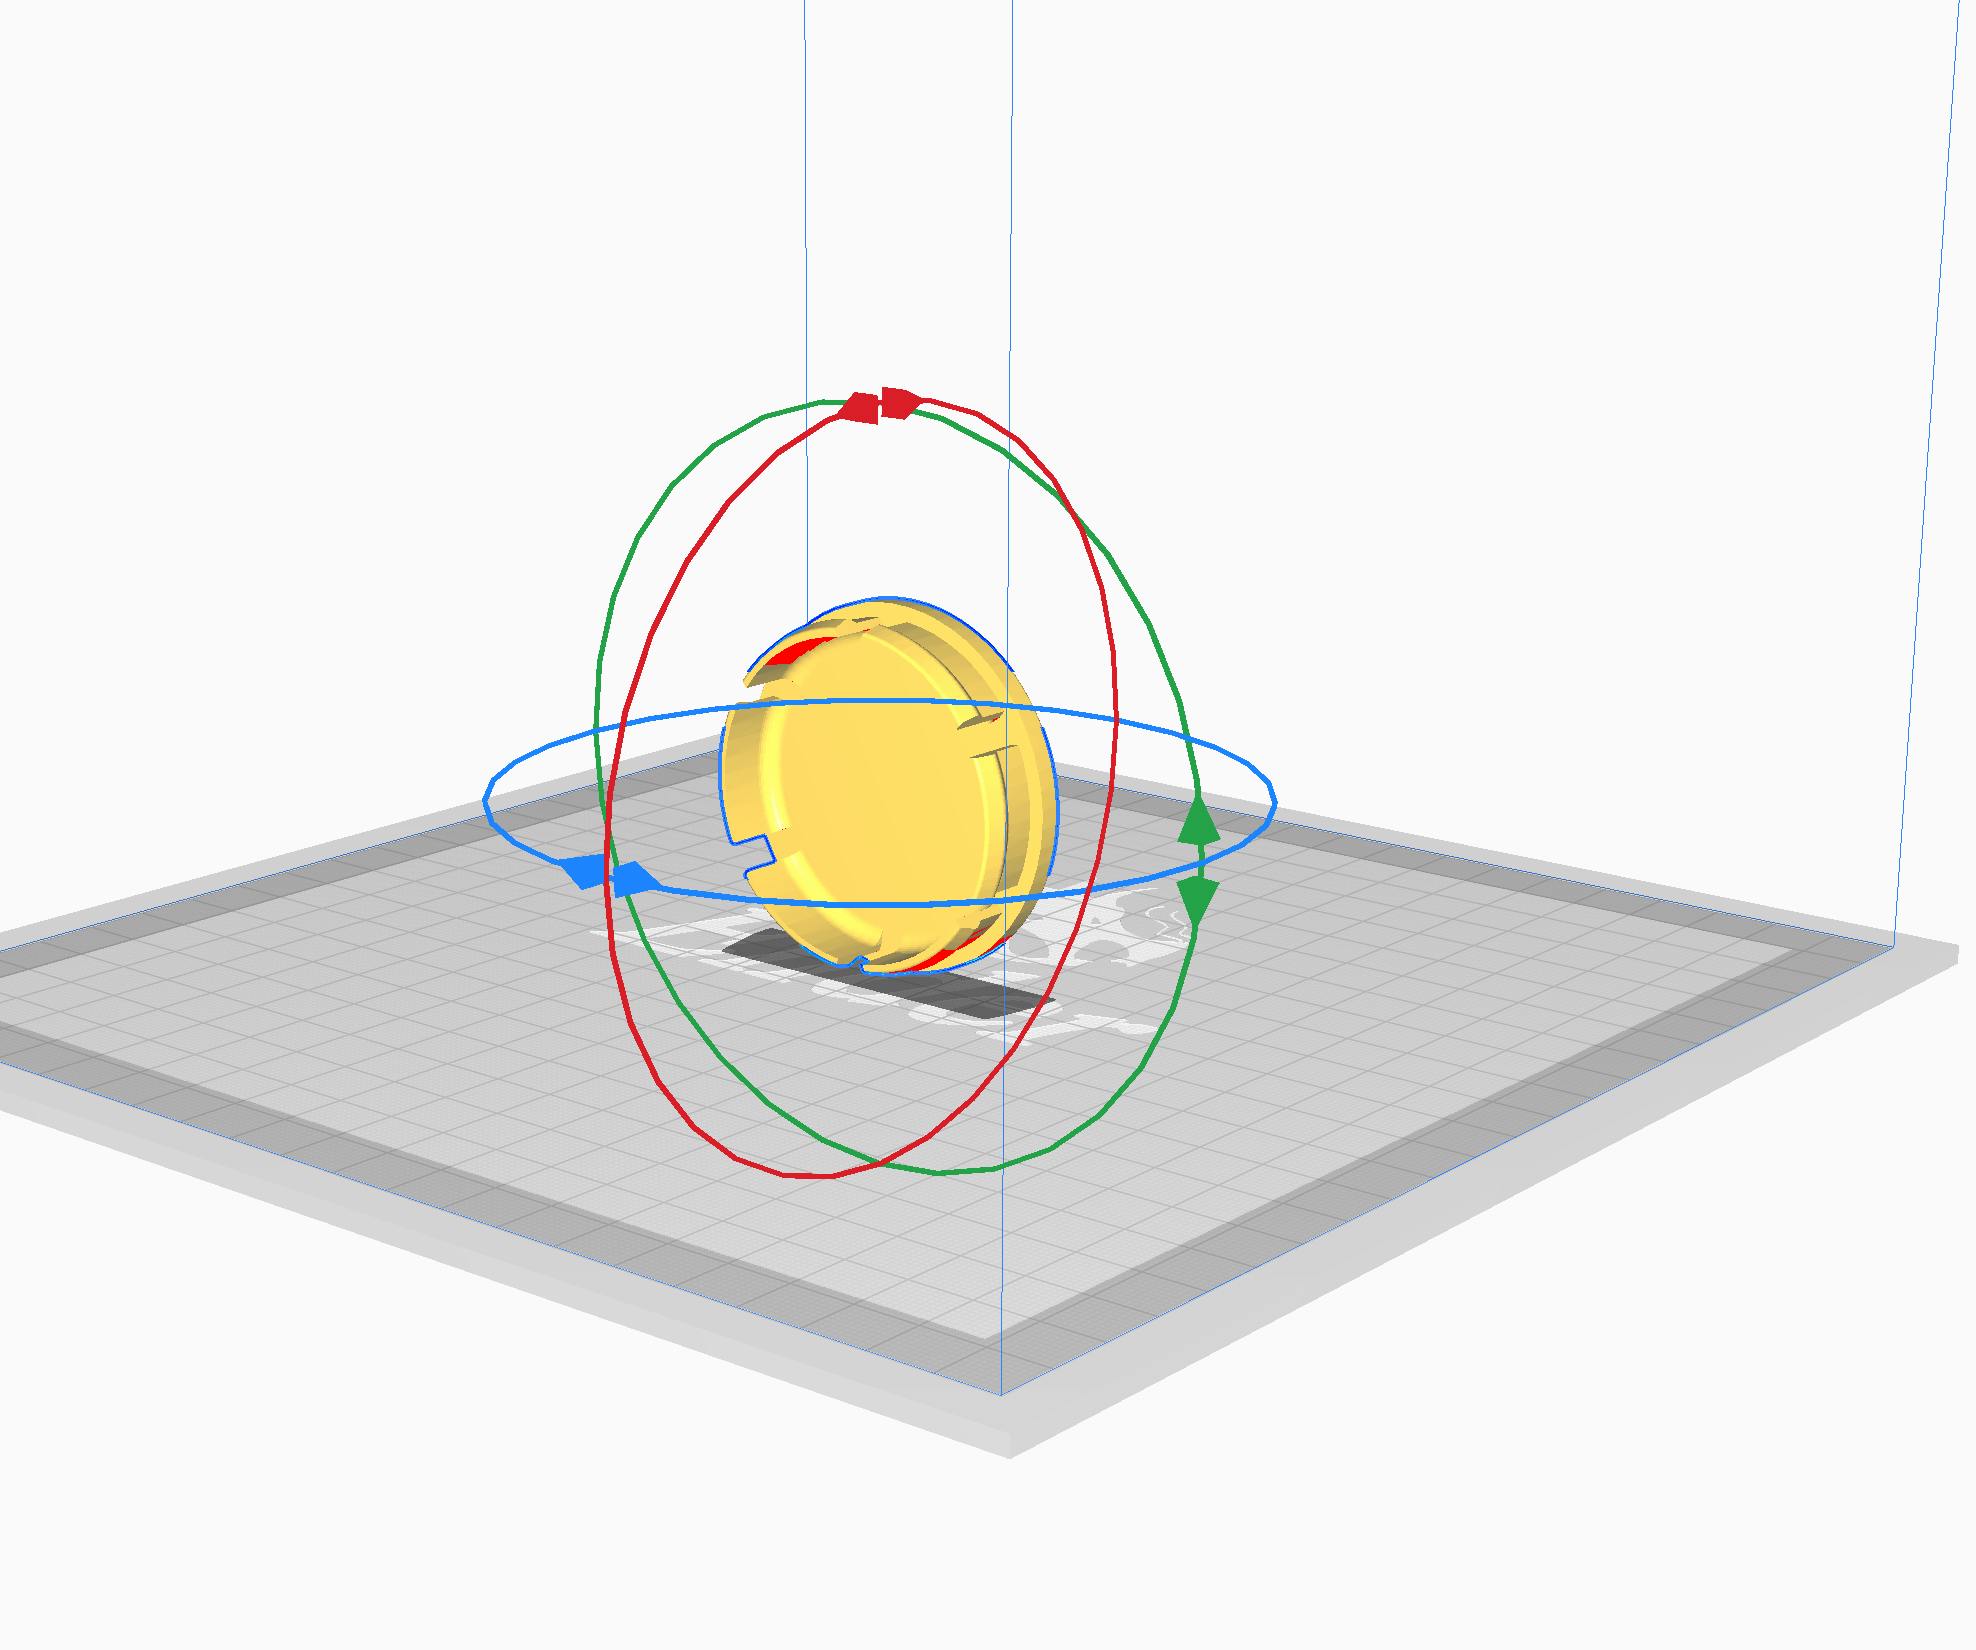
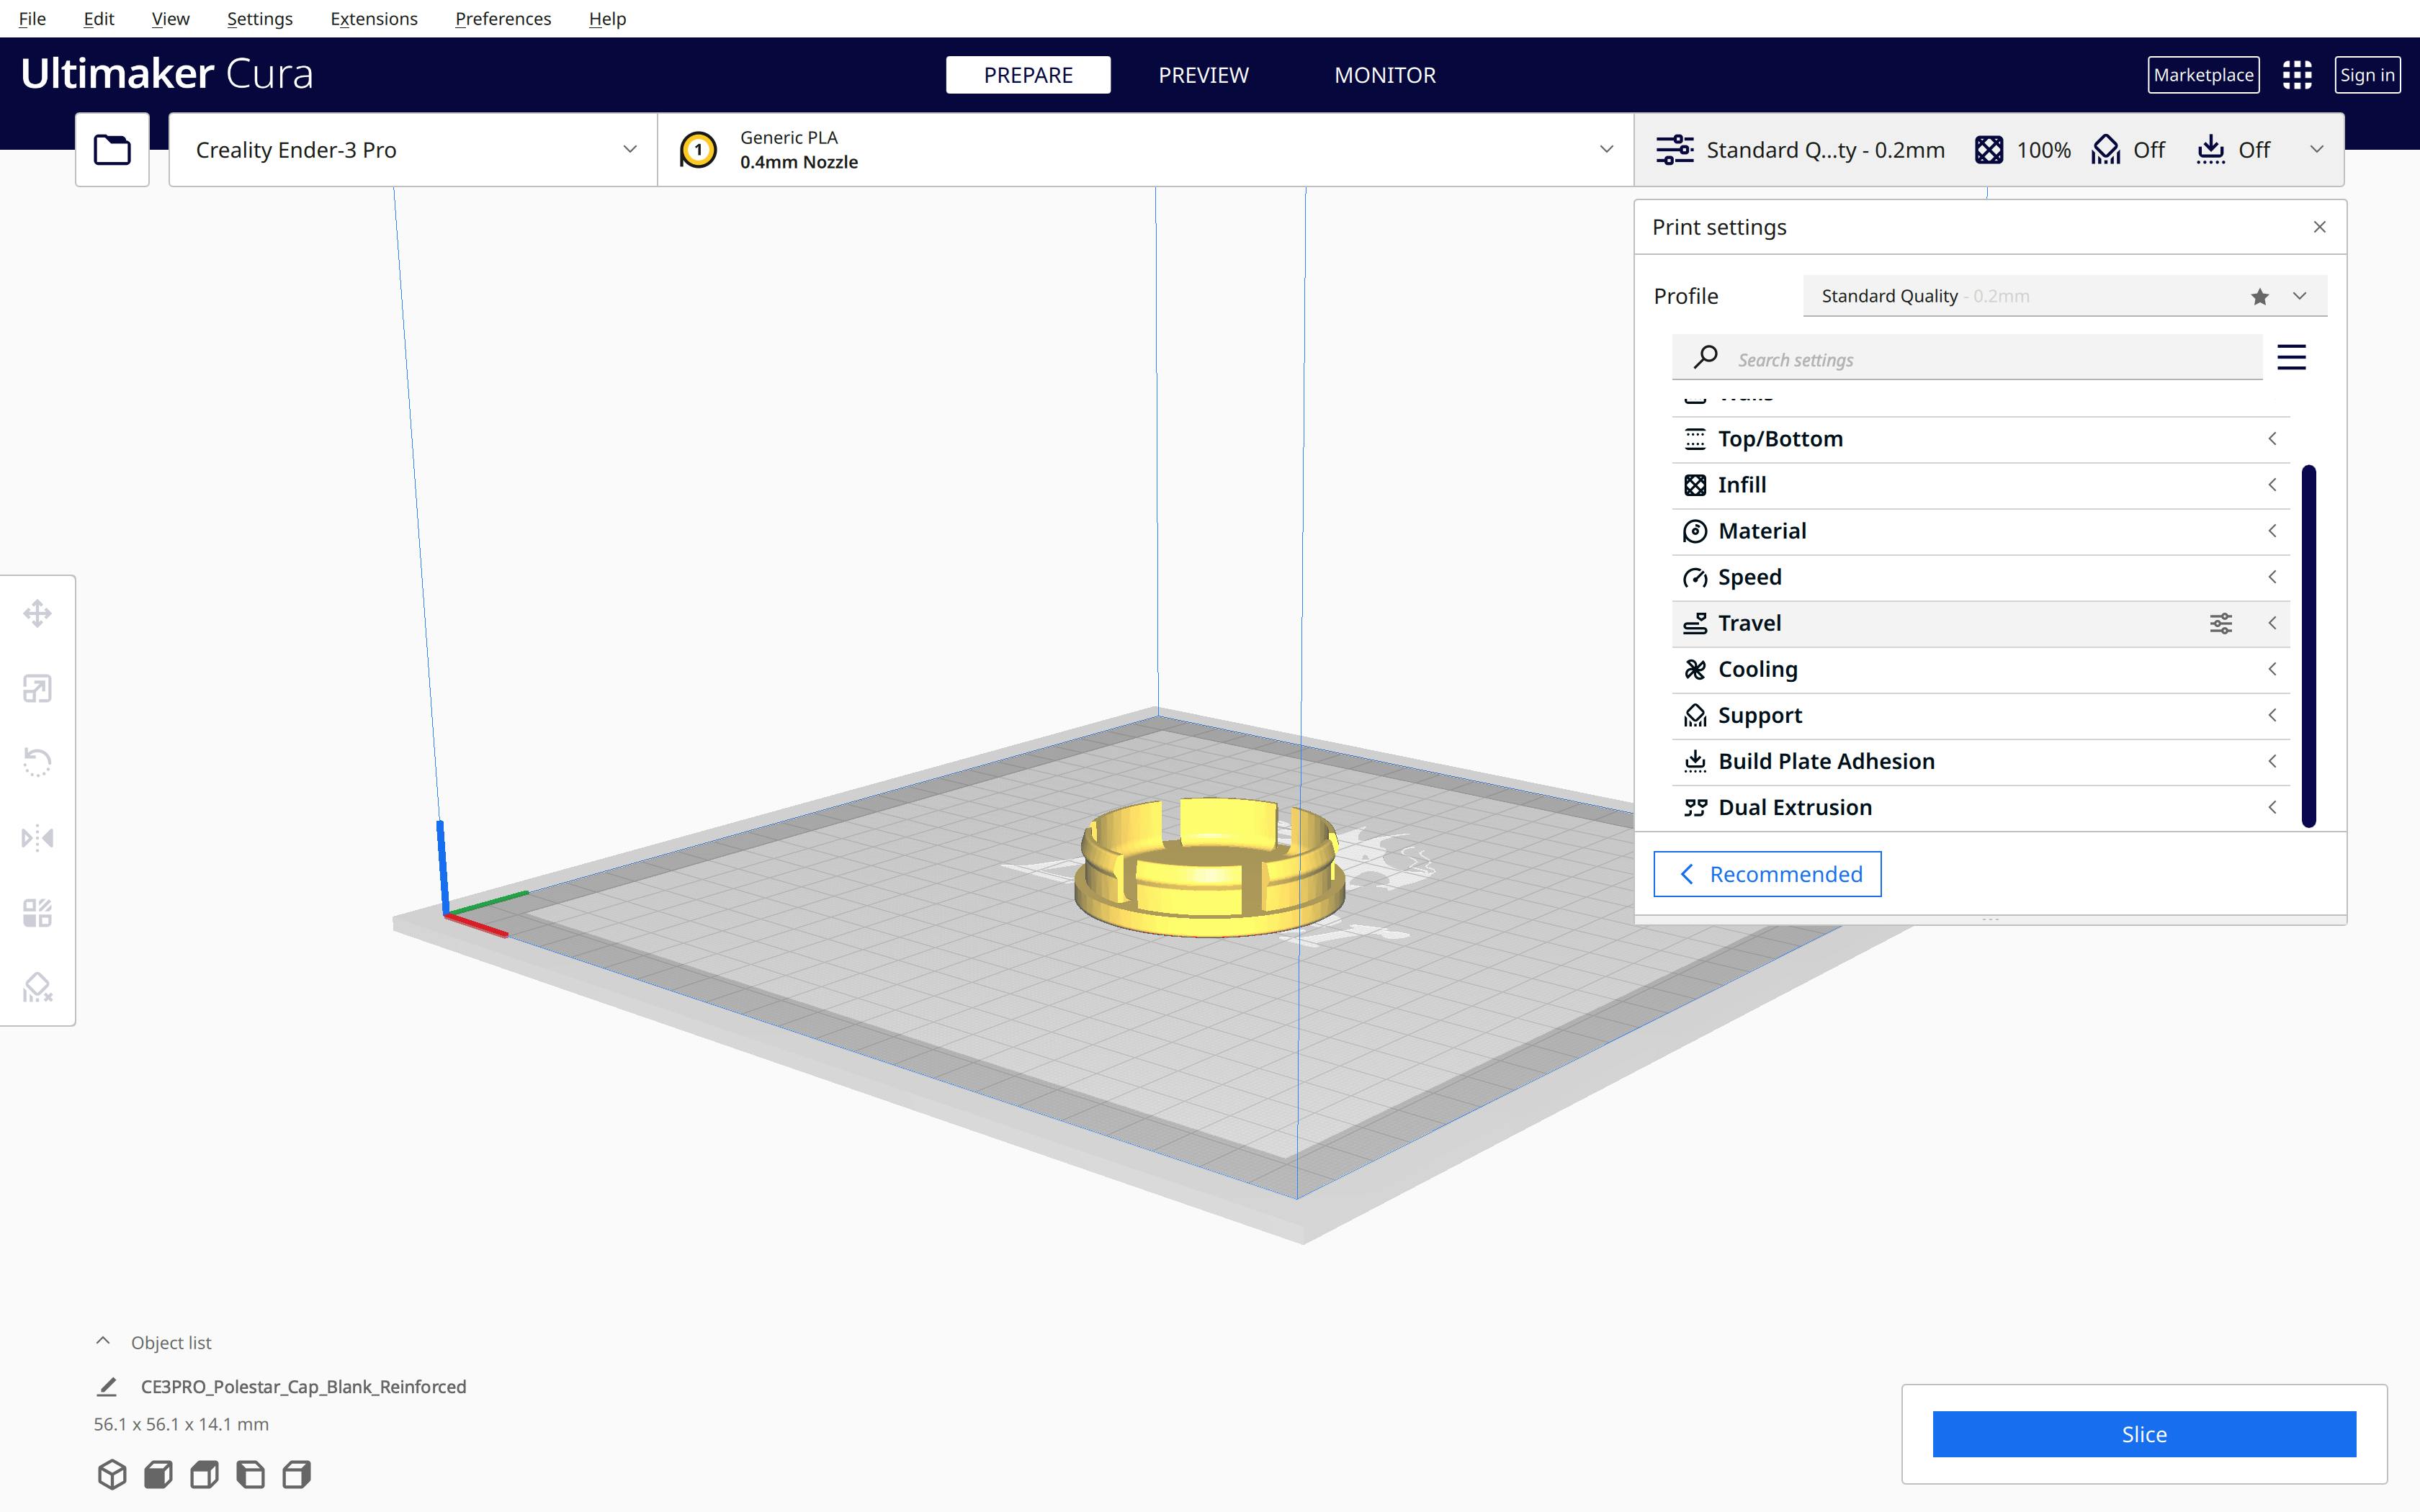
Before you fire up your printer, you need to translate your 3D model into a language the printer can understand, called GCODE. Your friend here is what’s called a slicer program. It’s software on your computer, to which you upload your design file. From there, you can specify your filament material and tweak other parameters to customize the quality and speed of your print. Once that’s finalized, the slicer then automatically converts the design file to printer-friendly GCODE language. Export the translated file to the printer using either an SD card or USB cable, and boom—time to watch your part come to life. If all goes well, you can bask in the glory of your first 3D print.
I’ve been away from 3D printing for the better part of a year, due to a broken printer. In putting together this article, I fixed my machine and fell back in love with the process. Seeing a part you designed in a computer materialize in real life is deeply satisfying. Especially when the alternatives are more expensive and potentially more of a hassle.
Good luck, ye modelers!








I recently started printing on an Ender 3 along with PLA, ABS, and PETG. ABS is definitely the best for car parts, but its hard to print. I actually got ABS to print on the Ender 3 with a little bit of warping, but still doable. If I get an enclosure to contain the heat, I think it might come out even better. I also had to do quite a bit of fine tuning on the Ender 3 slicer settings others can find here https://www.allaboutthebuild.com/blog/2025/1/ender-3-max-neo-review-best-settings