Media | Articles
8 easy car projects for DIY beginners
If you want to work on your own car, and have asked around for the best projects to start with, you’ve probably been given bad advice.
The most popular suggestions are often changing your oil and replacing your brake pads and/or rotors—in other words, high-consequence projects. If you are mechanically inclined, have a knowledgable supervisor, or are not as new to DIY as you say you are, these aren’t the worst ideas. For a true newcomer, however, oil- and brake changes are two of the riskiest places to start.
The first bolt you tighten shouldn’t be one as delicate as the oil drain plug; it’s too easy to over-torque, causing the threads to strip and the oil to leak. We want you to enjoy a long life of working on cars, not turn your engine to scrap metal after it drains all its oil. We certainly don’t want you to get in a collision because your brakes failed: Brakes are a safety requirement, and should never be disassembled and reassembled by a newbie alone.
The good news? There is lower-hanging fruit on the DIY tree. These eight projects might not be sexy, but each is a great way to learn how your car works. Better yet, your car will be safe to drive the entire time.
A good chassis lubin’
The chassis of a vintage car is peppered with grease zerks that allow a mechanic to push fresh lubricant into critical junctions and pivots—think suspension bushings and steering joints. (If you have a modern car, skip this one: Due to cost cutting and planned obsolescence, zerks are no more.)
Marketplace
Buy and sell classics with confidence
Often, lubing a chassis can be accomplished without lifting the car. Squeezing in new lubricant from a grease gun is as simple as attaching the coupler and pumping grease into the fitting until you feel light resistance on the handle or see a small bit of grease push past the seals of the component you are working on. Take this opportunity to try and wiggle the part you are greasing. There will be a little movement, but nothing should feel sloppy or loose. If it does, congrats—you may have found your next project.
Flush away your (coolant) problems
Read any shop manual and you will find that a vehicle’s coolant should be changed on a relatively short interval. Since that coolant exists in a closed loop (we can’t see or touch it) and the temperature gauge behaves like it should, your car’s coolant is probably fine, right? Sort of.
Aging coolant—or improper coolant, since you never know what the previous owner put in—can cause lots of damage to an engine and to the heater core. Flushing coolant is simple and rarely requires special tools. (When it does, the tools are affordable.) Any problems will be signaled by the temp gauge on your car’s dash. After a coolant flush, overheating is common, usually due to an air bubble left in the system—another issue that is easily dealt with on vintage cars. Newer models, less so.
Take a brake … to inspect
To be clear: We are not telling you to work on your brakes; we’re telling you to inspect them.
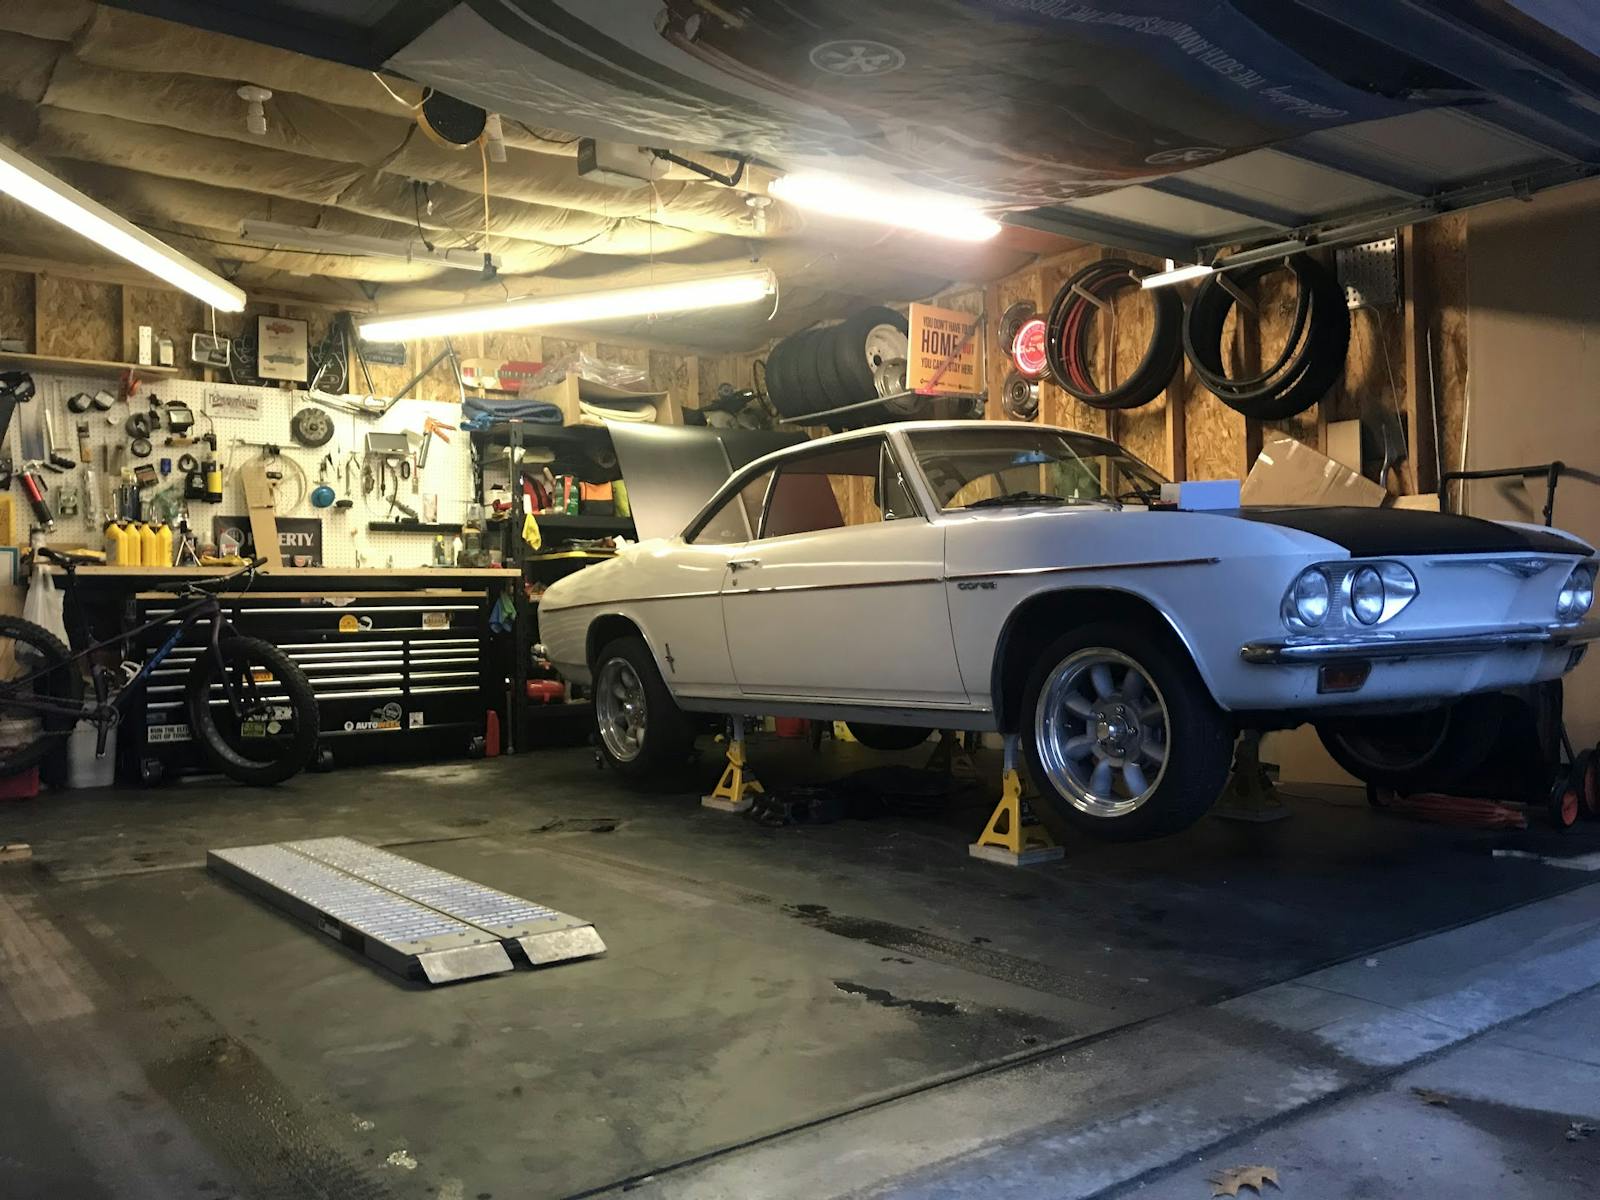
This project might be the first time you put a car up on jack stands, thus giving you a chance to learn the proper jack points and technique before removing the car’s wheels and visually looking over its brakes.
What are you looking for? Pad thickness and rotor condition on disc-brake systems, drum condition and shoe life on drum setups. Keep an eye out for any fluid leaks: There should be no grease buildup or oil film on anything brake-related. If there is, talk to a pro. In the meantime, put the wheels and tires back on, and practice getting the car back on the ground before fully torquing the lug nuts.
Polish it off
Ever since detailing became all the rage a few years ago so, there is no shortage of how-to advice and guidance for cleaning your car—no matter what model year it is. Polishing your car’s paint requires you to get familiar with the vehicle and to understand the various processes, techniques, and tools of the detailing trade. Here are a few places to start, whether you’re washing off the first coat of dirt, trying clay for the first time, or simply trying to avoid the biggest mistakes.
Changing fluid, with no filter
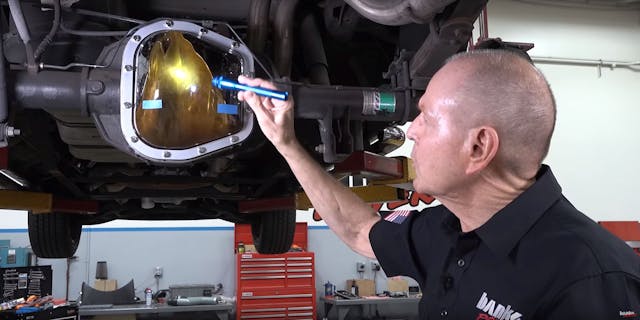
Yeah, we said no oil changes earlier, too, but differential fluid changes are far easier. First off, differentials don’t run their fluid through a filter, and their housings are often more stout than those of oil pans.
The key tip here is to remove the fill plug first, not the drain plug. (Both are likely threaded.) If you succeed in getting the drain plug out only to find the fill is stuck or stripped, you are up a creek.
Let this be a lesson for future jobs: Think about the totality of the project. Anticipate which problems might appear, and plan for how things might change to the best of your ability.
Weather to strip, or not to strip …
Who doesn’t love watertight cars—or quiet ones? Weather-stripping helps to muffle noise coming into the cabin, whether from the road or the engine or from the air, making for a more enjoyable driving experience.
However, the foam rubber typically used for weather stripping will age like tires do: When a car is parked outside—as most project cars are at some point, even if not by you—UV light and fluctuating temperatures can its weather-stripping into a crumbling mess in short order. Cleaning and properly installing weather stripping is affordable, rewarding, and a real improvement for your car. Perfect starter project.
Get on the right track
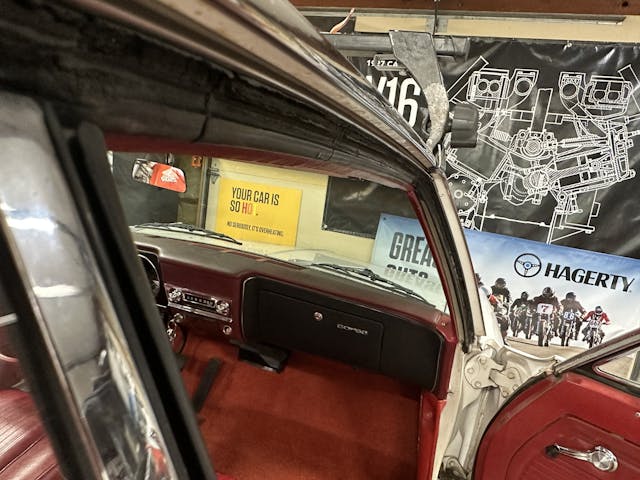
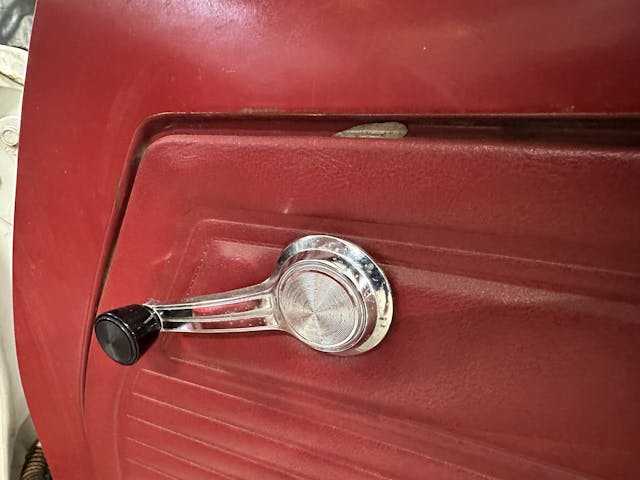
Little things, like easy-to-use windows, go a long way to making an old car feel nicer than it is. A common pain point in vintage cars are windows—specifically, sticky regulators or jammed-up tracks. Either makes the task of cranking windows up or down difficult. Removing the door panel to get access to the mechanism for the windows is a fairly low-stakes operation. Once everything is properly greased and aligned, the result is something that a passenger will notice.
Wheel touch-ups
Paint work is complicated and time-consuming, and a good result requires tons of preparation. That is why few people’s first project cars ever see a fresh paint job. Instead, focus on the wheels—removing curb rash or spiffing up your rims’ finish can be a lot easier and cheaper.
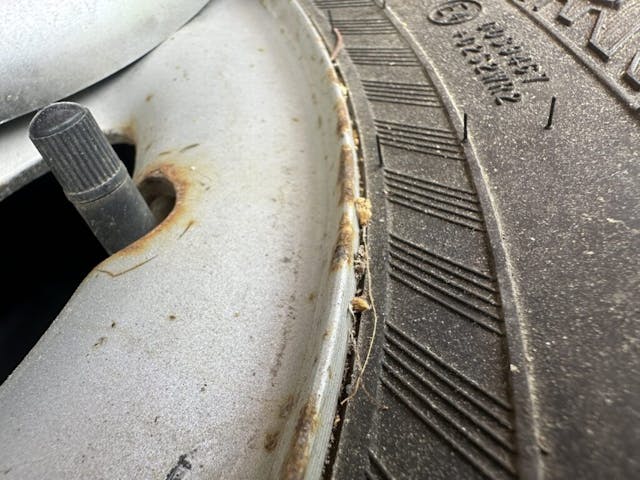
If painting your wheels, use the “deck of cards” trick to save the annoyance of removing the tire: Wedge a line of cards between the rim of the wheel and the bead of the tire to keep the paint where it should be. Voilà—easy cleanup and good results, with no tape required. It almost never sticks to rubber, either.
***
Check out the Hagerty Media homepage so you don’t miss a single story, or better yet, bookmark it. To get our best stories delivered right to your inbox, subscribe to our newsletters.






Changing disc brake pads is pretty easy too. I would add changing the air and gas filters in older, non pressurized cars. I’ve been changing my oil for 50 years and have never used a torque wrench. I don’t think a first timer would over torque and strip the threads but I may be wrong.
A good network (car club, friends) is important. Google and YouTube are also fantastic resources. Seeing the job done can let you know if it is within your limits. I particularly like the ones that show what they also did wrong, not just the pretty stuff. With any of these, get several viewpoints. Don’t take any single post as gospel.
Same here, just tighten snugly and don’t over do it!
Newer vehicles have cabin air filters which should be checked and replaced when dirty. Our first new-to-us car had an incredible amount of filth in it WHEN I realized it was there. I was happy to replace it and get rid of a few years worth of dead insects and road dust.
Good point about the cabin air filters. I changed the filter in my wife’s 2003 VW Beetle for the first time this year. Didn’t even know it had one. The maintenance manual and my Chiltons repair book didn’t mention it. I’m guessing it was a running change from VW to add one. Pain in the neck to remove about 15 screws from the dashboard. Never again.
Excellent tips, enjoyed the read, even thaough I am very experianced working on my own vehicles, right up to engine and suspension rebuilds. Thank you, please keep these tips coming, I have 3 grown men that could use this advice.
You have to be kidding me about oil changes.. It has to be the simplest item on a car “repairs”.. Undo the plug; drain into a wash basin; spin off the filter; spin on the filter; add the correct amount of oil an hand tighten the drain plug…; operate engine and check for oil leaks. Spark plugs are next on the list; undo and replace with properly gapped ones….
Then the air filter; Then clean and wash your vehicle…Use ceramic shine on paint job…saves work later..
Easy…Peasy…
Check your handbook or Chilton or Haynes auto books…. “You can teach a monkey to fly”.. RAF Handbook…
M
Yeah, checking your window crank mechanisms and door handles is a good idea as well as lubing them but a novice would not have a clue how to get the clip off the spline to remove the handles. They should google some methods first before scratching the door liner or chrome.
I change all my own fluids. I save the old oil, anti freeze and stuff and put it in the containers the new fluid came in. I mark what’s in the jug with a magic marker and put it out with the recycle cans and papers. They pick most of it up. If not, I take it to the recycle station where they take care of it. They take paint, stain, flashlight batteries etc and recycle them or dispose them properly. Never dump anything down a storm drain because it goes directly untreated to a waterway. Also never down a sanitary drain. It is treated but not able to remove chemicals etc, only bio degradable matter. Oil kills the natural bacteria which works on the sewage.
I know a couple of car places that heat their shops with waste oil.
They love getting my end of year amounts. With that they also dispose of some of my old tires for free.
Be good to a local old school car shop. You help them and they help you. I have gotten lift time at several places for simple kindnesses.
DYI article. Novice coolant change. You failed to mention how DEADLY a minor amount of coolant is to pets And Humans! Especially if a child mistakes the green or orange for Gatorade and injests it. Improper disposal is equally dangerous!
I am new to all of this and I am a woman. I just purchased a 1978 MG Midget. I am just getting my feet wet and this forum is really great. This is my new hobby and I found lots of good advice here. Thank you to everyone.
Hi Lisa, you will learn quickly about something called “Lucas”
Other wise about switches marked “Off , dim and Flicker”
I don’t think I’ve ever seen a live axle (solid axle… whatever you want to call it) with a drain plug. Just a fill plug. Most you loosen the cover and pop the bottom, or take the cover off so you can replace the gasket. Not many US makes have a drain plug that I know of… and I haven’t seen everything, so I’m sure some do.
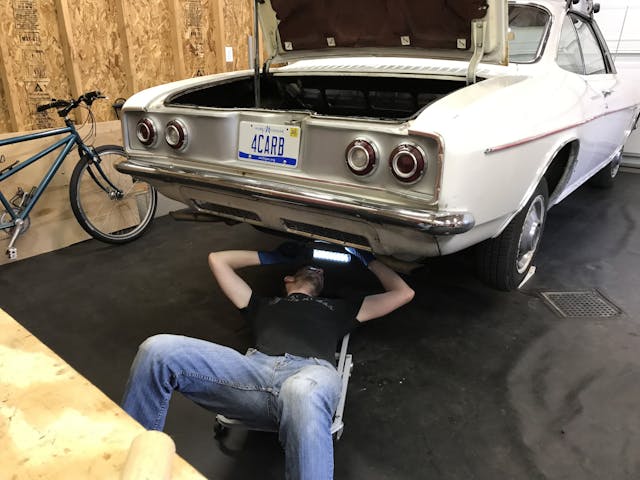
Hmmm… Kyle, your Corvair’s wheels seem to have a strange 4-lug pattern. Hope you’re not driving it like that!