Media | Articles
6 Final-Assembly Tips for Your Project
Anyone who works on cars likely has a favorite point in their projects. We might not even realize it, but there’s usually some task or process that we look forward to most. If we didn’t, well, we wouldn’t be doing this. For me, the tedious task of final assembly is one part I very much look forward to, and the engine of my 1988 Honda XR600R has finally reached that point. Here are six tips I’ve discovered that help me enjoy the time even more.
Understand your finishes
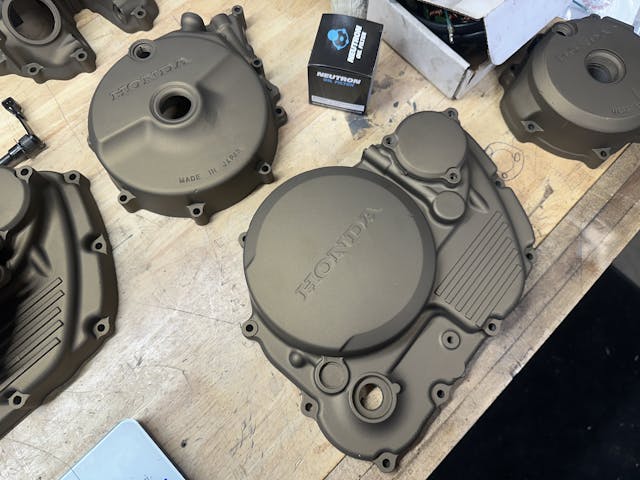
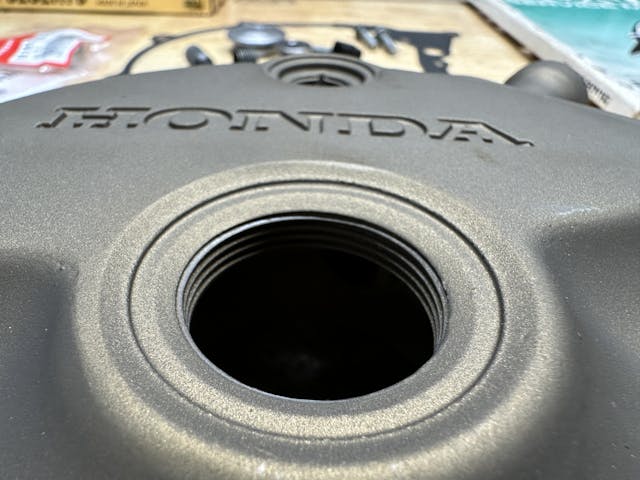
It’s likely that at least some of the parts and pieces to be assembled were painted, coated, polished, or otherwise finished in some way. Having to chase threads after a manifold or cover has already been installed is a pain at best and a cause for reversing course and disassembly at worst. Ensure all the parts are actually prepared for assembly before beginning.
Spread out
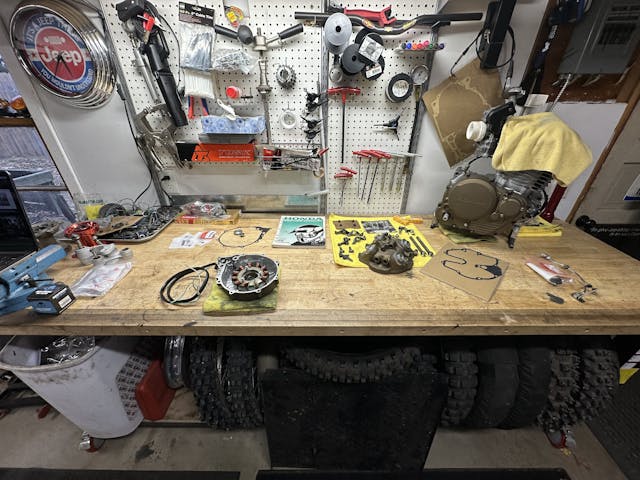
Final assembly is not the time to try to cram your work on just one corner of your workbench with a bunch of other stuff piled all around. It’s best to be able to look at all the parts before you, with nothing hidden in a pile to be found five steps too late. Create a nice open space where you can focus on the task at hand rather than trying to ensure you don’t topple the pile that belongs to your next project.
Keep your reference close
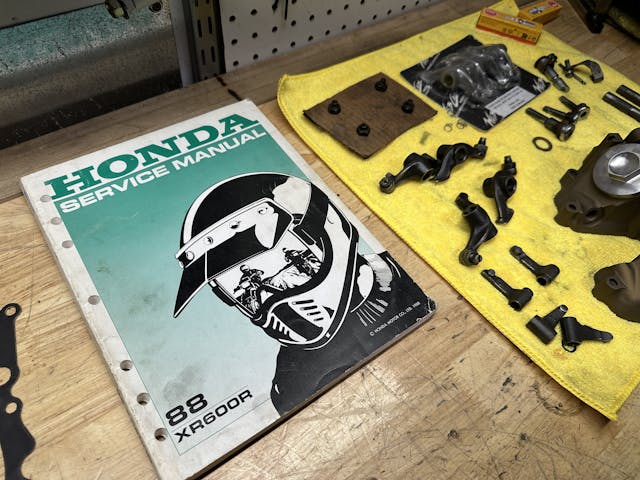
In that newly found space, make sure your shop manual or computer takes up residence within arms reach. Even with projects I’ve done a dozen times, it is nice to have a reference to eliminate second-guessing. Being able to check and confirm makes the whole process more relaxing and often a little quicker.
Use sub-assemblies
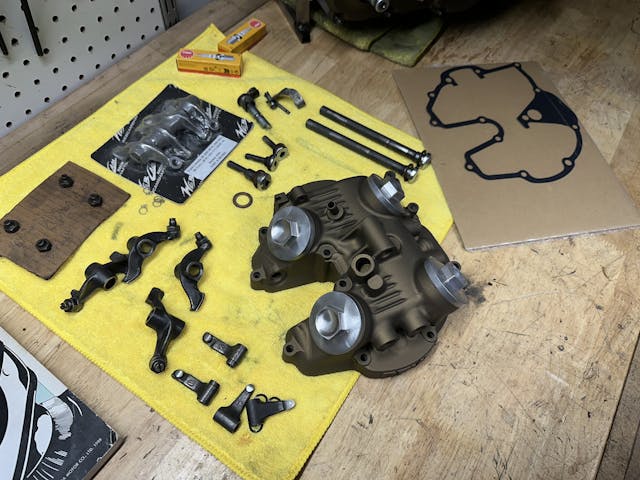
My XR600R engine has taken a year to evolve from the 14 boxes of parts that arrived in my shop to something that resembles the heart of a motorcycle. It came together in manageable sub-assemblies, each of which provided a nice sense of accomplishment as each was completed. The cam cover is a prime example: The rocker shafts, rockers, and more all needed to be carefully fit before the whole thing was carefully fitted to the cylinder head. I choose to tackle the assemblies one at a time. The clutch cover came together the other night—checking fit and double-checking all the appropriate seals ensures that when it mates up to the big thumper I’ll only have to do the job once.
Marketplace
Buy and sell classics with confidence
Practice being lean

Space is at a premium in every shop, especially with a project blown wide open. That means storing a bunch of new bits and pieces is likely more of a hassle than it’s worth. Large manufacturing often functions on a “just in time” strategy to make the best use of space and materials. This means buying what you need in batches and having it arrive when you are ready for that task, no earlier. Often this means finishing one thing before moving to the next, but it also keeps me from tying thousands of dollars up in a half-done project, making it difficult to pivot if an opportunity comes up.
Keep it clean
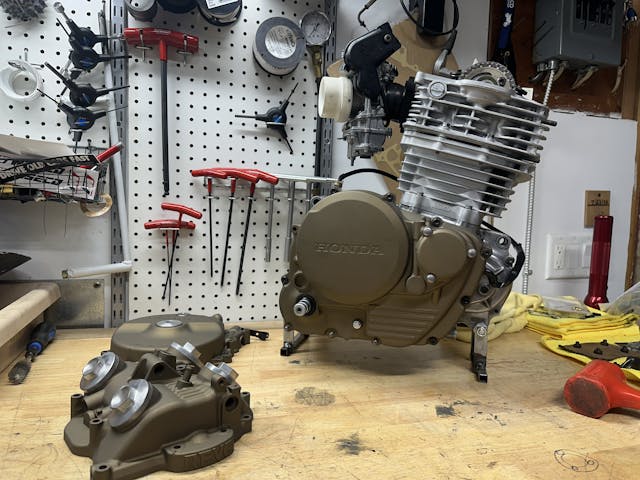
It goes without saying, but letting dirt and grime into your project is counterproductive. You started this project to solve an issue, not to create more work for yourself, and putting dirty parts back together just gives you one more thing to take up your time. Keep any parts that are waiting for assembly covered or sealed to prevent other goings-on in the shop from getting them dirty. Just driving a car into my garage can put a surprising amount of grit into the air if the wind is going in the right direction, and it’s not worth having to step backward and re-clean parts I’ve already prepared or assembled.


Your manner of organizing is great, Kyle! I have seen it all–even to parts being laid out in the grass! On the other hand, our son has a near photographic memory. He looks at each part as he removes it from a car. He turns it over and examines it visually. I once watched him doing a mechanical repair on his car. I offered to bring him pencil and paper in order to record the removal process. He simply said that he did not need anything. Later, I noted that the pile of parts had grown quite large–I again offered pencil and paper. He looked at me and said simply: “Dad–it can go together only one way.” How true–but for me–it doesn’t work that way–I do not have that critically honed a memory. Sure enough–his vehicle functioned perfectly when he completed the job!
I wish that my work bench was as clean as this one.
Many manufacturer’s parts manuals show exploded views that are quite helpful during re-assembly. I always have them at hand and reference them often.
My newest daily driver is now 22 years old and does 20-25k driving across the country per year. The oldest is my ’54 MG TF which was my daily driver – also long hauling between Seattle and LA – in my teens and 20s (55 years ago)… In between is a ’82 JDM-only Mazda Cosmo HB which I brought back with me from Japan 35 years ago… long before the term “JDM” even existed in this country.
Similar story for my 5 bikes ranging from a ’53 Ariel KHA through a 20 year old Yamaha R6… plus rare-as-hens-teeth CR750 Honda road racers that I ran in Japan in the 70’s. The point is I know what parts each one needs and how difficult it can be to find many of the parts for all of them… So it’s simply a matter of stocking up all I can… if and whenever I can even find those parts.
For the shop manual, I use a cookbook holder my mom gave me years ago. (It goes back in the kitchen when it’s not in the garage!) This thing is cast iron, HEAVY, and has little adjustable “feet” to hold the book open to the right page
I like to use an egg carton for all of those small fasteners and miscellaneous bits. I fill each chamber in the order that the parts are removed, and reverse this process during reassembly.