Media | Articles
6 DIY Tips from One of America’s Master Racing Mechanics

This article first appeared in Hagerty Drivers Club magazine. Join the club to receive our award-winning magazine and enjoy insider access to automotive events, discounts, roadside assistance, and more.
On a bright March morning, a delivery van backed up the driveway of a modest tract house in suburban Detroit. The avenues in these parts are named for flowers: Periwinkle, Wisteria, and Amaranth.
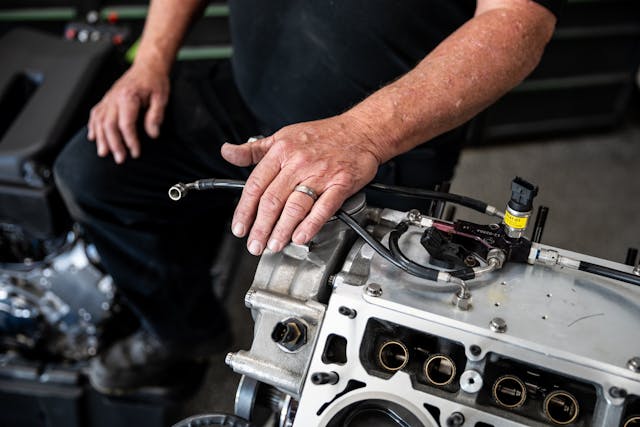
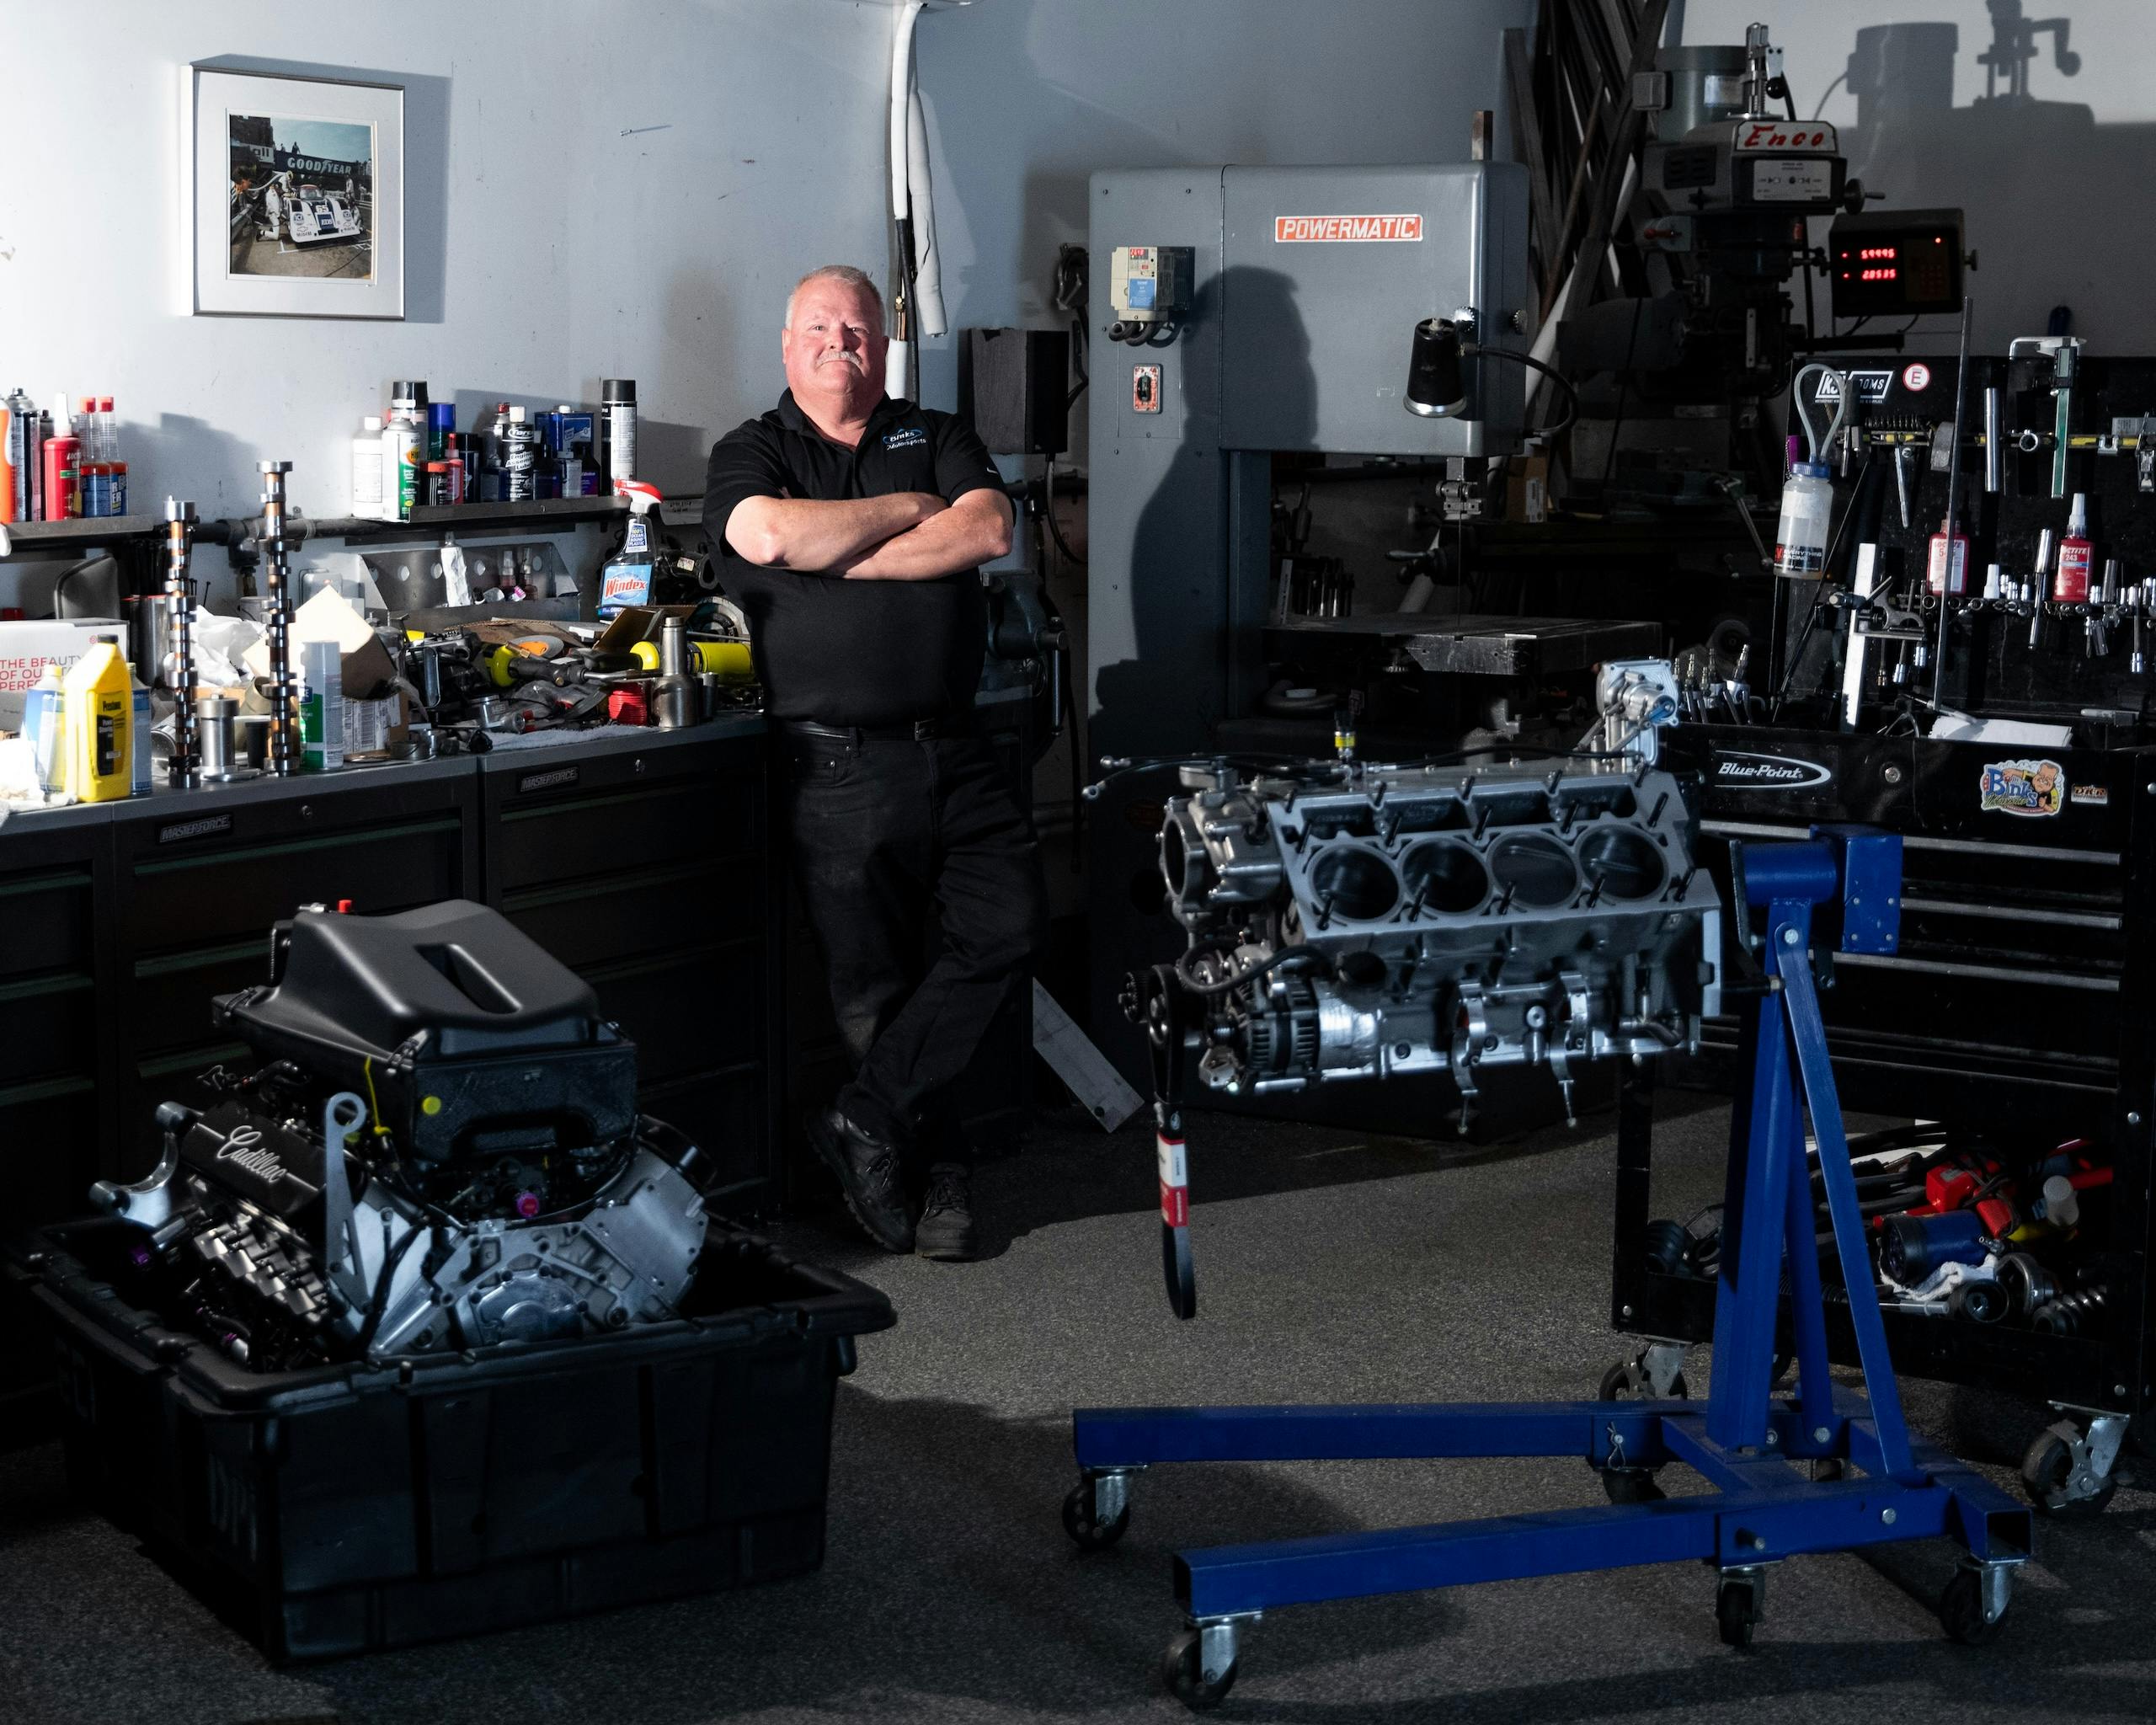
The garage door opened to reveal a workshop that would register as familiar and unremarkable to anyone who has worked on a car. Yet this home belongs to Dan Binks, the master racing mechanic, crew chief, and fabricator who steered the Corvette Racing team to six victories at the 24 Hours of Le Mans. The truck was here to pick up a $125,000 racing engine assembled right here in his home garage.

All to say Binks, technically retired but busier than ever, is a great guy to learn from, no matter how much or little you already know. I shadowed him for a day to glean some of his wisdom. Here are the ABCs of wrenching, from the man who has seen and done it all.
01. The Point Is to Have as Much Fun as You Can without Killing Yourself

Be religious about safety. Get jack stands rated for 3 tons and a stout floor jack. I’m fine with the stuff from discount stores and use a $100 engine stand to hold six-figure motors. Wear safety glasses. Always. They even sell pairs with readers at the bottom. You might want a hand truck to move stuff around and save your back. Tie up long hair and loose clothing. You’ll also likely want an internet connection in the garage. Even I watch YouTube videos to learn all the time.
Marketplace
Buy and sell classics with confidence


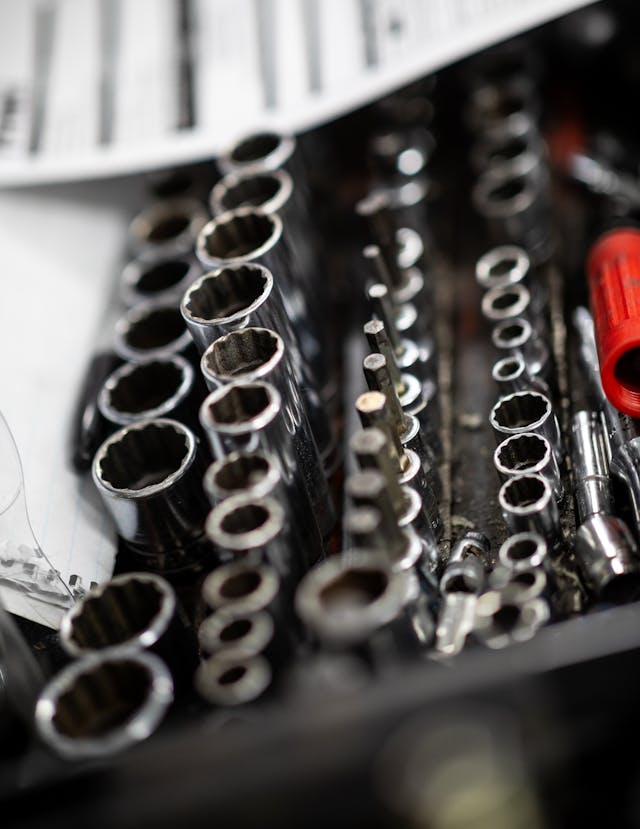
02. You’re Never Not Buying Tools
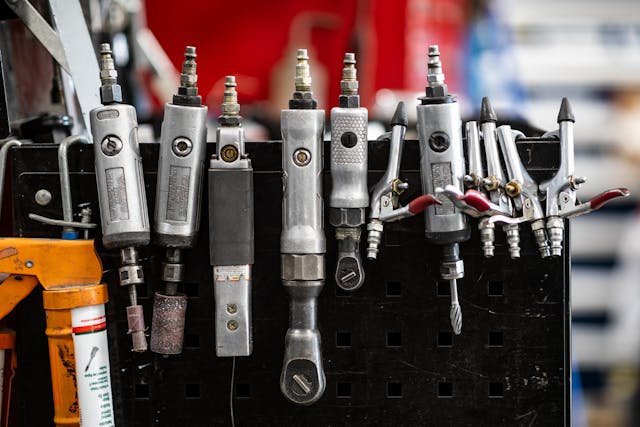

If you’re starting with nothing, buy a large tool set from any of the mainstream brands, like Craftsman, Kobalt, or Gear-wrench. You don’t need the pricey Snap-on tools. Use the discount stores for toolboxes and even a compressor. Thanks to battery-powered tools, I don’t use as many air-powered tools as I used to, but the compressor is still handy. Harbor Freight sells a two-cylinder compressor that’s reasonably quiet. For the battery-powered tools, pick a brand and stick with it so the batteries power multiple devices. Also, you want a vise—the bigger the better.
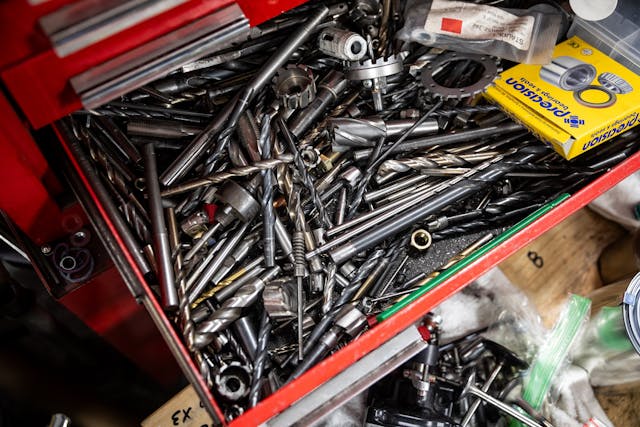
Some tools are consumables, like drill bits. I don’t bother sharpening them when they get dull; I simply wait for the sales and buy in bulk. When drilling metal, 90 percent of people spin the bit too fast, which overheats it. It’s hard to hurt the bit if it’s going slow. I use 3-in-1 oil to lubricate.
The final must-have tool is a multimeter. The device measures voltage and amps, and you’ll use it to diagnose electrical problems and battery health.
03. Get Familiar with Fasteners

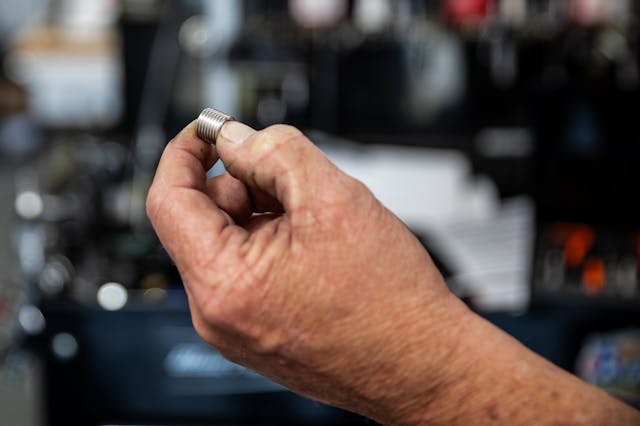
You need to understand the different types of bolts, thread pitch, and the torque requirements. Thread everything by hand, and over time, you’ll get a feel for when something is cross-threaded.
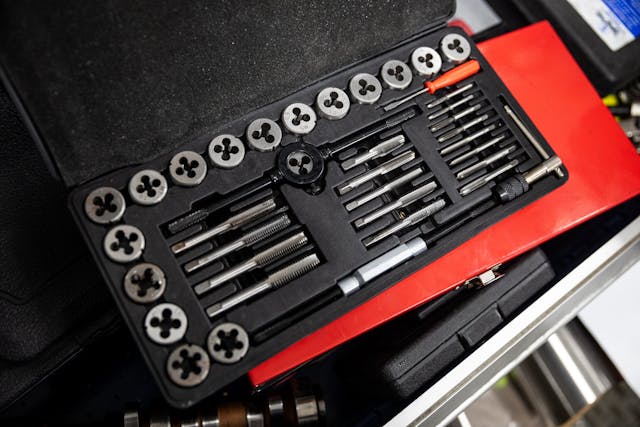
You will, at some point, damage threads. A set of taps and dies is a good thing to have on the shelf. The taps cut threads in a hole, and the dies do the same to a shaft. Those bits are useful to restore nicked or bent threads. Also, practice shortening bolts. Thread a nut all the way on the bolt and then cut it with a hacksaw. Unscrew the bolt and then see if you can reinstall it. Use a file to remove burrs. There are helpful videos on YouTube. I buy fasteners from McMaster-Carr, which has a handy phone app.
04. Live and Die by the Proper Torque

Every bolt has a setting for how hard it should be tightened. The setting is a twisting force known as torque. Apply 10 pounds of force on a foot-long wrench and you’re applying 10 ft-lb of torque. Go over that setting and you risk snapping the bolt. That’s when garage rage often arrives. You can find the proper torque in most service manuals or figure it out by the size of the bolt. If that fails, Google it. You’ll need a torque wrench to measure the amount of twist. Most brands will do.
Loosen bolts, especially rusty ones, with care. A good rule of thumb is to use the tightening torque specification for removal. If a suspension bolt requires 70 ft-lb, don’t apply more than that to remove it. If it’s stuck, then it’s time for heat. I use a readily available torch fueled by MAPP gas. Heat the bolt until it’s red, then apply a candle. The wax will flow into the threads. Let it cool and try again. You might need to try the heat and candle procedure several times.
05. Don’t Fret about Fluids

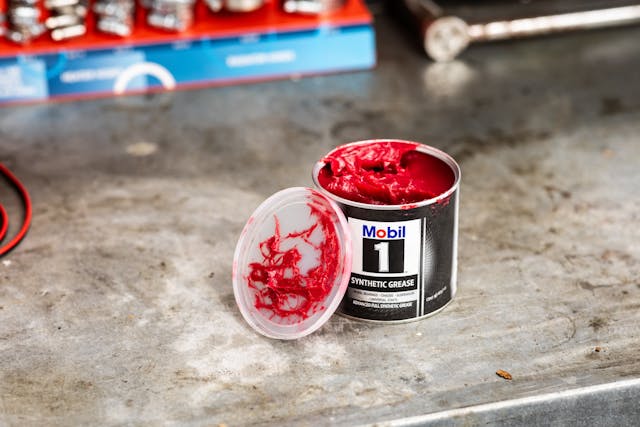
Which grease? I hear that all the time because there are many different types described with big words like molybdenum and disulfide. Some grease is better than no grease. I use Mobil 1 grease for almost everything. That said, there are times when a pressurized can of a spray lube is handy, like squirting white lithium grease into door latches or graphite lube for lock cylinders.
Beyond the slippery stuff, the most commonly used fluid in my shop is a liquid glue called Loctite, which prevents bolts from coming loose. It comes in three flavors specified by number and color. Use blue Loctite, number 243, for most fasteners since it’s easy to break free. The red, number 272, is for the bolts that are almost never removed, and number 620 is for high-heat applications.
06. Moving to the Pro Ranks


The more you do, the more you’ll want to do. That means more skills and tools. After the basics listed above, the next step is usually a welder. For your first one, stick to a basic wire-feed unit known as a MIG welder. Some folks take a class to learn that skill, but there are plenty of instructional videos on welder manufacturer sites and, yep, YouTube. Practice.
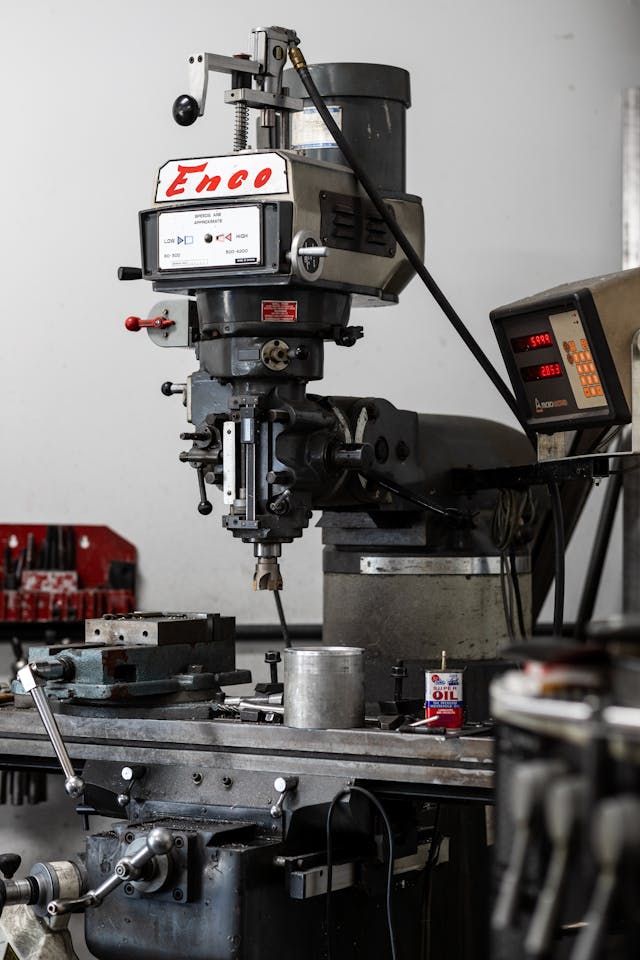
Once you’re welding, the next rung up the fabrication ladder is precise metal cutting known as machining. Most of you don’t have enough need to justify the spendy tools required, but if you’re ambitious, let me recommend a few things: You need a lathe and a milling machine. Don’t buy a unit that claims to do both. For the mill, which looks like a fancy drill press, a digital readout that shows the position of the piece is a must.


Dan is the mechanics mechanic. He has a great record at Pratt and Miller but before that he won championships for Roush racing and even goes back to Tommy Kendall in the old RX7 championships in GTU. He even did a stint at Reilly Racing.
If you note in the photo the stuff he is working on in retirement are still current race engines.
His suggestions are great and if you have time read the book he help write Making It Faster 1.
I miss talking to him at Mid Ohio but he has a lot of miles under him and traveling gets old. Just glad he is doing well and still keeping busy.
I would love to get into machining but I just don’t have the real estate for the tools
I have the training but not the money to spend on a Bridgeport. I had one I could buy but the cost to move it was a major factor that negated the good price.
I had a 6″ lathe (converted to 8″) with all its accessories, a full sized mill with all its accessories a TIG welder and a drill press in a 5ft x 12 ft converted fruit cellar. It was a 1 man shop area in a 2 car garage and I couldn’t have more than one tool running at a time. There were places in there where I was constrained to one position, but I built and machined cylinder heads and bike parts in that ‘submarine-sized’ space for 15 years. Couldn’t work on engine blocks either- they wouldn’t fit on the floor space available. You work with what you’ve got.
Get your Bridgeport (or clone) at a local machine shop auction. Bring an indicator and only consider machines with no spindle side play, it’s the only function that can’t be adjusted back into spec or managed with technique. For a home DIYer DRO (digital readout) is a luxury, not a necessity. You can move it with an engine hoist and a pickup truck (take the power head off and it’s in two pieces). Build (don’t buy) a rotary phase converter and start the party!
And make sure its a J head ram (dovetail) not a round one…..
Another suggestion: Don’t think you know it all. Always be ready to learn a better way to do anything.
I’ve been around cars 70 years and still learned a lot from this great article.
You will learn something new everyday until you die
Excellent basic common sense tips any DIY “mechanic” should follow; I have always stubbornly done my own maintenance with a curiousness to diagnose the “causes” to guide my application of the best solution that will @ least complete an issue leaving the “devise” performing as well as it should be performing, but hopefully improving its future performance…
Great tips from a great mechanic and even greater man!
Most of us could learn a thing or two from Dan.
Not only about building amazing engines, but about being a good human being!
Thanks for the great article!
I’m an old wrench that started out at a Sears Auto center after getting my degree in mechanics back in 1970, working at dealerships plus going to college I wound up my career up as a mechanic for American Airlines, Dan knows his stuff, you can’t have enough tools and he’s spot on about super expensive tools like Snap on, you’re paying for the name as most of their stuff is made in China.
Snap On is NOT made in China…it may not be for the home owner but it certainly is for the professional.
There are so many sources/people that say never buy a combination lathe/mill. I’ve had one for years and have made very precision parts with it. You can do very accurate machining on it, so I don’t understand their reason. Unless they have never owned one and are just repeating what they read/hear. I have made a low temperature Stirling engine and a 1/5 scale working gas powered V8 on it, so I don’t see what the issue is. If you only have room for one machine and want to do metal work, get one.
One thing missed that took me 50 years to figure out – a bar-stool the right height for your workbench. What a difference when doing small picky stuff like carbs or speedos. $5.00 at a yard sale – still kick my tail for not getting one sooner.
I’d love to see more of that Cadillac engine he’s got.
I read this article in the DIY issue of Hagerty Drivers Club. This is not only an excellent article, but it was contained in an excellent issue. I’ve always loved working on cars. As a professional who wore a suit to work, I used to hide my nasty looking hands at Monday morning meetings after a weekend of wrenching. When I was in the local Porsche club, some of the members looked down on people who wrenched on their own cars.
But for those of us who repair and rebuild our own cars & motorcycles, it should be a source of great pride. Thank you for celebrating the craftsmanship, discipline and knowledge of the home mechanics
Good for you, Stephen. Those snobs that think that working on cars is beneath them are just jealous. They believe that it is out of their reach. I enjoy driving in a car more so after working on it.
He forgot to add Nitrile gloves.
Someone described as a tinker a couple of years ago. As a 35 year and retired aircraft mechanic, I considered that a very high complement indeed. Thanks Maureen. I will never forget you!
Thanks a lot, such a good article, simple but priceless advices!!!!
Great advice! I really liked reading him mention not to be afraid of discount tools. I’ve got a mixed bag — I buy the Harbor Freight things like plain old wrenches, get a higher quality or the few I use a lot and get a lot of wear. Hard to mess up a plain old open end/box end wrench. The last engine build I did I bought new HF torque wrenches (I can almost feel a few people cringe!). I had an ancient Snap-on dial wrench that was calibrated at one point, and it was good in the 50-100 ft/lbs range. It was a 150 ft/lb wrench, but when it was calibrated 50-100 is all the guy said it was good for — above or below it started getting to far off. I checked a (10 years ago) $20 HF 1/2″ wrench against my brother’s $100 or so wrench. They were even as far as I could tell — they clicked at the same point when set the same. I just used it for that one engine, it’s only been used once or twice since then. They still have an under $25 1/2″, 10-150 ft/lb torque wrench. I might just throw the 10 year old one out and get another if I build another engine. I’m not sure I’d use it on a high dollar race engine, but for a low to moderately stressed stock/near stock rebuild it works. Doesn’t hurt to have a better example to check it against though. I have complete confidence that they will check out and last for a while, not so sure on longevity. I would certainly buy something of higher quality if I were going to be using it a lot though. I doubt the internals would hold up well to daily use, probably start to get out of spec within a couple months.
I bought three HF torque wrenches and tested them at work on our test fixture. They were all spot on.
I had to return three HF “Icon” torque wrenches in a row. First one lasted years. 2nd one lasted about 2 weeks, 3rd lasted one day. Needless to say, I just got a refund at that point and learned my lesson. I still use plenty of other HF tools, but never another one of their torque wrenches.
I wear a seat belt because Johnnie Parsons gave a talk at my high school and said to do it. He had pictures.
Now that Dan Binks recommends tying your hair back, I’ll never fail to do it again.
Those of us that still even have hair!
Yes. Tie it back and stick that under your collar.
I was at a drillpress making holes back ~ 53 years ago ~ and my 2′ pony tail got caught in the chuck. Luckily my brain then was fast enough to slap that red cut off knob just as my skull hit the chuck …… it could have been bad.
Since then I always tie it up – even though it’s only a 4″ pony tail these days LOL!