Media | Articles
5 Tips for Proper Roller Bearing Installation

There are many parts required to make the wheels go round on our beloved four-wheeled friends. While I don’t want to undersell other components, the ones that literally go round while removing friction from the system are a little more critical. Mainly because unlike what I was instructed in high school physics class, friction cannot be ignored. Bearings are necessary, and keeping them running smoothly is even more important. If a few bearings need to be replaced on your project, here are five tips to keep in mind.
Only drive the outer race
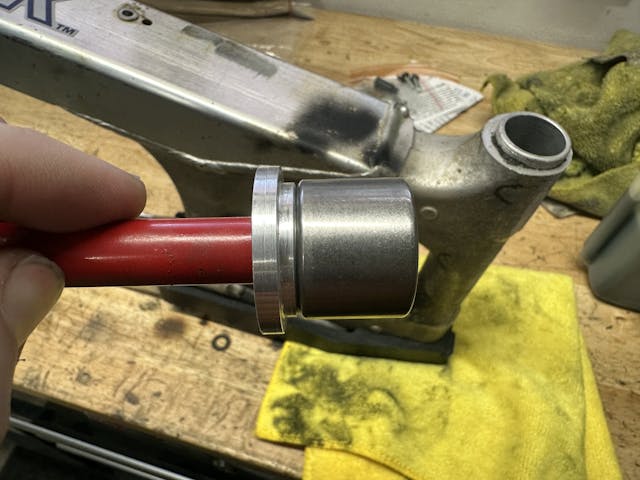
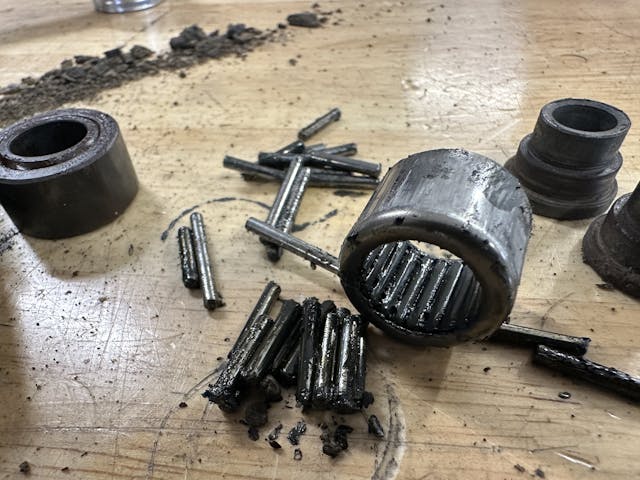
My current project is replacing the suspension bearings on a couple of aging motorcycles, but the concept is the same for any bearing that needs to be fit into place. When pushing or driving a bearing, it is best to only apply force to the outer race to prevent damage. Bearings are designed to tolerate force in one direction, and it is not typically from the side. If you press on the rollers or center race, that can bind or damage the rollers, effectively junking the bearing.

These days I like to turn down special drivers and tools on a lathe, but for many years simply used impact sockets that had an appropriate outside diameter. While hand-tool sockets can work, they tend to be more prone to damage from hammer strikes, while impact sockets are more resilient.
Temperature differential is your friend
A press fit for automotive-size bearings can be just a couple thousandths of an inch. That means if everything is properly fit at the same temperature it requires a decent amount of force. A swing hammer and using presses is an invitation for error to create damage. Instead, stack the deck in your favor by dropping the bearings into your freezer overnight before installing them.
It takes just 100 degrees Fahrenheit change to shrink or expand steel roughly a thousandth of an inch. That means this method will not make everything simply slide together—unless you have the ability to also heat the receiving part—but it will make the whole process easier.
Marketplace
Buy and sell classics with confidence
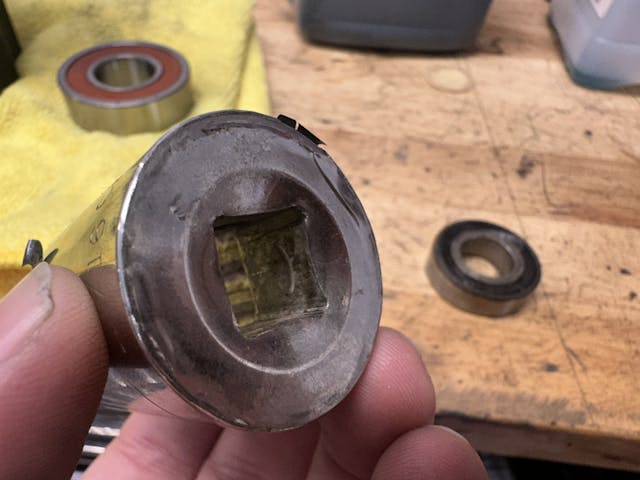
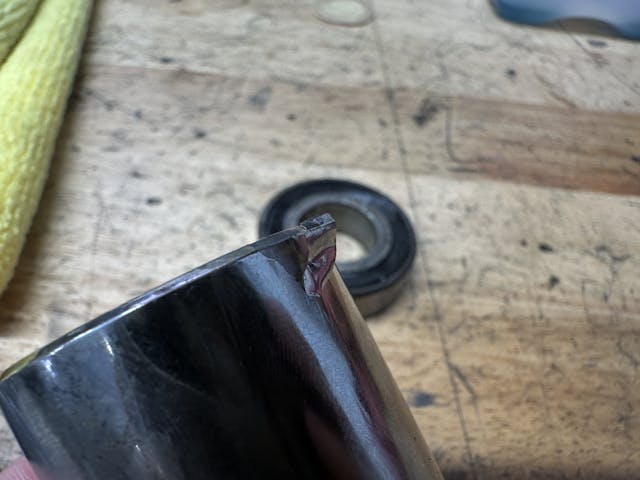
Be careful with seals and shields
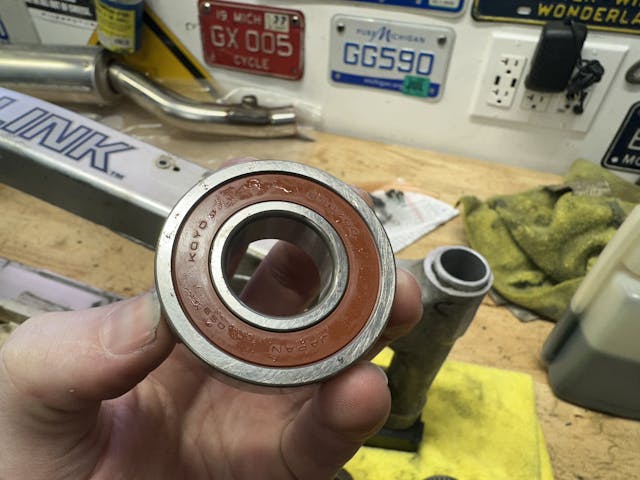
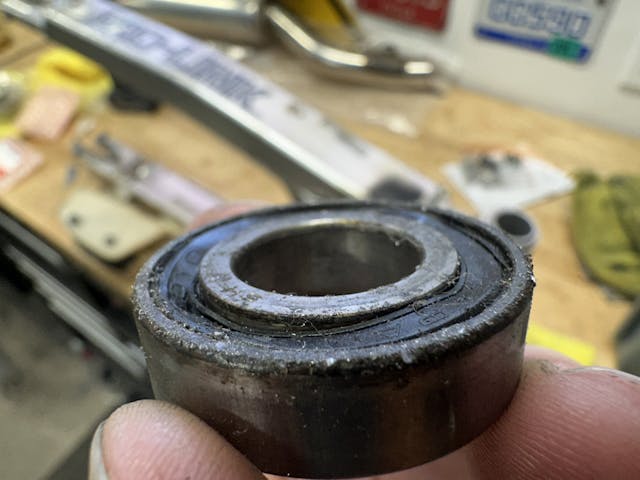
Not all bearings are shielded or sealed, but many are. Be sure to pay careful attention so as to not damage or displace the seals for a bearing. I’ve taken apart projects to find what should be minor repairs end up being money sinks due to a bearing that ate itself, allowing the hardened bits to infiltrate other systems around it and cause even more damage. At least once I traced this to a damaged shield that prevented the bearing from spinning freely. Even after installation the bearing should be inspected for smooth operation.
Grease or oil?
Bearings work for awhile when left bone dry, but lubrication always helps things that should go smoothly go even smoother. Double check if a bearings needs to be greased, oiled, or otherwise packed prior to installation and ensure that gets checked off the list. Lubing or packing bearings is often best done before installation, but think through the process before starting and make sure you are adding lube at the appropriate time and not going to end up creating a mess when you put the bearing into place.
Check alignment and setup
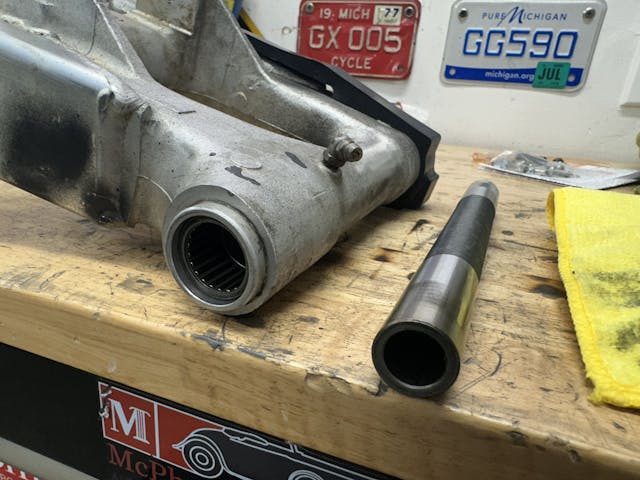
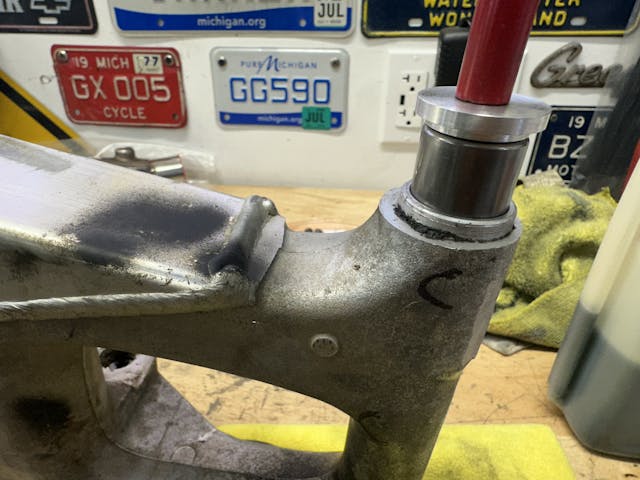
Since bearings are often pressed into place, it’s easy to lose track of exactly how evenly the bearing found its new home. Be sure to check for smooth alignment and fit. A small amount of junk or rust on the mounting surface can cause a surprising amount of annoyance. Get everything clean prior to install and be sure there are no additional loads on the bearing after assembly. In my case (above), the swing-arm bearings have a hardened sleeve that runs between the two and I want to make sure that sleeve moves free and easy prior to installing the assembly on the bike. It’s similar to how trailer wheel bearings need to have proper tension to ensure a long life, a just a little setup time prevents issues down the road.
Bearings are critical to efficient and long-lasting systems. Taking a small amount of time to ensure you are treating bearings correctly right from the start is cheap insurance against pop up problems later. Keep the wheels—and just about anything else—spinning smoothly for a long time.


Find more values
Search for prices of other cars, trucks, vans and motorcycles


If in doubt, grease. In my past life as a Diesel mechanic, we would work on the local farm trailers during slow times – not hay wagons, but semi-trailers consigned to farm duty. These things generally have oil-bath wheel bearings and are generally poorly maintained. Any time we had to pull the hubs, we would repack them with grease. They ran just fine on the road and were tolerant to leaks
It’s worth checking which part of the bearing is press or interference fit. I haven’t done a lot with roller bearings but ball bearing often install by driving the inner race. Also preload is a concern
Almost needless to say, not just grease the right/ recommended grease. Times and requirements have changed. Make sure what you grab off the shelf is correct.
Another thing worth noting when replacing wheel bearings on a modern car: press it on the correct direction. On a Ford Focus we got it backwards and the ABS/TC immediately threw a code because the sensors didn’t see the on/off coding embedded magnetically into the bearing.
Much of todays trouble is that we have gone to seal ball bearing hub bearings. They ride on a smaller surface area but are prone to wear and damage. That is why they went away in the old days but in the name of MPG they are back.
Roller tapers are nearly indestructible but no longer efficient.
It is very important to check the play on the new bearing hubs as if not in spec it can lead to rotor thickness variation and many mistake it for rotor warm. Well the rotor is not warped but worn to uneven thickness and can create a pulse in the brake pedal. .