Media | Articles
4 ways to take your project car to the next level
When it comes to the projects we choose to tackle in the garage, most of us look to turn out the best finished product we can. Sure, sometimes “good enough” is good enough. But once we have a given task under control, often it’s worth it to do those final few steps to take things up a few notches. Sometimes, they’re at the very end, which can seem like an exhaustive affair. It shouldn’t because it isn’t.
In fact, the vast majority of projects can be dressed up quite easily while working. Taking the time to make a few minor tweaks—which also happen to be affordable—can take a project from merely functional to something worth looking at and being proud of. Here are four items that I use in my garage to dial up the fit and finish of the cars and motorcycles that occupy my time.
High-quality paint
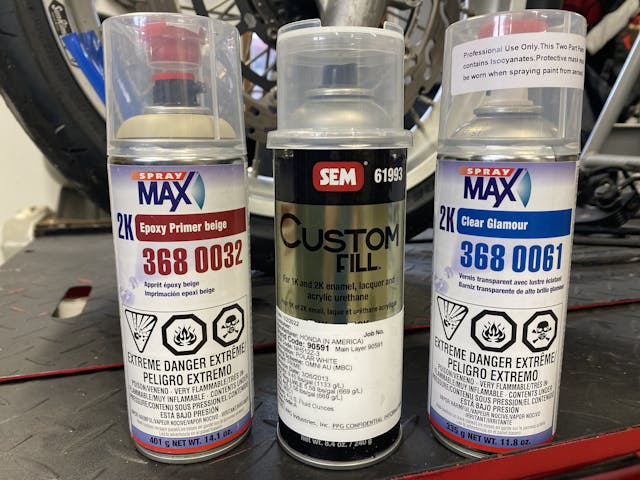
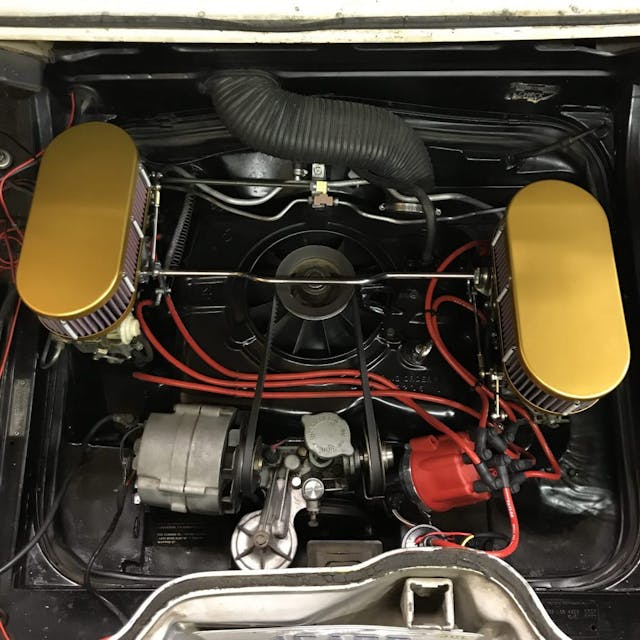
Most projects require some level of disassembly. That means you’ll have parts out on your workbench that might possibly never come off the car again. Now is the time to take an hour or two and put on some paint. Cleaning alone might be enough for some parts, but a good coat of paint creates a nice, even finish that, when properly applied, will last a long time.
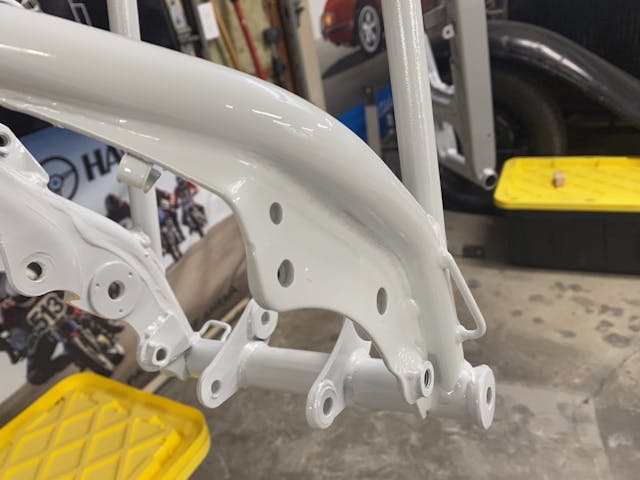
You don’t even have to call up a painter to get good results. Find your local autobody supply and talk to the folks behind the counter. They exist to help you and will set you down the proper path in terms of selecting the right primer, color, and clear coat to get the best results. Yes, Rust-Oleum will work, but the durability provided by a properly catalyzed clear coat goes a long way when it comes to vintage engine bays that accumulate coatings from fluids like oil and gas over time. An added bonus is that most paint counters can mix custom colors into aerosol cans for you, and that means you can add one more custom touch. Granted, this bit of the extra mile will cost you more than a cheap rattle can, but the finished product is worth it. I promise.
New hardware
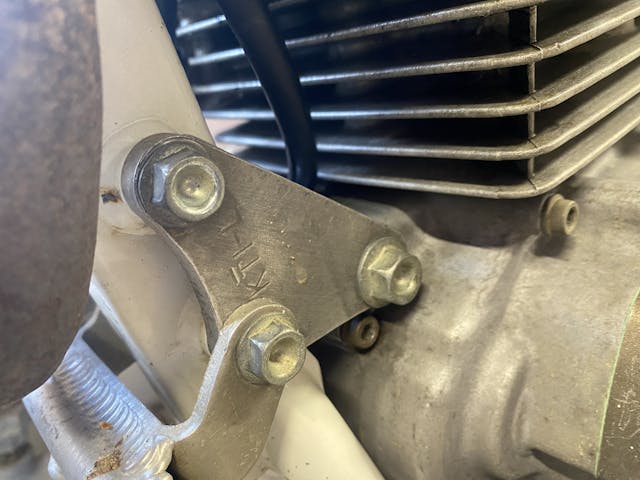
More and more, modern cars are produced with throwaway torque-to-yield bolts, but our vintage rides are composed of hardware that is often safe to reuse. That doesn’t mean it’s the best idea, though. Replacing partially rounded or otherwise damaged hardware is a quick way to dress up any repair. It also ensures that future you will not be left cursing present you for putting back in hardware of questionable integrity.
Marketplace
Buy and sell classics with confidence
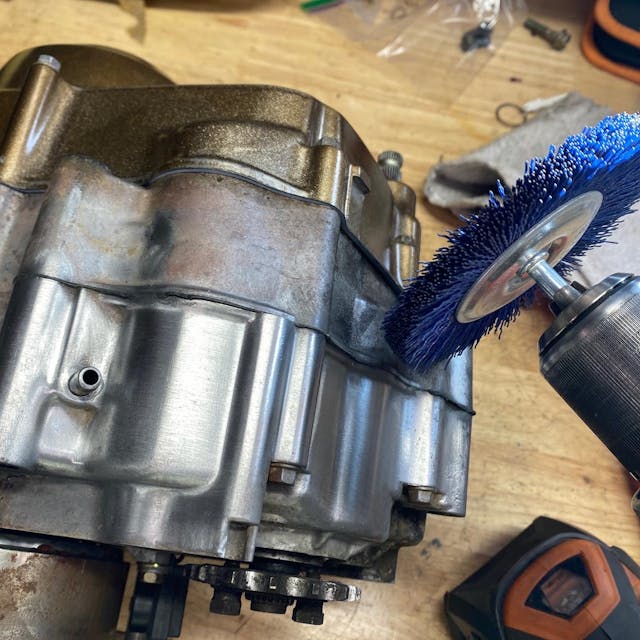
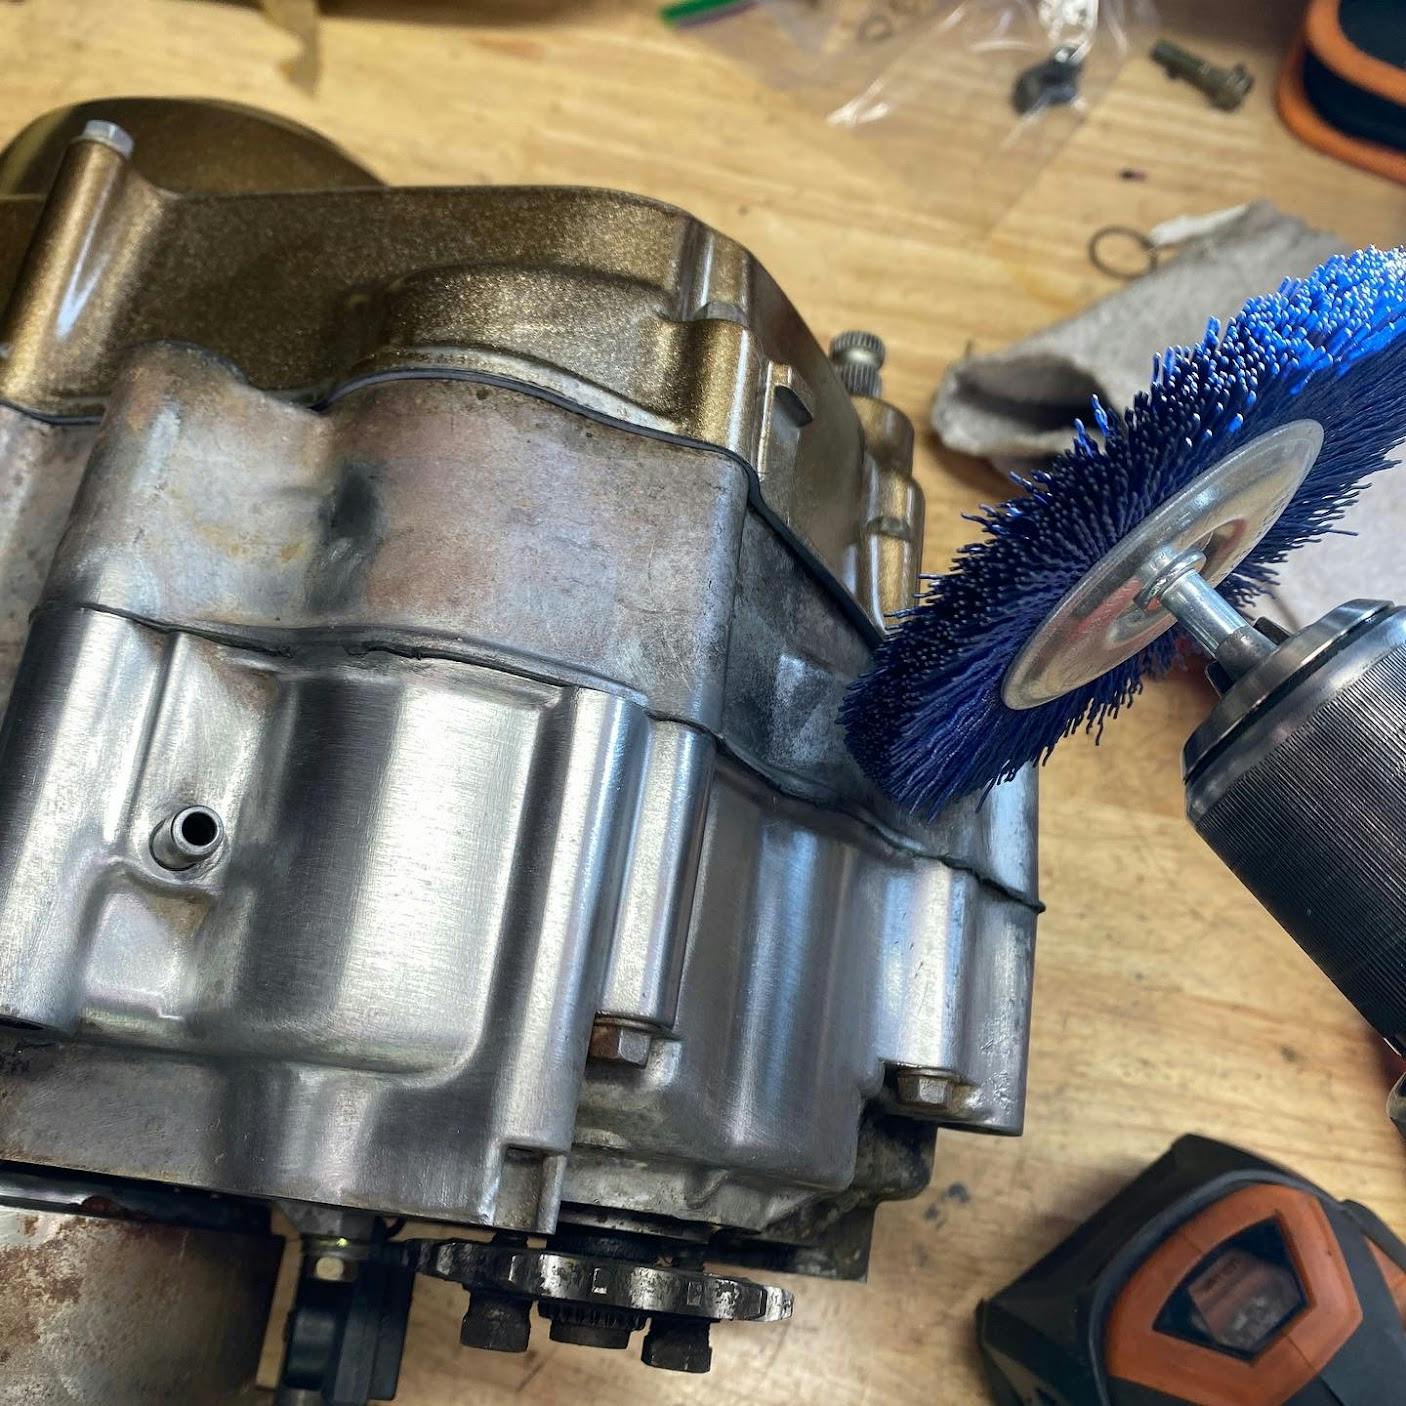
If replacing is not an option, at least grab a wire wheel and knock off all the crusty bits. A bench-mounted wire wheel is great, but the same effect can be had by clamping the hardware in your bench vise and using a drill to spin a cheap wire wheel. Be careful, because wires will fly out of these wheels. Eye protection is critical, and sweeping up right after is the best way to keep those small wires from getting into tires or other delicate areas.
Removing tags and labels
Whether it’s the California cancer warning or installation instructions, leaving unnecessary stickers on parts as you install them all but ensures the finished product will look odd. Removing stickers and labels creates a cleaner, more cohesive finished product. Use rubbing alcohol or dedicated cleaner to remove gooey adhesive once you’ve pulled off the stickers. If the sticker contains important information you might need in the future, consider simply relocating it to an area of the part that isn’t as visible when the assembly is together, or documenting the sticker with a photo and written notes in your project car log. You do keep a project car log, right?
Assembly protection
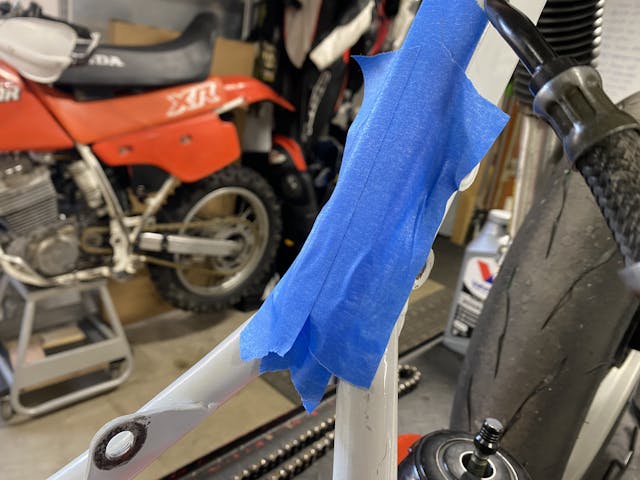
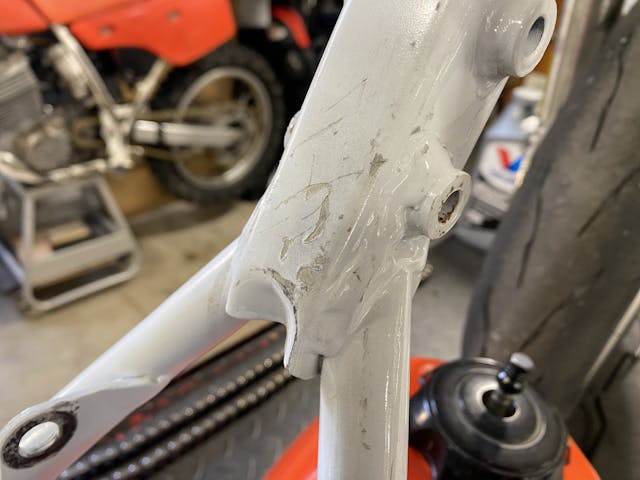
Nothing—and I mean nothing—is as disappointing as having a bench full of clean parts ready for assembly, only to drop a wrench or knock something over and cause a scratch or chip on finished surfaces. Going back far enough to properly fix it is a huge delay, and living with the damage is hardly fun. Instead, this is a situation where an ounce of prevention is worth a pound of cure. Wrapping things in rags or covering them in painter’s tape ensures that everything will stay the proper finish, right up until the last second, when the project is put back together. Only then should you remove the protection. I have even used cheap vinyl wrap left over from other projects to act as a paint protection, since it is a little more durable than tape and comes off clean. Just be sure anything you painted is fully cured before covering. Peeling the paint off after it is all assembled is even worse than scratches. Ask me how I know…
***
Check out the Hagerty Media homepage so you don’t miss a single story, or better yet, bookmark it. To get our best stories delivered right to your inbox, subscribe to our newsletters.


I have always removed aftermarket labels on my projects. Something I learned from my buddy Jack.
He’d say, “Well damn them Mark, they are not paying me, so why advertise for them?”
I work with stainless steel pipe which is T I G welded. We use scotch brite pads. Push a 3” long bolt through two of them in an X pattern between 2 washers and 2 jam nuts in your drill or end grinder and you can buff aluminum, stainless, chrome, steel, brass etc. with minimum damage to the parent metal. Oxide, dirt, paint will come off with patience leaving clean metal beneath with no damage. Then you can coat with clear lacquer, paint, or just leave it bare and shiny.
Turbo4Joe as a cancer survivor I take offense to your comment of, “ I know it may sound harsh, but…. I often find myself wishing that whoever came up with Prop 65 gets Cancer.” I can assure you that your comment is indeed, harsh!
Thanks to Prop 65 I can easily avoid harmful products. While shopping for seat covers I found the CA Prop65 warnings helpful. Yes, it took a little more time, and a few more $ to find covers without the warning. I don’t want to be exposed to the outgassing of harmful chemicals.
A long dead friend and I used ride and maintain BMW’s from the 70’s and Nortons and BSA’s from the 50s/60s. He, instilled in me that the, “devil is in the details.” Every bolt had to be in perfect condition. He never ever threw away a rubber grommet, or whatever. Never know when you might need it; and we could always find one that fit perfectly. So, the little extra effort really made them stand out against the other bikes at rallies, or anywhere. Careful though; it can become an obsession.
One tip I have to help make the “newness” of restorations last. I live in Ohio where there is lots of humidity and rain. After I polish a bolt/nut or any hardware that has originally been plated, I spray it with a quick coat of clear engine enamel and allow to dry before assembly. I spray every bolt, nut and washer. 10 years later, my restorations still look like they were done yesterday! And no routine polishing required. I also spray new components (zinc plating, chromate finishes) to protect them from oxidation/aging. Great for cast iron parts also (master cylinders, etc). With the right choice of clear (gloss, matte) it is very hard to tell they have been sprayed.
Try some orange auto body protection tape. We use it to protect the panels next to the one we are working ,it is very thick,has good abrasion resistance,and removes easily.
Interesting. I’ll have to pick some up!
While I understand not wanting to read “California bashing” its important to understand the frustration and issues for car enthusiast here. Especially because of what may be coming in your future. Working in the industry I have seen misleading agendas that are anti-car or diversionary tactics. Hopefully car enthusiasts will understand the California governor Newsom is not car friendly and has helped push through or mandated changes that take away opportunities and materials and drive the cost up for automotive and recreational use. Including eliminating gasoline power equipment including generators in 2024 that might be used for offroad/camping/autocross course power. Massive increases in car registration taxes, taking away offroad recreational areas, “special” CA requirements for parts (compare std and CA catalytic convertor costs) and intentionally allow higher gas prices. Check Nevada and Arizona gas prices (refined in Ca) compared to California gas prices. Progressively making special regulations where we cannot get many parts cleaners, paints, thinners and reducers.
Everyone needs to know because the plan is to run him for president in the future and our government will be even less car friendly. This could hurt all car enthusiasts so get the word out when the time comes.
Let’s all protect our interests, and also share with the younger generations.
or if you remember the Wizard of Oz:
“Pay no attention to the man behind the curtain”- is what they want.
You have to be careful replacing hardware that your replacements have a sufficient strength rating. My rule of thumb is that grade 5 hardware is the minimum, grade 8 for anything critical, though be aware grade 8 is more brittle so try to match the hardware that came off.
When reusing hardware renewing the zinc plating yourself after cleaning and de-rusting it is highly satisfying, so much more durable than paint (and also paintable) and not very expensive if you make up the plating solution and rig yourself. Black oxide is another good option for DIY, but won’t stand up the the elements as well as plating.
Once things are back together an occasional coating of WD-40 or Boesheild T9 if you want to get fancy will keep the corrosion at bay for the nice shiny parts in your engine bay.