Media | Articles
4 tips for building a custom toolkit for your classic
Taking a vintage car or motorcycle out on a trip is a risk—a calculated risk, but a risk nonetheless. Parts are long past their expected life on so many vintage cars, or even on a fresh restoration, there are typically teething issues and sorting out that occurs within the first few hundred miles. Roadside repair is sometimes necessary, and without tools, you can’t fix anything. We know you can fix things without the exact proper tools, but it sure is easier if you’ve got ‘em. Be prepared for your next roadside adventure by building a custom toolkit for your ride. Here’s how.
Look at the car—Not your tool chest
If you’re hyper-intimate with your car or truck, you might be able to easily pick out the tools you use most when working on your beloved automobile. Even if that is the case, take a step back and look at your car and what you expect is most likely to fail while driving. Now investigate what it would take to repair that imaginary breakdown and lay those tools aside. Focus on likely failures that you are actually comfortable repairing while on the side of the road. If you are packing Vernier calipers, you might be diving too deep for a true roadside repair. Also, use this step to make a list of spare parts you need to feel comfortable for the distance you want to travel.

Pick your tools carefully
One of my favorite items to pack is a screwdriver with replaceable tips. Two reasons for this, I only have to pack one screwdriver but get all the specialty tips I need, and the tip of the screwdriver with no bit in it is a ¼-inch hex. That hex often fits small hose clamps and can save packing a ¼-inch socket. The only problem is a multi-tip screwdriver makes a terrible prybar in a pinch, which is why I also carry a large flat-blade which can act as screwdriver, prybar, and hammer all in one. Remember, this is not perfect repairs, this is get-you-home repairs. Carefully select tools that can have double and triple uses and prevent packing the same thing twice.
Marketplace
Buy and sell classics with confidence

Figure out how to pack it
On a recent motorcycle touring trip I packed a tidy toolkit, but space is at an absolute premium when riding vintage motorcycles. This meant I needed to fit everything in the smallest space I could. Fitting sockets inside one another is just the start, but a good start. I took the time to stitch up a custom roll-up kit for my tire levers, but frankly, that is overkill in an era where pre-made solutions are a credit card number away. Canvas zipper bags, Tupperware containers, and plastic bags are great options. Use a clean red shop rag to space metal items apart to prevent rattling while driving; you’ll thank yourself for that clean rag when you have to use the tools, too. A set of work gloves, nitrile or heavier, are also nice to stuff between items and will save your hands (actually, your steering wheel) should a greasy job pop up.

Actually carry your new kit
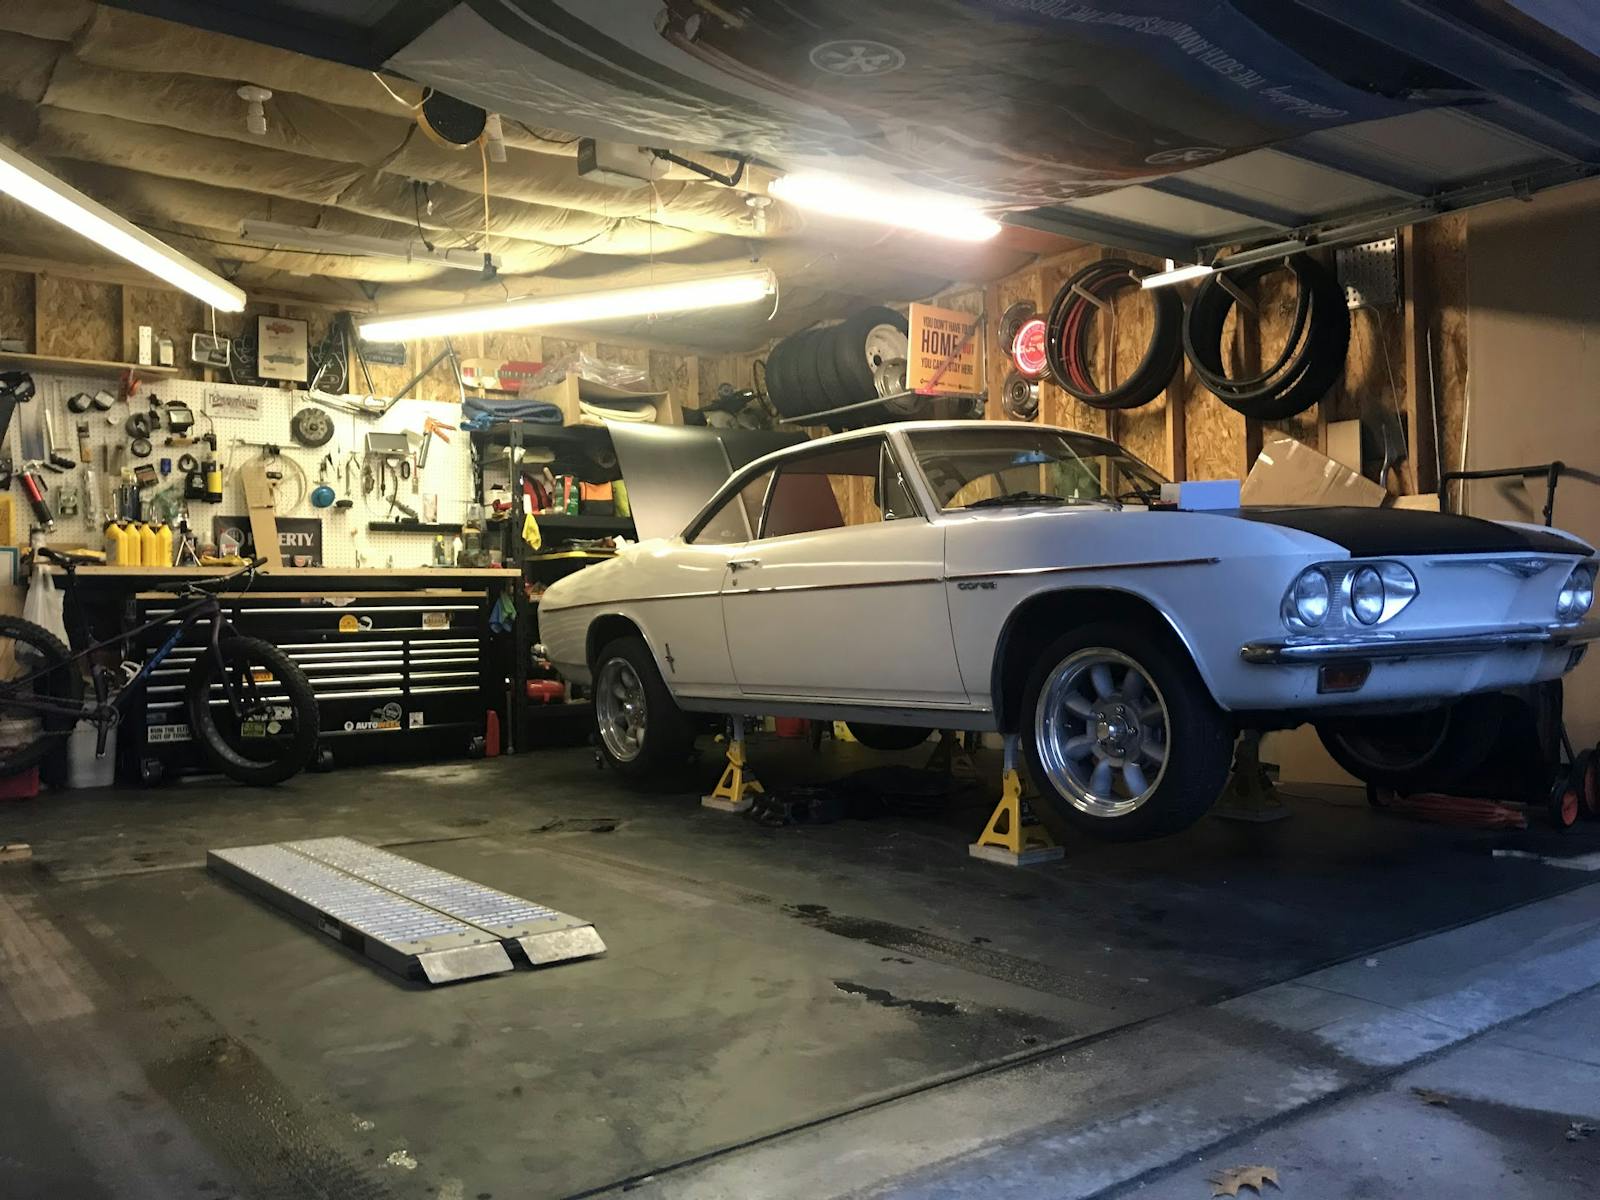
I personally am really bad at this last part, but I have an excuse. I use the tools from my garage to assemble the roadside kit when I need it. The trick here is to have your toolkit ready whenever you want to take your car out on the road. If you have to remember to pack it, that is just one more thing to forget. While you could purchase all the tools new from your favorite tool truck, I recommend being thrifty. Go to garage sales, pawnshops, and thrift stores and purchase the tools to complete your traveling tool kit without taking your “nice tools” from your working tool chest. The tools in the travel kit don’t have to be top quality, but make sure that they do their job before you pack it away under a back seat or side cover. Purchase six-point sockets if you can to prevent rounding hardware on the roadside, and include a nice stout ⅜-inch drive extension—it makes a great drift punch in a pinch.
I hope you never need this assemblage of tools, but you will thank yourself for having them if you do. What other tips do you have for assembling your travel toolkit? Leave them in the comments below.


