Media | Articles
$25K Project Dino: First drive, and a path for completion
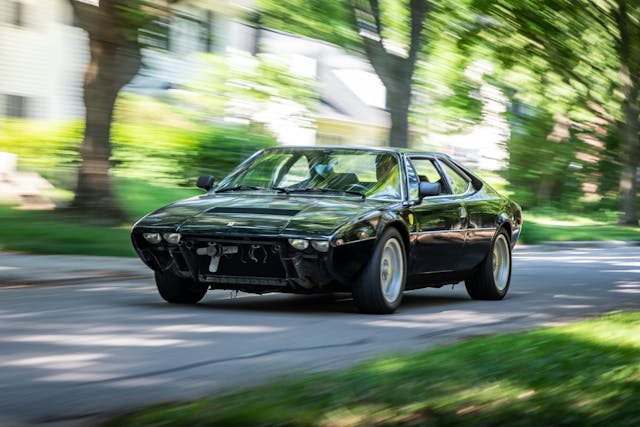
I’m not proud of this, but when the Ferrari V-8 started for the first time, I felt a glee similar to when my kids were born. The engine—which hadn’t run for 20 years—exhausted thick white smoke, the vestiges of a long slumber, and settled into a fast and smooth idle. If I had been alone, I might have danced.
(This past spring editor-in-chief Larry Webster set forth on a bold path to fix up the 1975 Ferrari Dino 308 GT4 he bought for $25,000. He wasn’t sure our fine readers would be all that interested in hearing about it, but your vigorous responses proved otherwise. Forward he forged. –Ed.)
This step, getting the engine running and driving the car before disassembling it, was perhaps unneeded. I wanted to know, however, a few things: Does the gearbox shift smoothly? Do the water pipes that run through the car leak when pressurized? Is the engine sound? Are there other needs I should address before I send the car off for bodywork?
Restoration costs spiral skyward via the “might as wells.” When the car is in pieces, you might as well replace the clutch, upgrade the radiator, or rebuild the engine. Months of work leading to the first start-up, detailed later in this article, culminated when my friend Marc Trahan arrived. Trahan’s a retired VW/Audi executive who owns a GT4 and started his career as a mechanic. He’d know which noises are normal, and it was fun to share the success and failure with someone who’s been there. Projects are fantastic excuses to socialize.
Trahan pronounced the engine healthy. A few days later, while I excitedly backed out of the driveway, the fuel pump stopped its whirring. This did not register as a problem until a quarter-mile into my first around-the-block excursion, when the GT4 sputtered, stalled, and coasted to a stop. A dead fuel pump meant no fuel.
Marketplace
Buy and sell classics with confidence
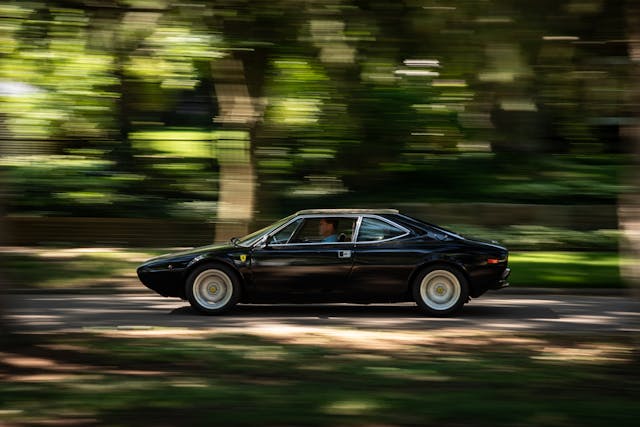
My son John arrived with another car and a tow strap, and as we struggled to push the Ferrari into position to attach the strap, a pizza delivery guy rode up, dismounted from his bike, and—without uttering a word—heaved with us. Pizza guy for the win! John towed me home, taking pride in the task and probably loving this new calamity to rib his old man about. We’d just made a memory we’ll retell for years.
After replacing the fuel pump and doing many short neighborhood trips, my other son, 12-year-old Sam, came for a ride. At a nearby stop sign, I said, “Do we go left to stay close to home or turn right and roll the dice?”
“No question,” he said, “We roll the dice.” Love that kid.
We covered 10 miles that day and later added another 20 trouble-free miles before embarking on the complete disassembly. The only unfortunate sounds came from the gearbox, which crunched when shifted into reverse. Another “might as well” that I’ll have inspected. In any case, this project has already proved invaluable.
The test drive

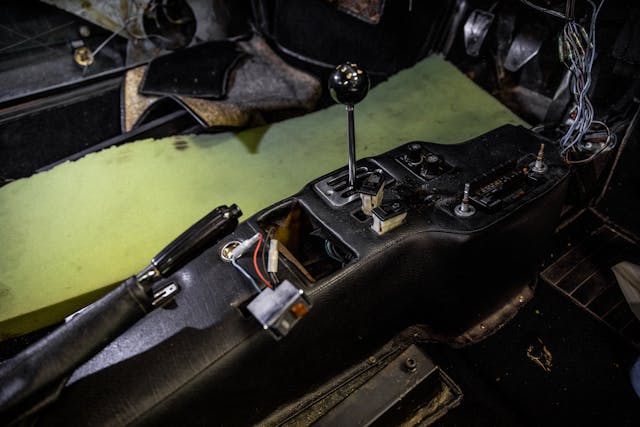
I got the car running to learn the health of the drivetrain, but also, I needed to see the light at the end of the tunnel. DIY restorations tend to drag, a situation I’m committed to avoiding while taking time to enjoy the process. Start-up was a joyous moment, a reminder that the effort has a payoff. Notice the light blue paint on the interior door frame. That’s the original color, one of many unconventional palettes GT4s wore from the factory—and for which slow sales were blamed. I think mine was painted black to broaden its appeal.
Carburetor rebuilding
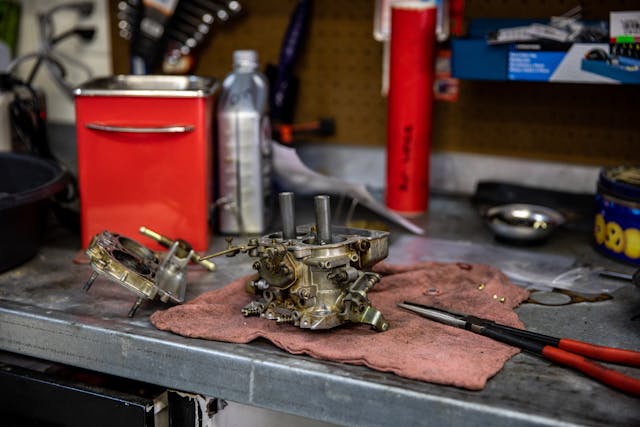
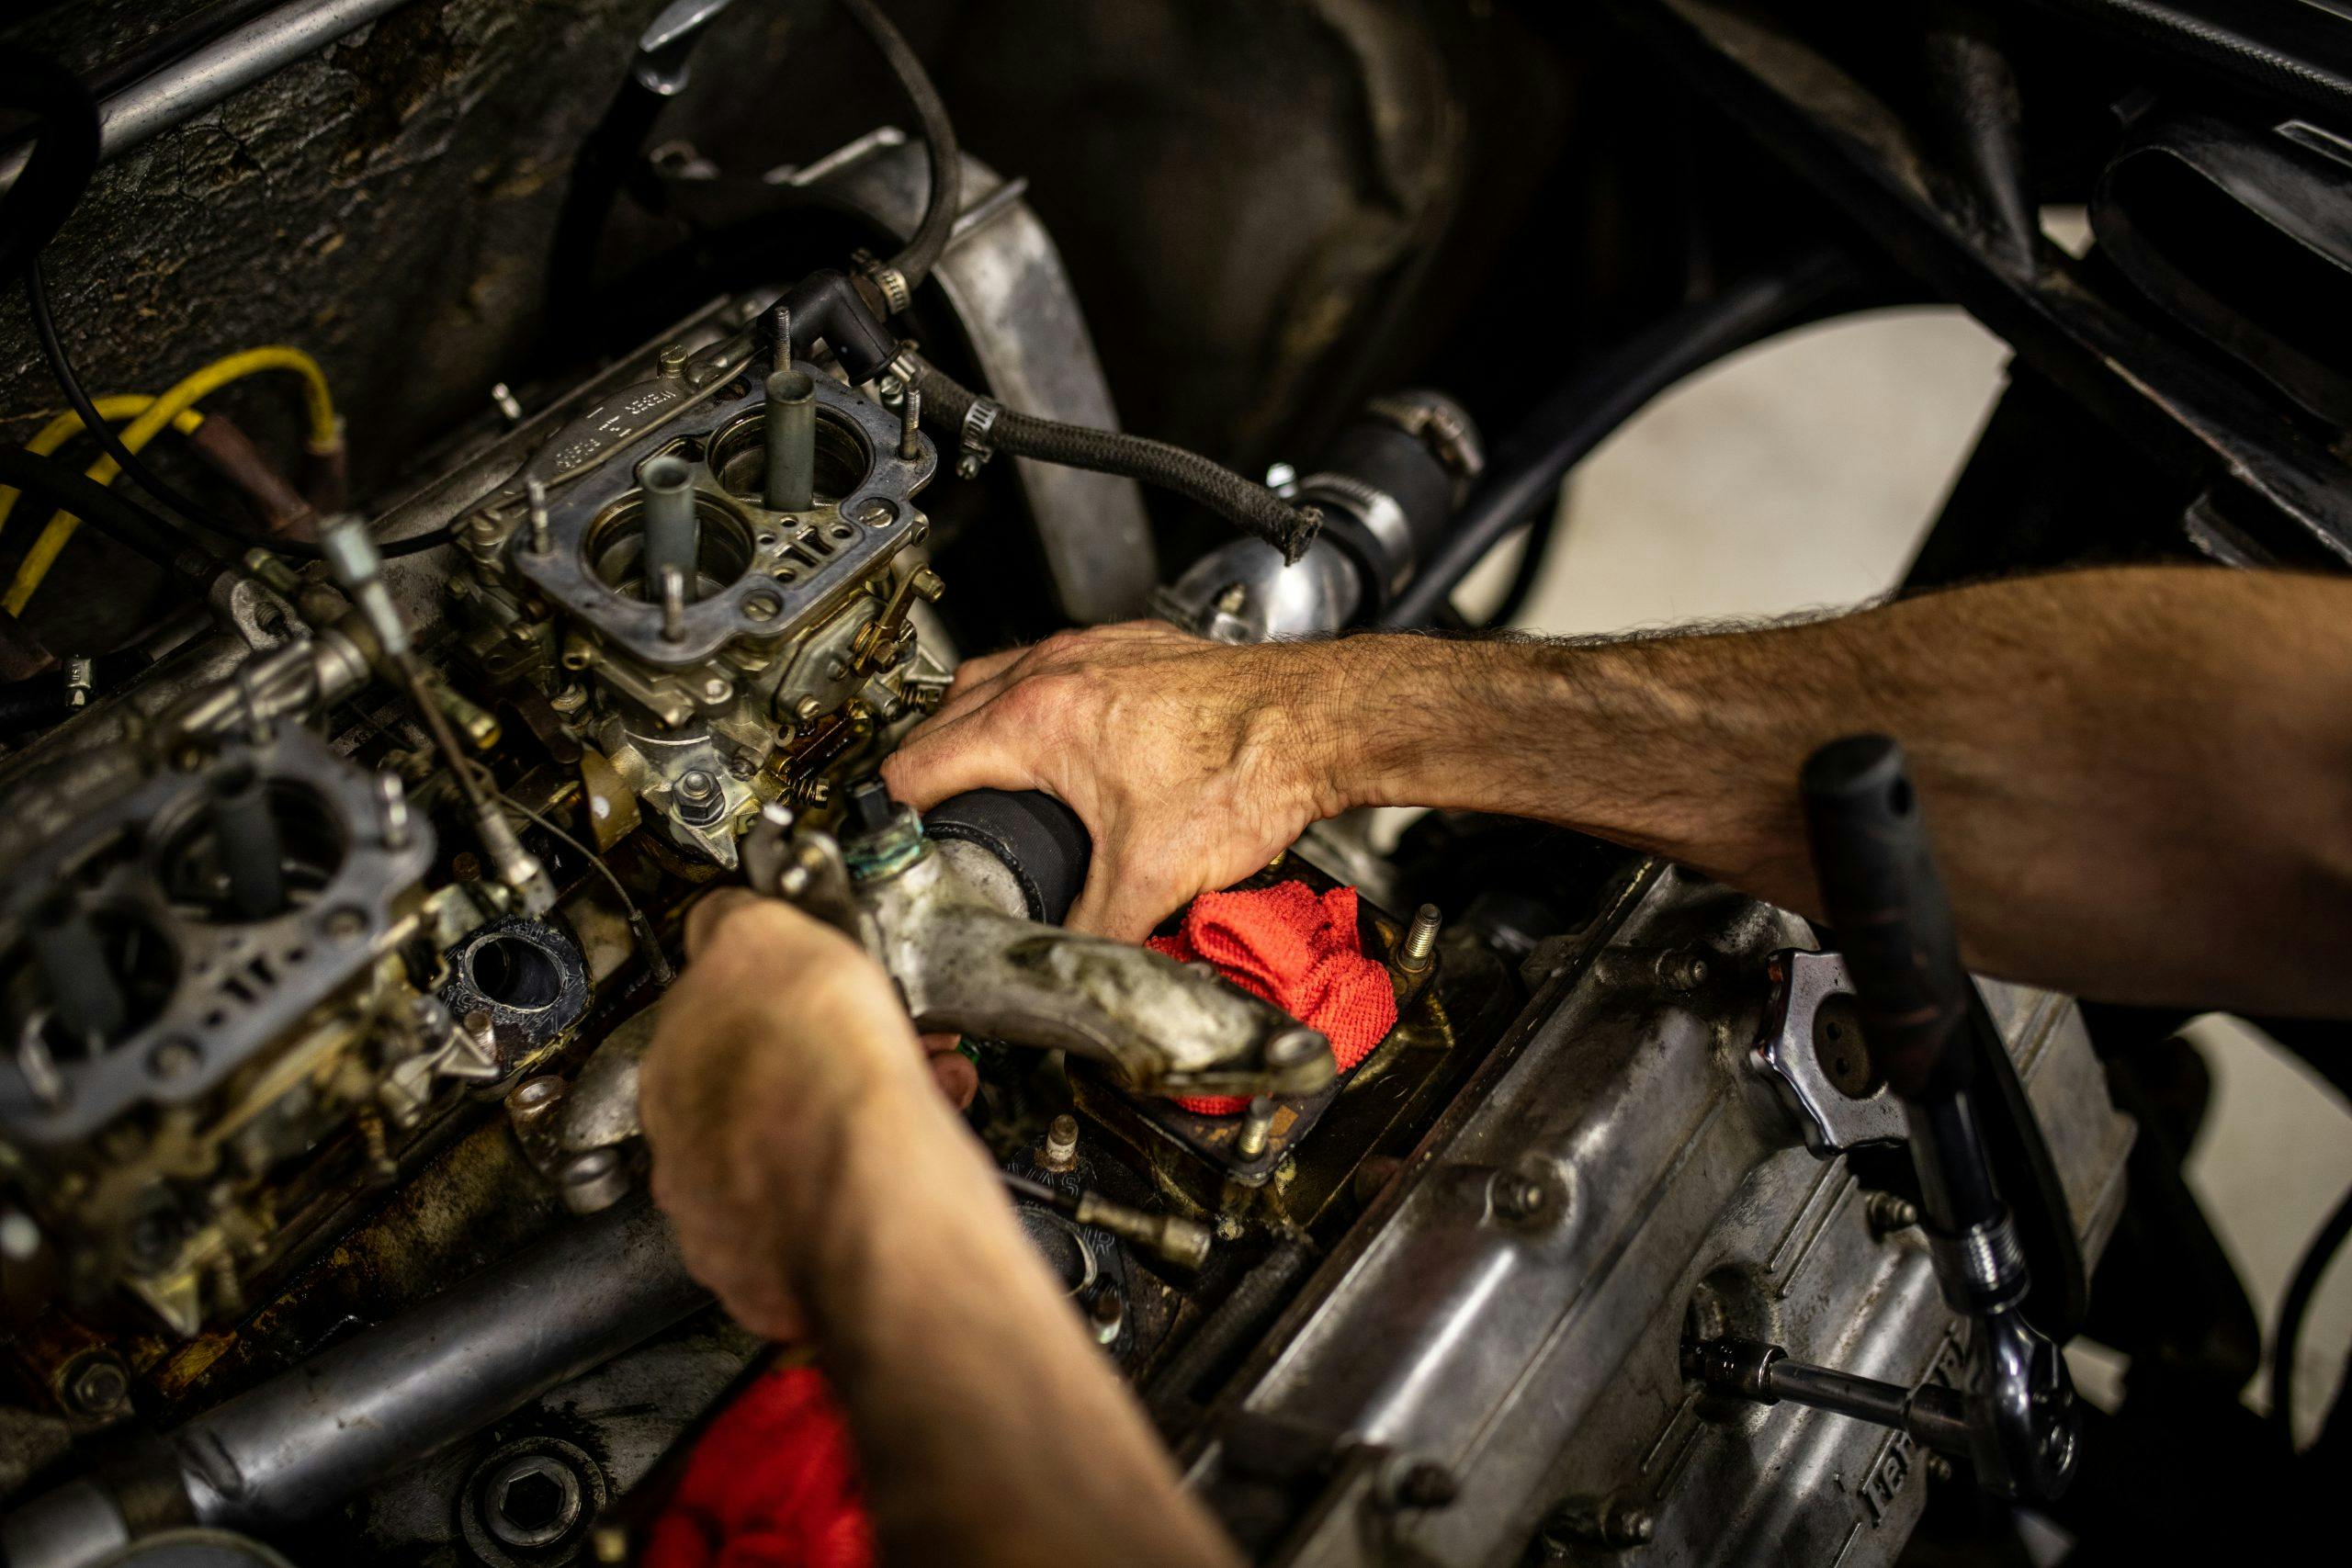
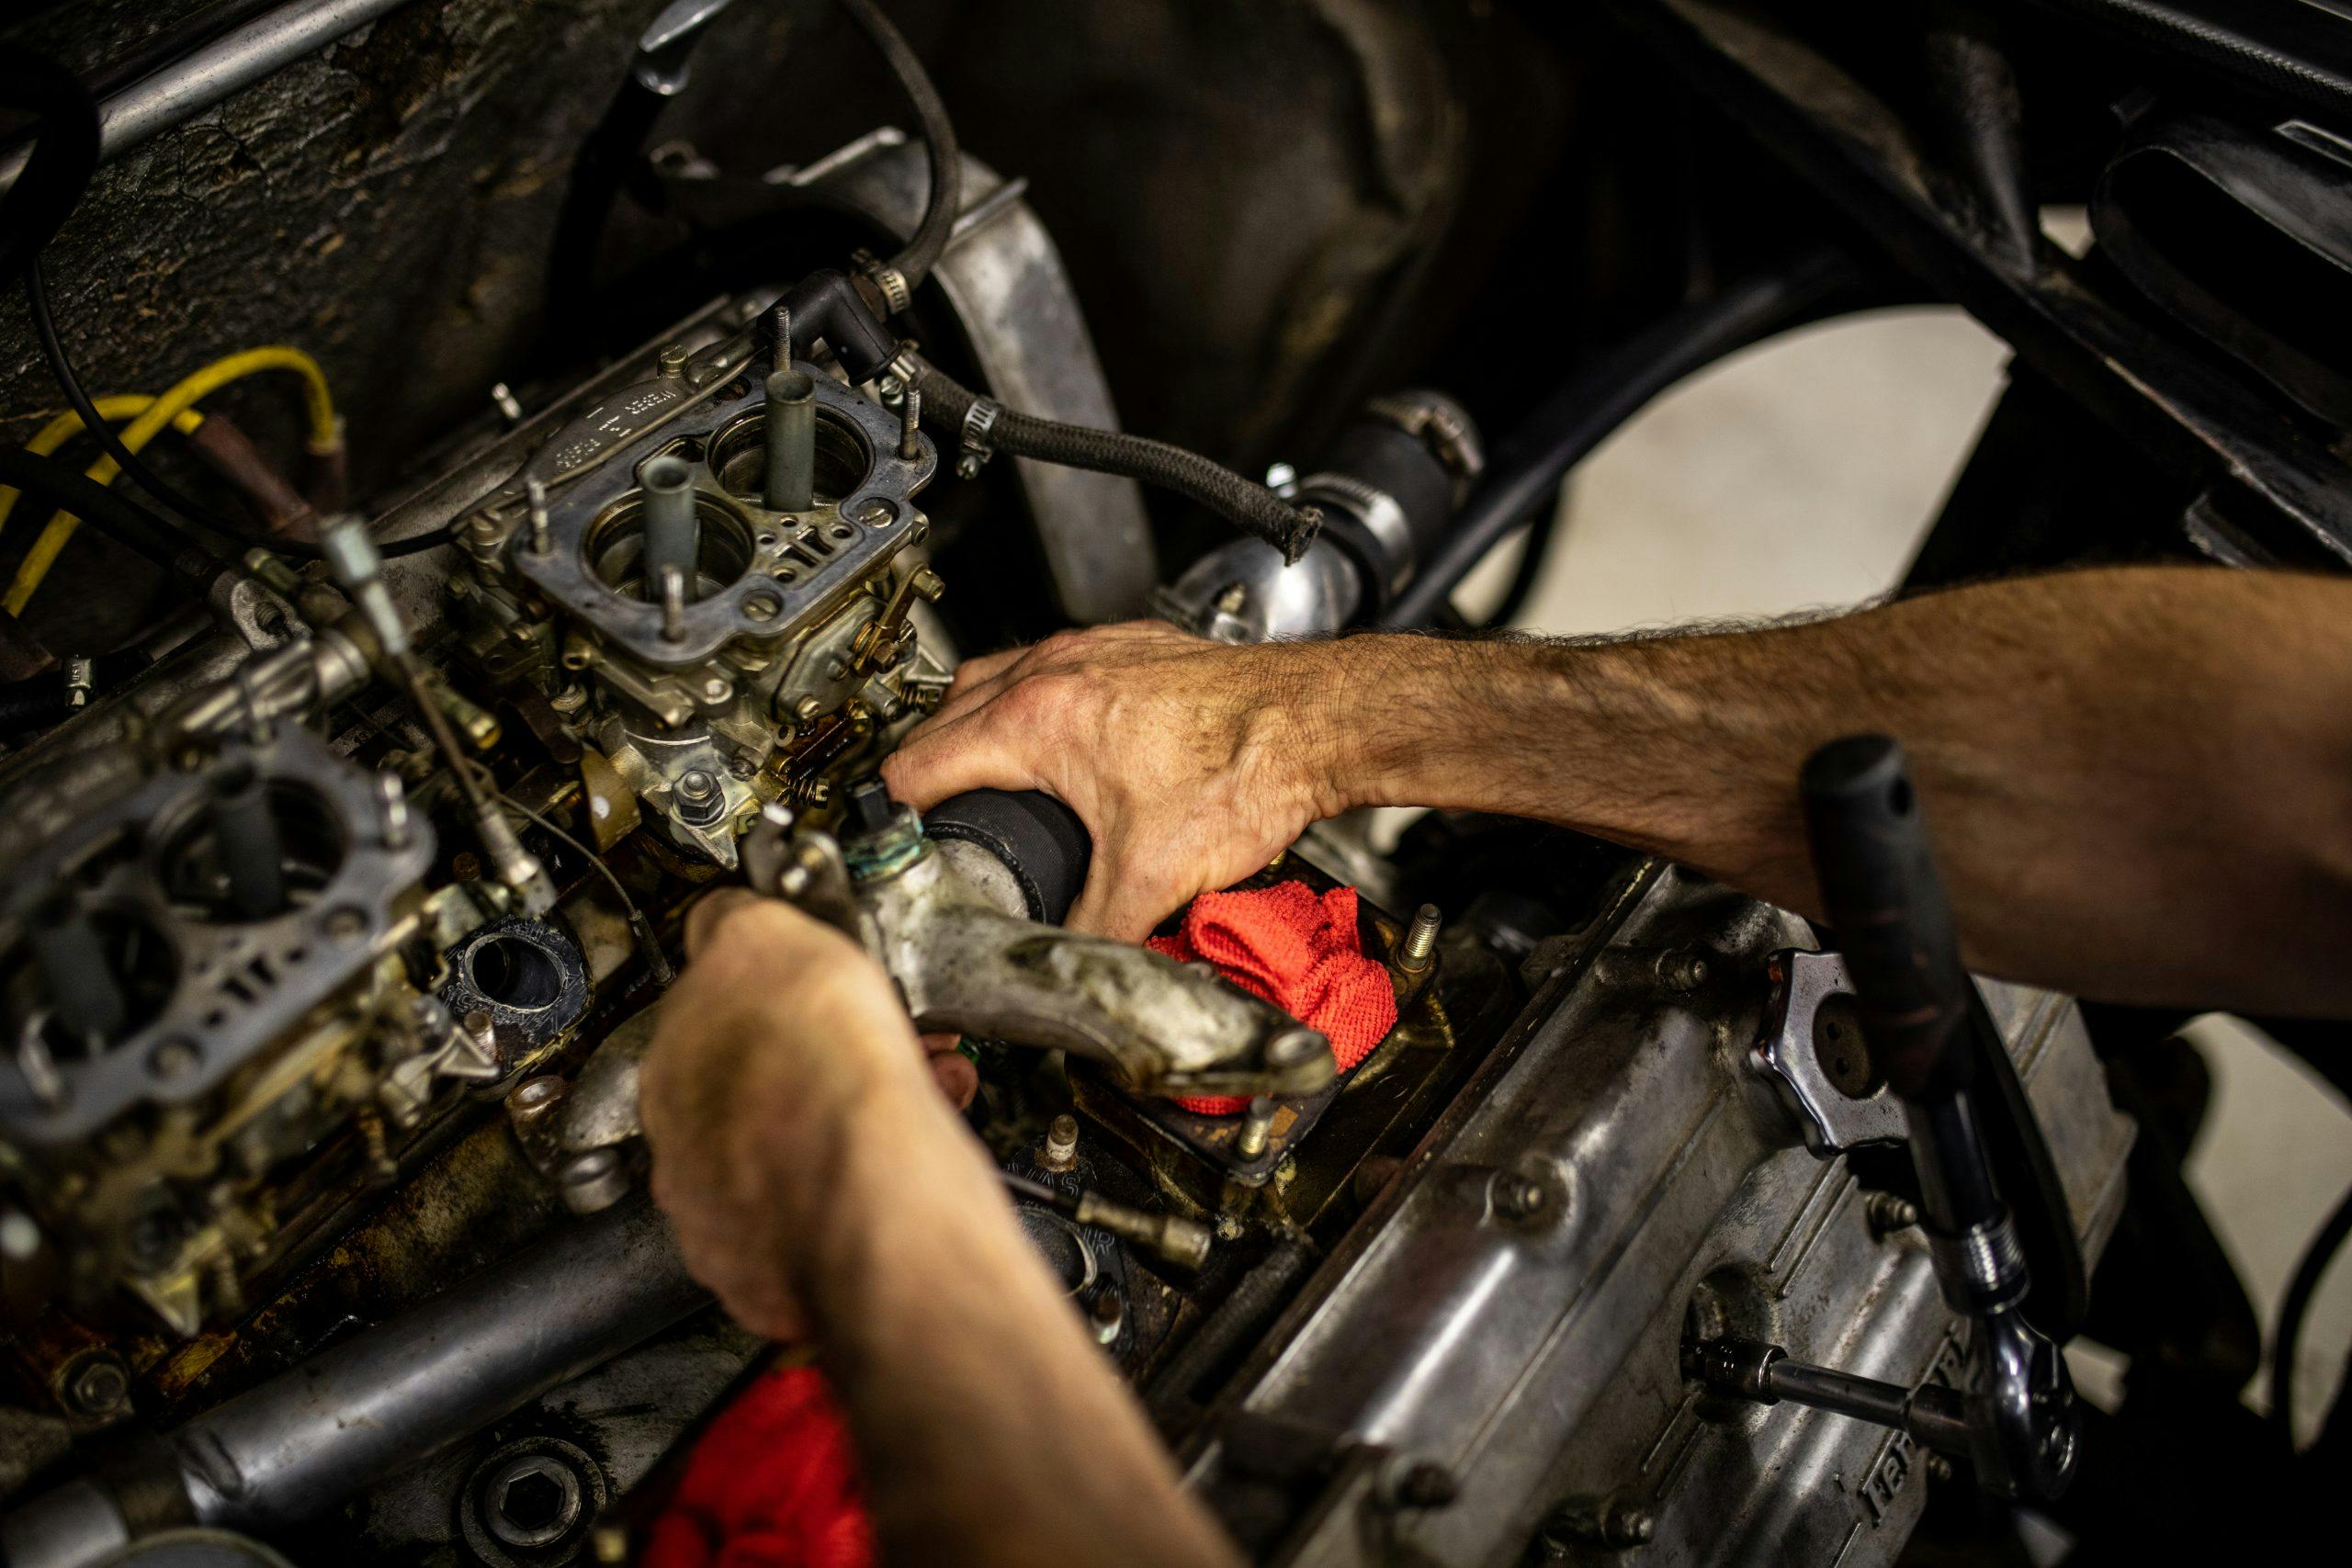
All four carbs leaked fuel and needed rebuilding. A rebuild is basically disassembly, cleaning, and replacing gaskets, O-rings, and the rubber accelerator pump. There are dozens of small parts, so I leaned on a diagram and photos to ensure proper reassembly. The risk for novices is that we might not recognize faults that could prove troublesome later. I made an admittedly uninformed evaluation—all seemed fine to me—and I forged ahead.
Timing belts and hoses

These are critical items for the Ferrari V-8; if a belt breaks, the valves will crash into the pistons and cause expensive damage. This was a scary job, because you can smash the valves, too, if the belts are not installed in the proper position on the sprockets. Thankfully, there’s a well-documented procedure where you mark the old belts and sprockets before removal. I transferred those marks to the new belts and matched them to the sprockets. It took many nights of fiddling and rechecking before I turned the engine by hand to make sure it moved freely. Even so, I was nervous when the motor first started.
Conventional wisdom says that you should also replace the water pump, because the task is easy once the belts are off. My pump, however, was upgraded not long before the car was parked, and it turned freely. I decided to save the dough.
During this work, I drained the old fuel and replaced every hose. Modern fuel hoses are essential, as the old stuff deteriorates when exposed to ethanol blended with modern fuel. Leaking fuel, of course, can lead to fire.
The grind
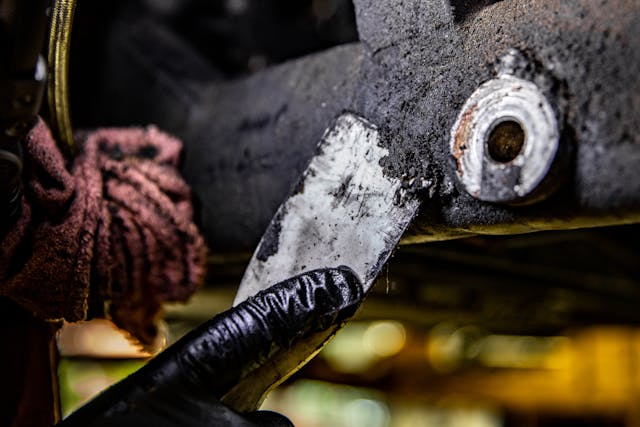
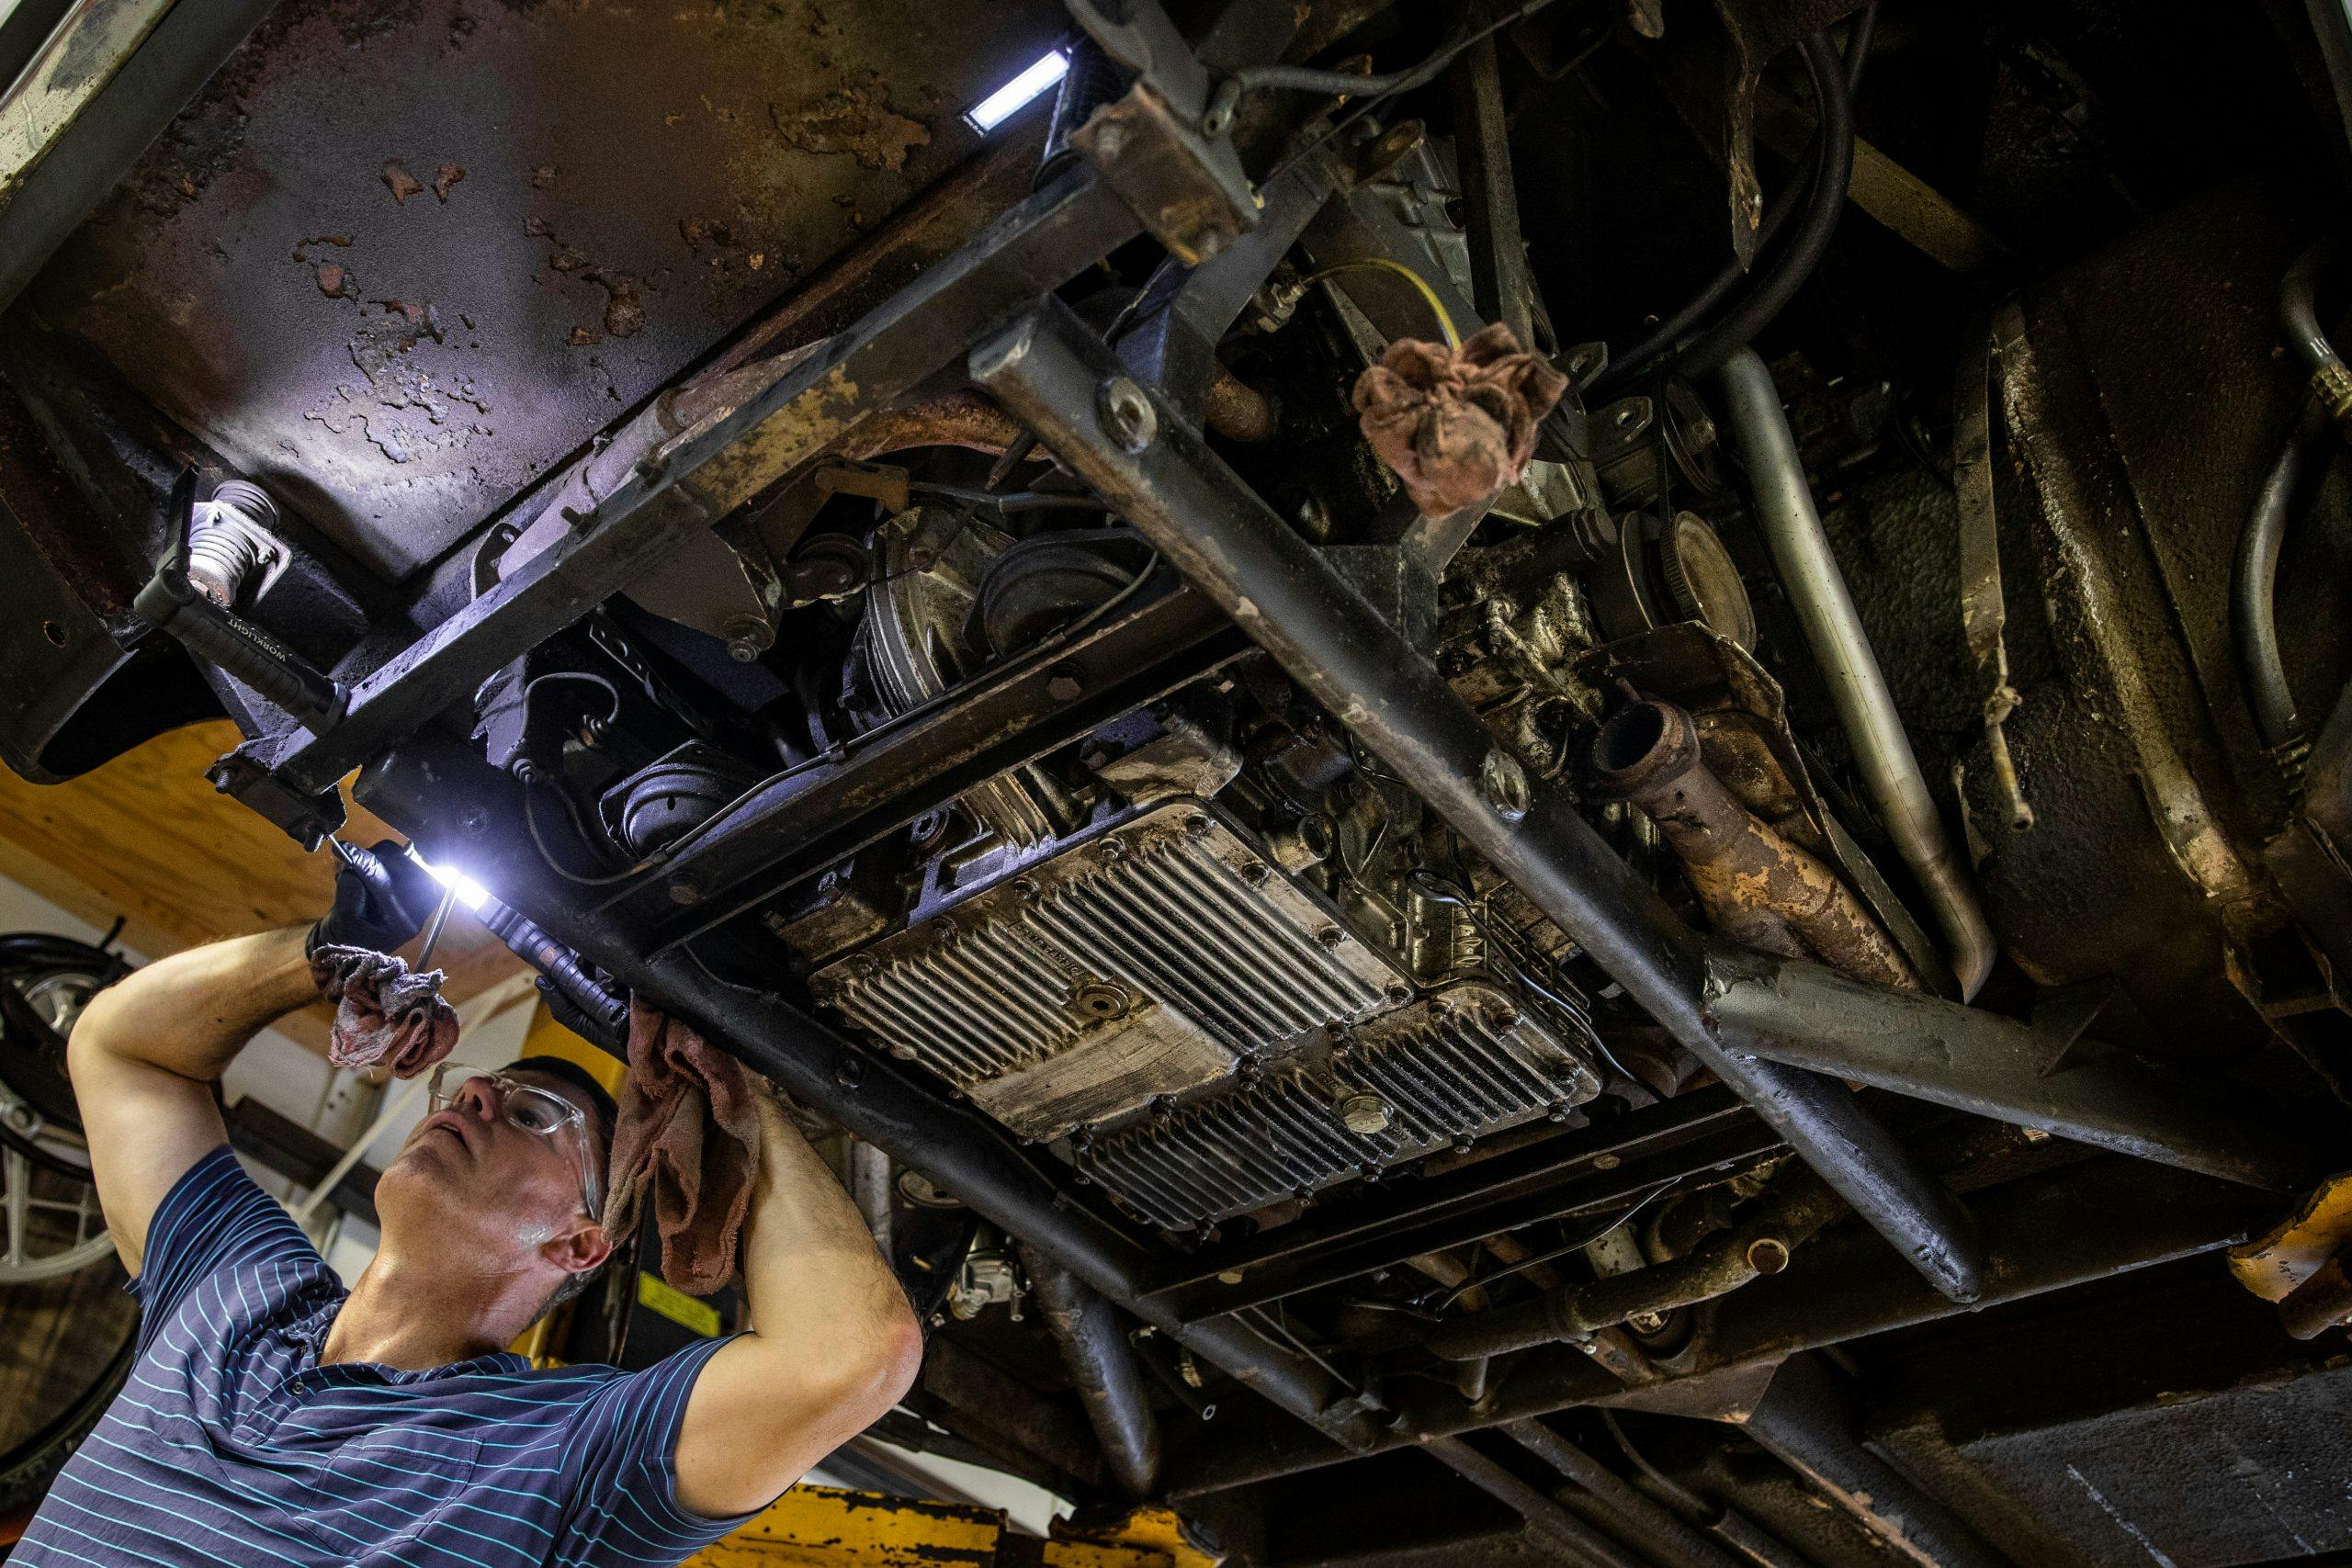
There’s a joke that leaking engines are the best kind of rust protection because the oil coats metal. Years of drips mixed with road grit meant caked sludge that required hours of tedious removal. Ugh. This is the unromantic part of car tinkering. To avoid damaging the paint and to conserve my solvent supply, I used plastic scrapers.
After weeks of soul-sucking cleaning, done in small bits at night, the frame rails were mostly crud-free and the brake lines visible. Let me pass on one bobble so that you might avoid it: I once unknowingly got oil sludge on a shoe bottom, walked into the house, and destroyed a rug. Yeah, that was a tense night. I now have old sneakers that live in the garage.
Engine removal

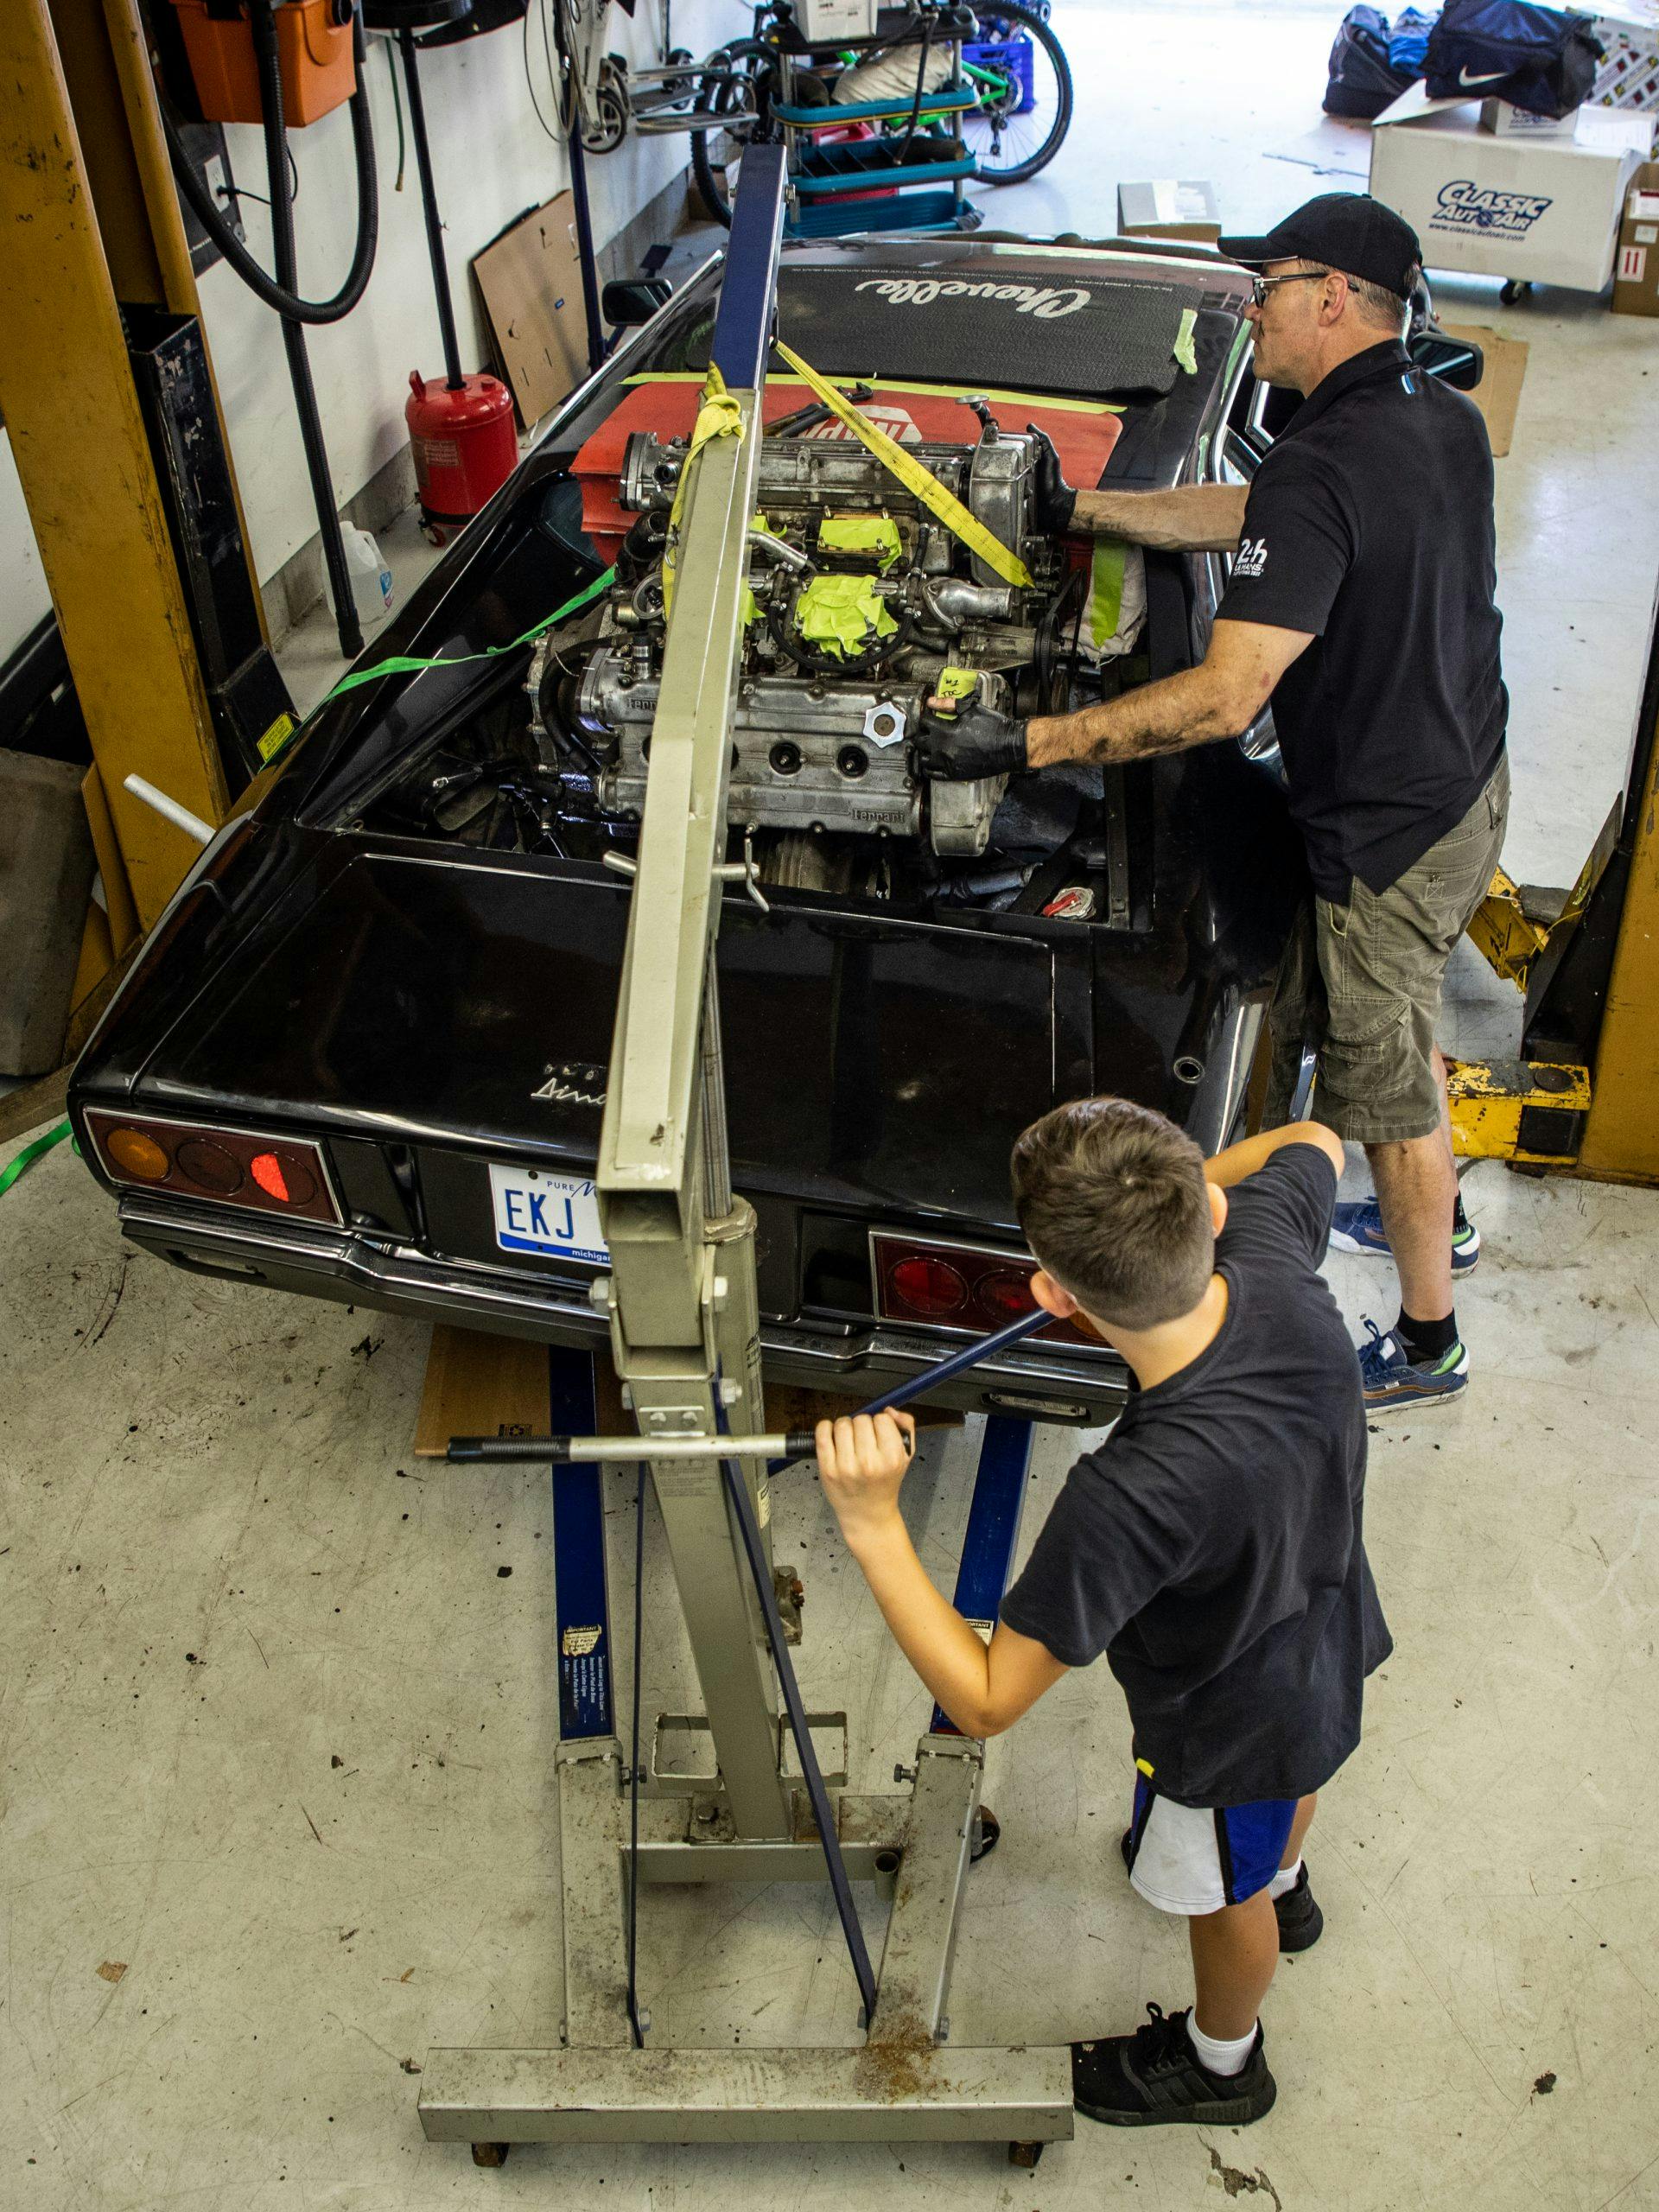
Once all the systems checked out, a cherry picker and a 12-year-old helper pulled the engine. I’ve removed about a dozen motors, and it’s always nerve-racking, as I never seem to anticipate everything that gets in the way. While the car is at the body shop, I’ll clean the motor, remove the transmission to inspect the clutch, and replace all the seals. The finish line remains far in the distance.






love the GT4! Need to see more pics and info