Improve your classic by upgrading your alternator
Part of the joy of owning a vintage car is its simplicity and purity of design. Compared to modern cars, the engine compartment in a vintage car is laid out in the way that The Great Automotive Creator intended, with all parts clearly visible and accessible.
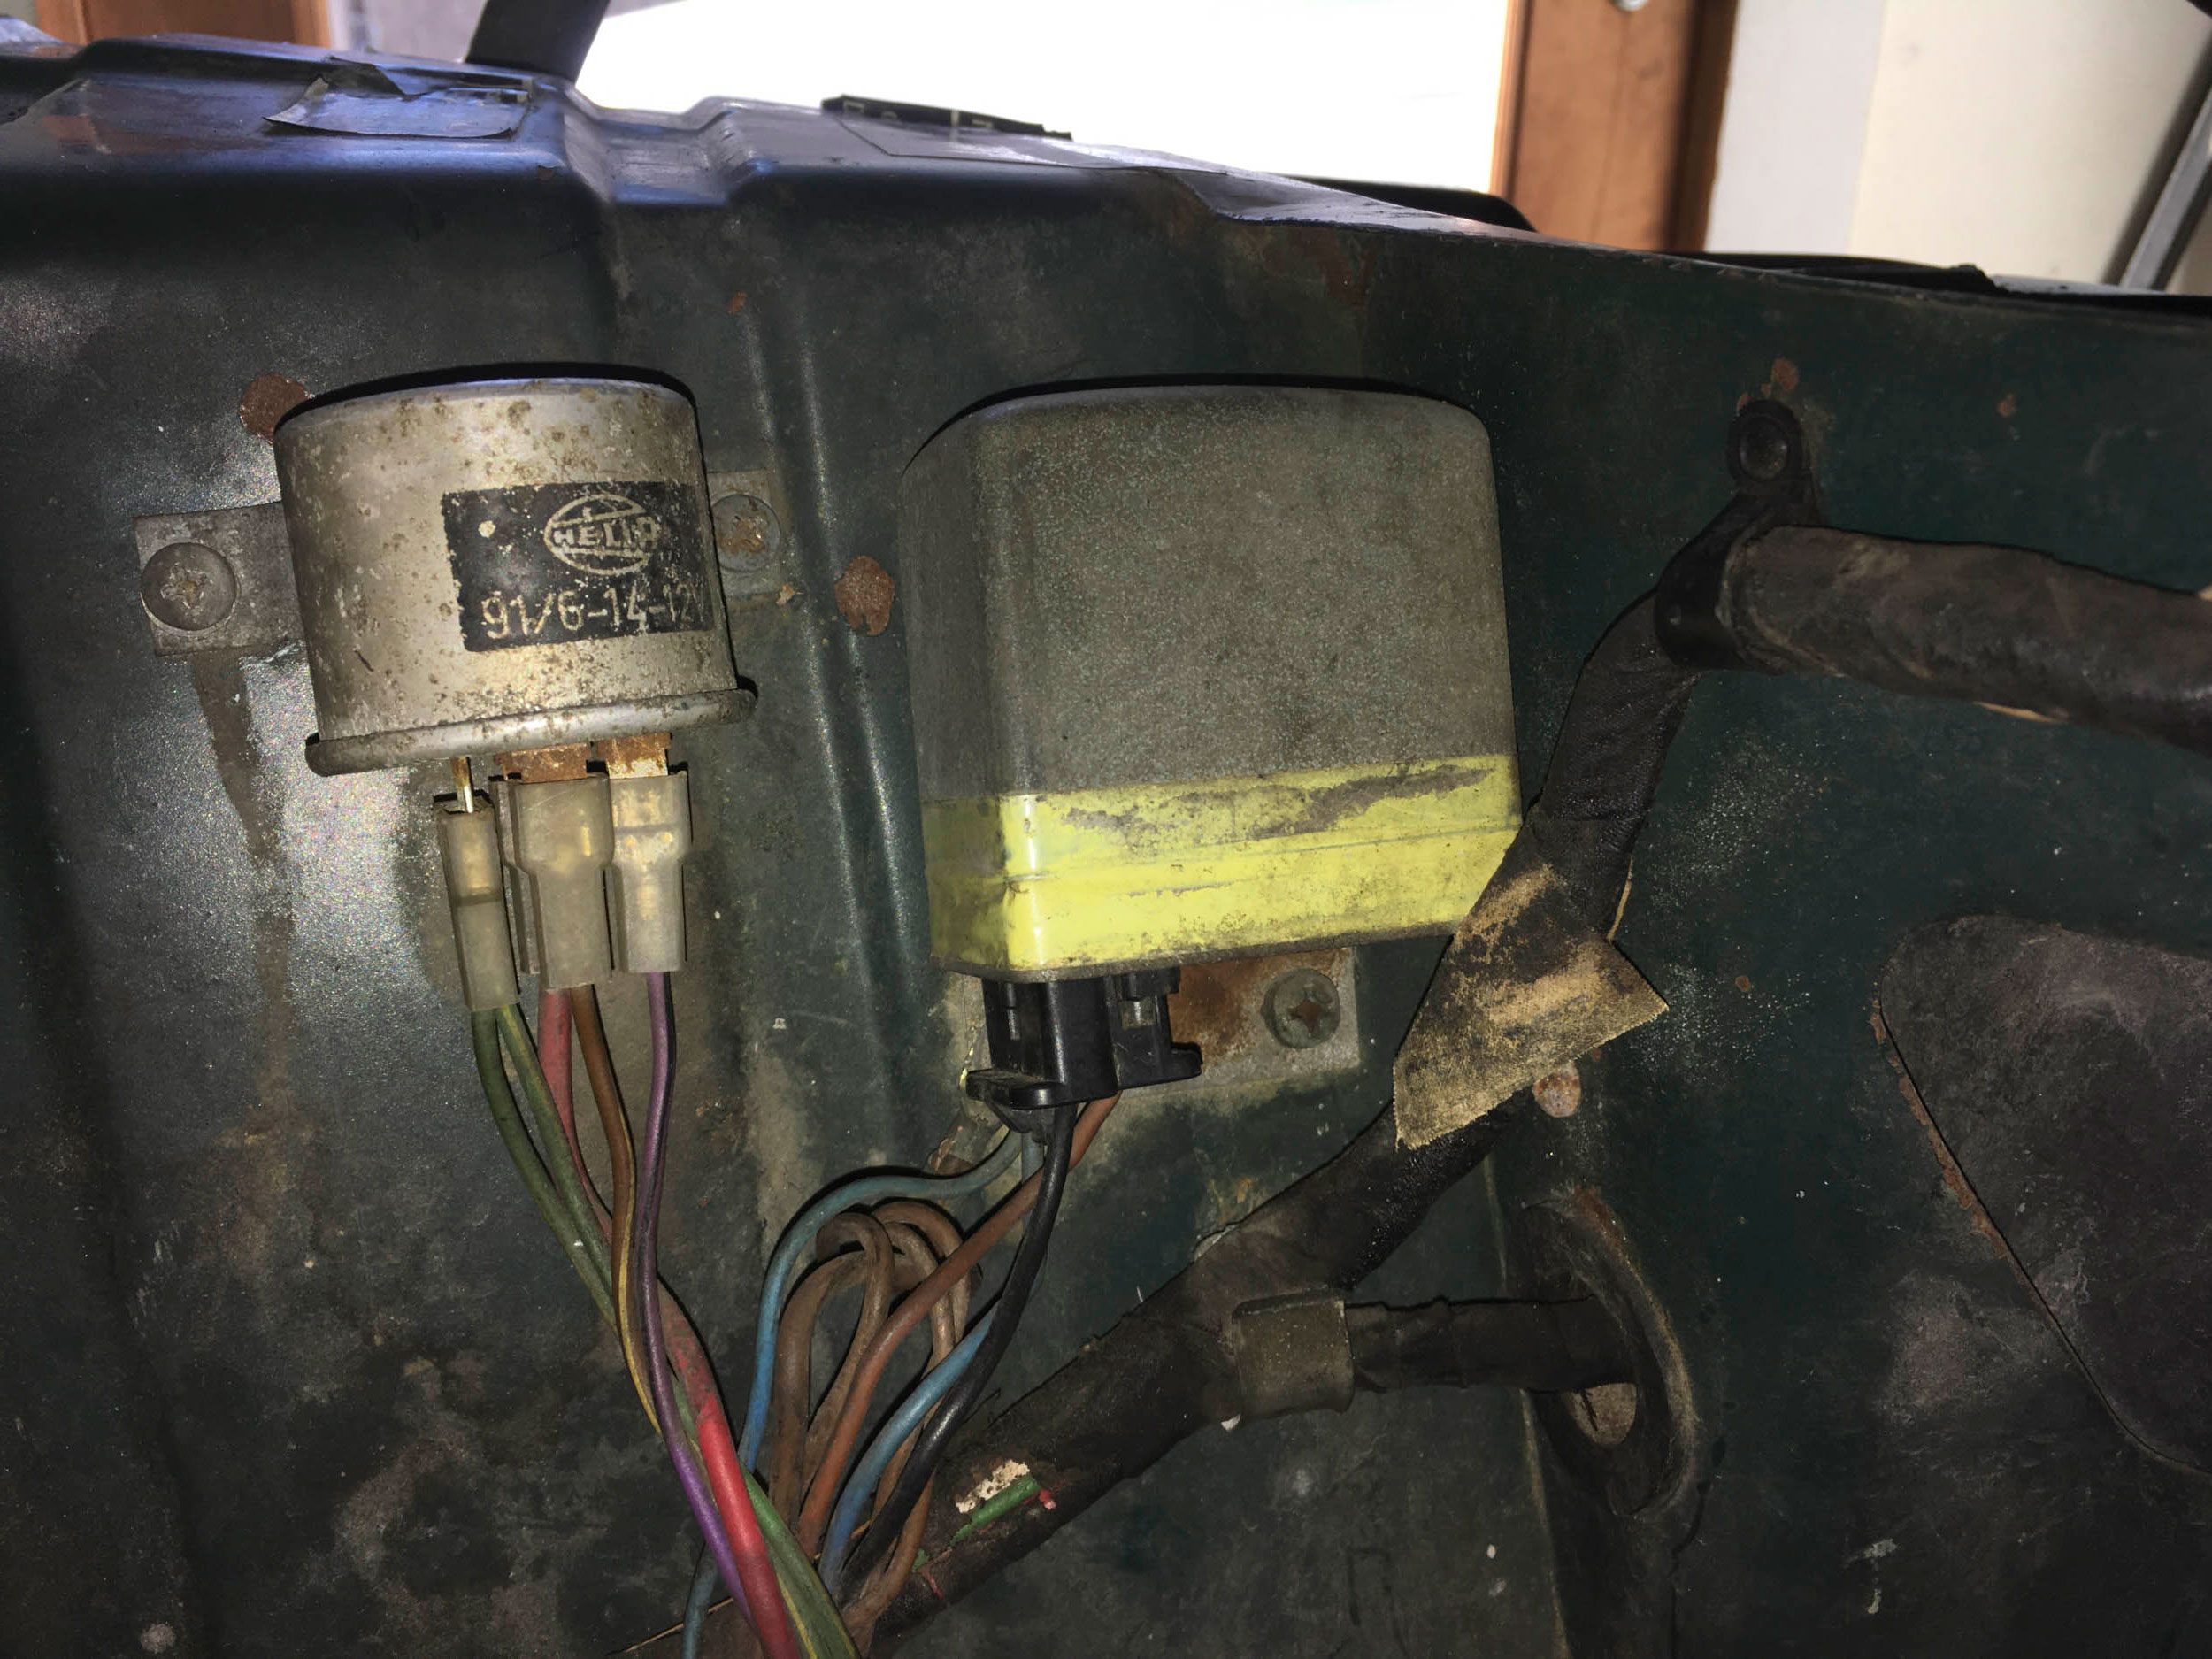
However, one area where vintage cars are not simpler than those that followed is the charging system. Cars made before the late 1970s have an alternator with an external voltage regulator. On European cars, they’re sometimes called a “three-wire alternator.” It’s actually four—there’s the fat “B+” wire all alternators have that connects directly to the battery or the fuse box, and there are extra connectors on the back of the alternator for the D+, D-, and DF lines that go to the regulator. On ’70s European cars with Bosch electrical components, these three lines are on a three-pronged plug that connects to the external voltage regulator. The regulator can vary in size and shape, but on European cars, they’re usually about the size of a pack of cigarettes and mounted on the inner fender.

The problem with externally regulated alternators is several-fold. First, the external regulator is mechanical. It has contact points that open and close 10–20 times per second to take the alternator’s native 17-ish-volt output, turn it on and off quickly, and average it down to roughly 13.5 volts. But because the contact points are mechanical, they can pit and burn just like ignition points. They can stick closed, which makes the alternator pump out all of its 17 volts. This will overcharge your battery, boil the acid inside, creating a strong rotten-egg Sulphur smell. In a newer car, it can fry sensitive electronics. Or the contacts can corrode enough that they never electrically close, which results in the alternator not being brought into the charging circuit, causing the battery to run down.
While you can purchase a newer solid-state regulator to replace the mechanical one, they are still external to the alternator and that creates the opportunity for problems. As I said, there are three wires connecting the alternator and regulator. Each has a female spade connector on both ends. They mate with male spade lugs in the alternator and regulator. Thus, there are nine failure points—the three wires, and the six spade connections. You can use a multimeter to verify the continuity from one end of each wire to the other, and check that none of the wires are shorted to each other, but other common problems are that the female spade connectors wiggle open over time, become loose, and don’t sit snug on the male lugs. Age and repeated plugging and unplugging of the three-pronged plug can cause it to crack and make the spade connectors retreat out the back when you push the plug in.
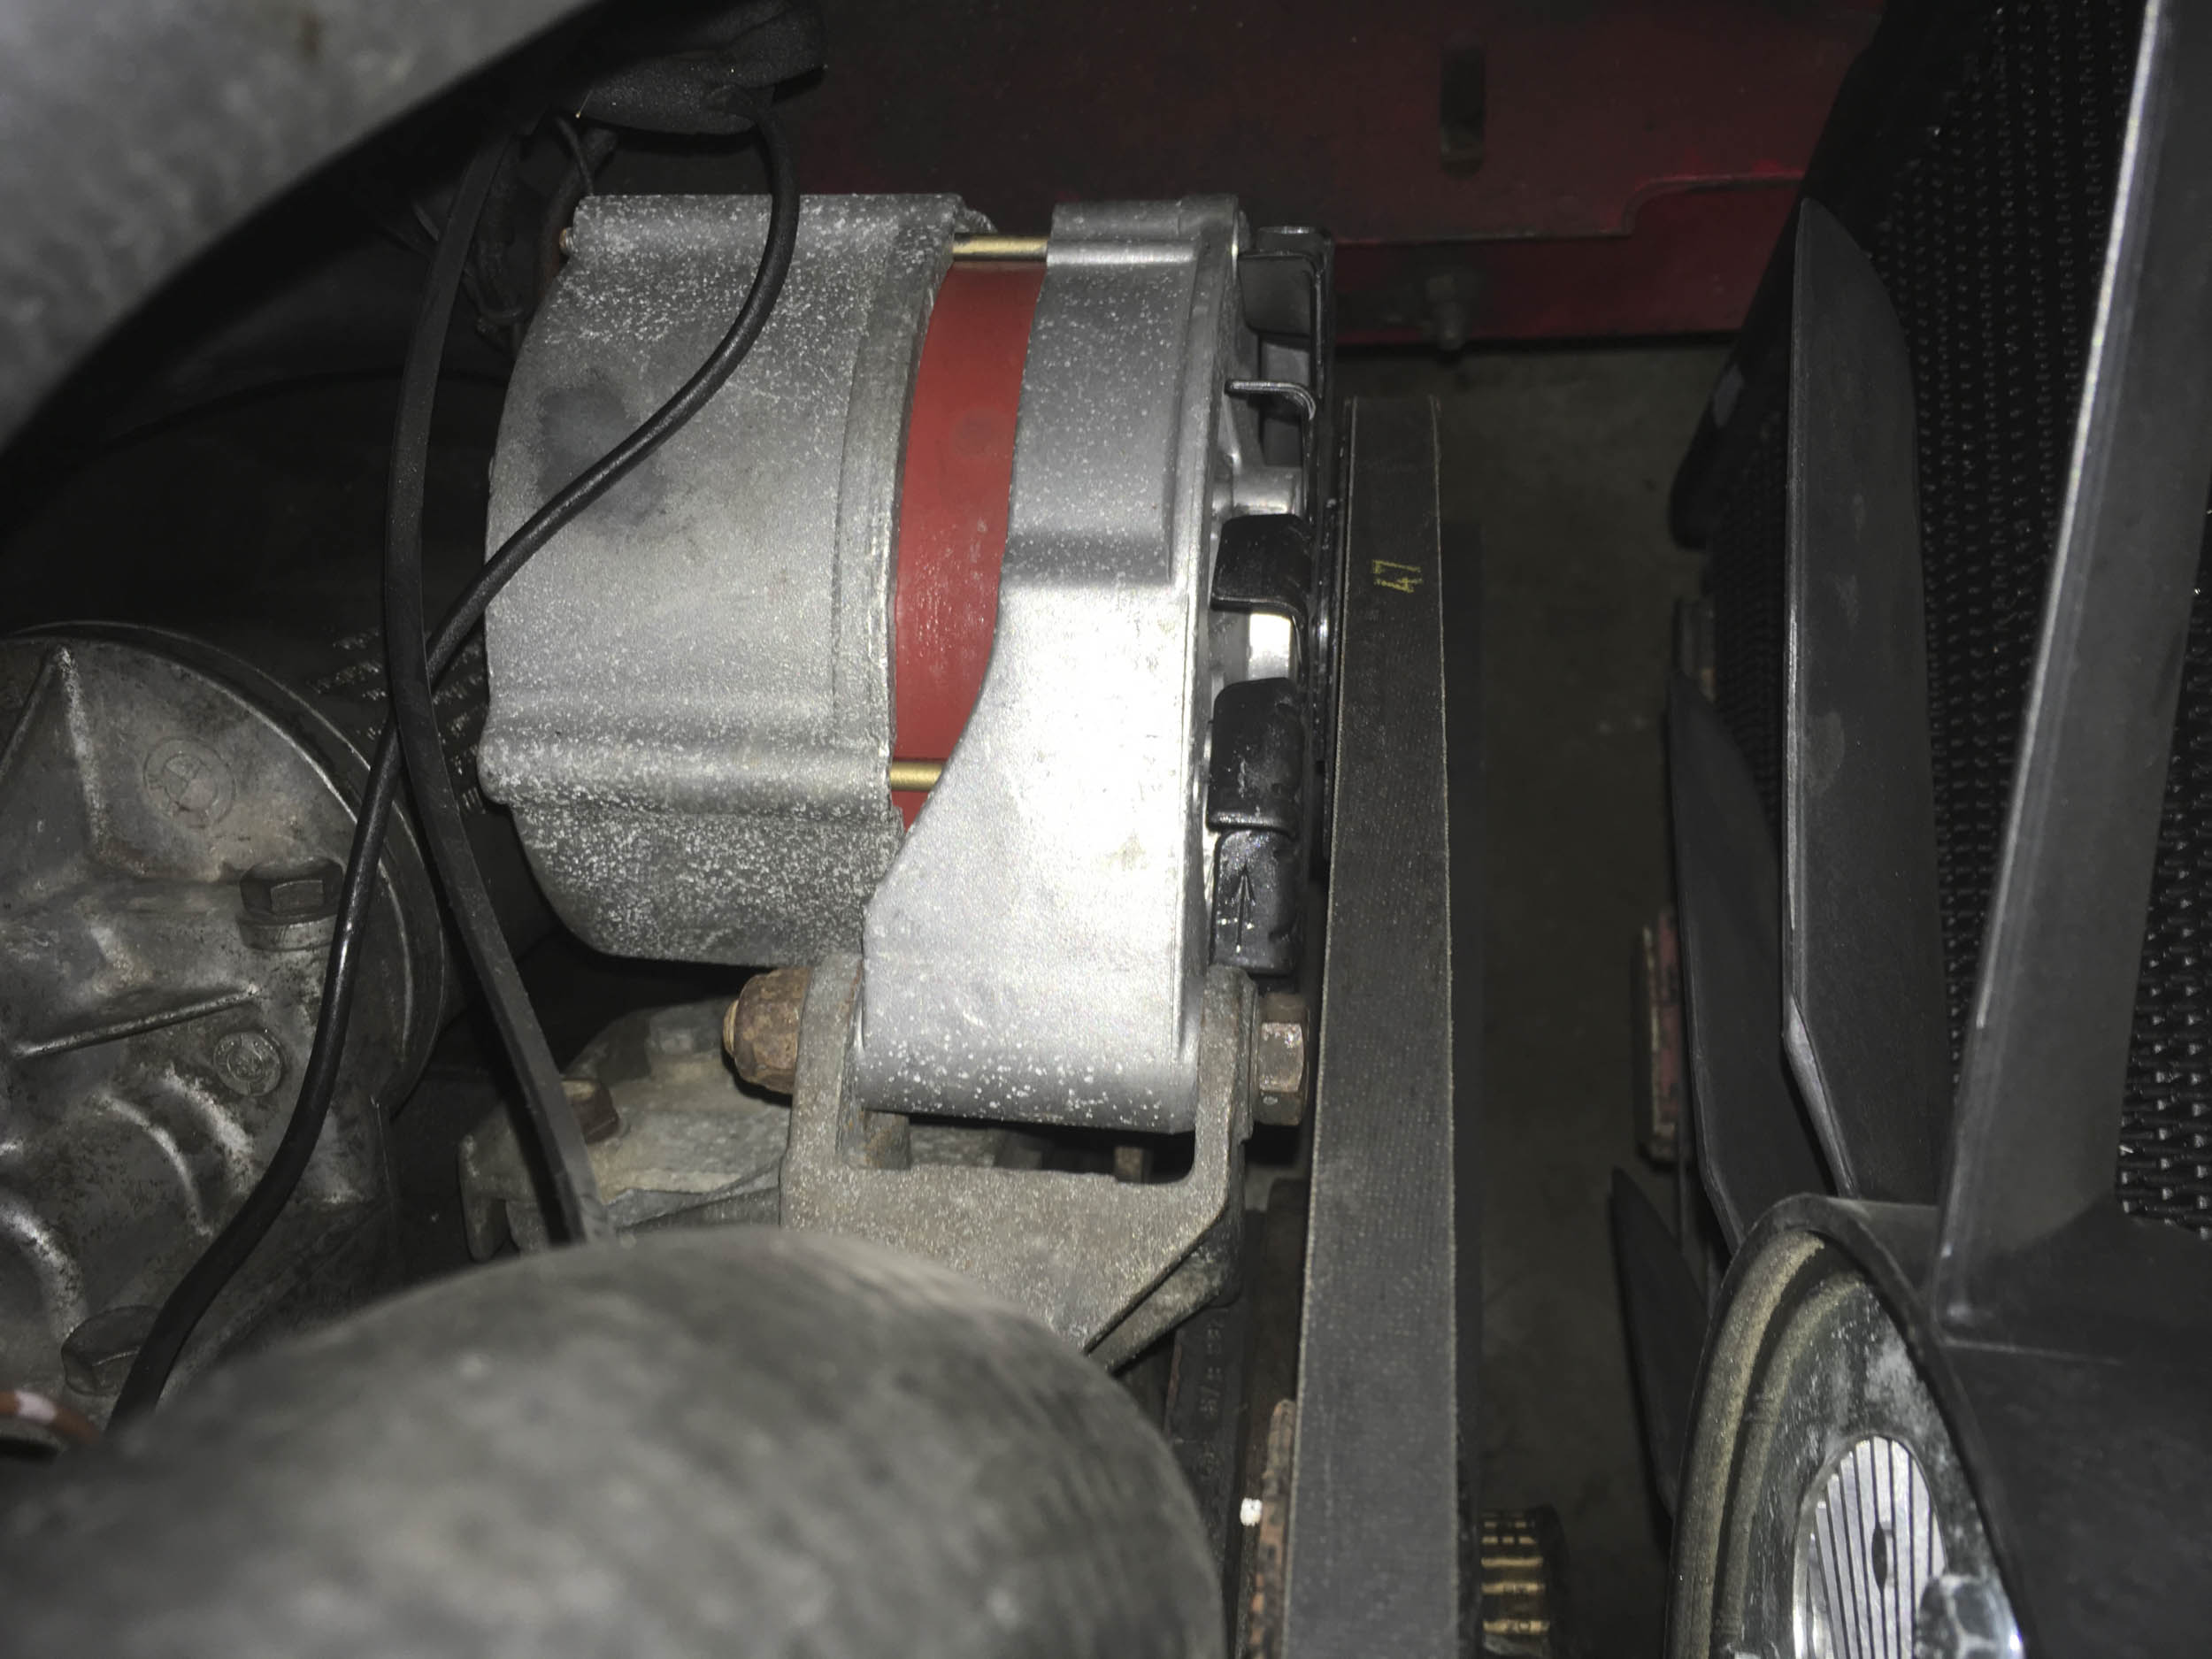
For all these reasons, a nice upgrade to a vintage car is to replace the externally-regulated three-wire alternator with a newer internally-regulated single-wire unit. In addition to losing the external regulator and its nine failure points, the internally-regulated alternators have two additional advantages. The first is that a newer internally-regulated alternator probably has a higher amperage output than the original unit. The alternators in my BMW 2002s are 35-amp units, but their internally-regulated replacements are rated at 65 amps. This provides needed additional capacity if you’ve incorporated, for example, a beefy electric cooling fan, a power amplifier for the stereo, or high-intensity headlights.

The second advantage is that, on a newer internally-regulated unit, the brush pack and the regulator are part of the same easily-removable module, whereas an old externally-regulated alternator must be disassembled to change the brushes. If an internally-regulated alternator isn’t working properly, it’s trivial to unscrew the regulator and check the brushes; I’ve found them worn down to nubs.
Like the term “three wire alternator,” “single wire” is a misnomer. On vintage European cars, it’s actually two: There’s the “B+” wire to the battery and the “D+” wire that goes to the alternator warning light on the dashboard. This is more than just an idiot light. It provides current to excite the windings of the alternator, bootstrapping it into operation. The alternator won’t work without it. (For more information, see my book The Hack Mechanic Guide to European Automotive Electrical Systems from Bentley Publishers).
To upgrade from a three-wire externally-regulated alternator to a single-wire internally-regulated unit, you first need to procure one that’ll fit the bracket on your engine and have the pulley align correctly with the other accessories that run off the same belt. There are two ways to do this. One is to bring your existing alternator to an auto electric shop and convert it. The other is to buy an internally-regulated unit from a later car that fits yours. If you have a local auto electric shop that you trust, the former route is often best, as the quality of rebuilt alternators you see online varies enormously (my local auto electric guy has a “Rebuilt Alternator Wall of Shame” in his shop). If you go the latter route, enthusiast forums are a godsend, as someone has almost certainly done this before and can usually tell you the part number of a later internally-regulated alternator that fits your car.

In the vintage BMW world, the single-wire alternator that’s often used to update an old externally-regulated alternator on a 2002, 3.0CS, or Bavaria is the Bosch AL41X from a late-’70s 530i, 528i, 633CSi, or 733i. Although the alternator fits the bracket on the engine, there’s a portion of the shaft that sticks out a bit too far as it goes through the pulley, resulting in a clearance problem with the fan. It can easily be shaved down, however, with a grinder.
Once the alternator is mounted, there’s the wiring to deal with (and be certain to disconnect the battery negative before doing any work on the alternator). The fat B+ wire that goes to the battery or fuse box attaches to the threaded post in exactly the same way it did on the original alternator. Both the regulator and its three-pronged plug can simply be left in the engine compartment to retain the appearance of originality.
A very minor adaptation is needed to connect the D+ line from the dashboard warning light to the back of the new alternator. D+, as I said, is one of the three wires in the three-prong connector. If you look at the back of a Bosch alternator, the labels are right next to the spade connectors. D+ is the upper left spade lug. So if you hold the three-prong connector that used to plug into it in the same orientation as the back of the alternator (with D+ and DF in line at the top), it’s the mirror image of the back of the alternator, so D+ is at the upper right of the connector. All you need to do is use a crimping tool to make a jumper wire, with a female spade at one end and a male spade at the other, and connect it from D+ in the three-prong connector to the D+ lug on the back of the alternator. You want to secure the plug so it doesn’t flop around, and if the car sees wet weather, you might want to put a section of heat-shrink tubing on the connector. But in terms of the connection, that’s all it is.


With the alternator installed, reconnect the battery, crack the key to ignition, make sure the alternator warning light comes on, start the car, and make sure the light goes out. If it doesn’t, you probably don’t have the D+ jumper wire in the correct connector in the three-prong plug, or don’t have the alternator grounded.
Then, with the engine running, check the voltage at the battery, make sure you’re seeing about 1.0–1.5 volts higher than the standard 12.6V resting voltage (that is, make sure the alternator is putting out about 13.5–14.2 volts). Turn on additional electrical loads, like the headlights and electric fans, rev the engine up to about 2500 rpm, and make sure the voltage is still at about 13.5. If it’s not, you might have a voltage drop on either the negative or positive side. Use the multimeter to measure the voltage between B+ and battery positive, and between the case of the alternator and battery negative. In both cases, you shouldn’t see more than about a tenth of a volt of voltage drop. If you’re still not seeing proper charging, connect a thick 10 gauge jumper wire from B+ to battery positive, and then from the case of the alternator to battery negative, and see if the voltage comes up. I recently did this on my 2002 and traced what I initially thought was a bad rebuilt alternator to a bad ground.
With the installation complete, open your hood and appreciate the fact that your alternator wiring is even simpler than it was before. Now, enjoy the extra amperage, reliability, and peace of mind that comes from upgrading to an internally-regulated alternator. Crank up the A/C and the music, turn on those retrofitted aircraft landing lights, and drive all night!
***
Rob Siegel has been writing the column The Hack Mechanic™ for BMW CCA Roundel magazine for 30 years. His new book, Just Needs a Recharge: The Hack Mechanic™ Guide to Vintage Air Conditioning, is now available on Amazon. You can also order a personally inscribed copy here.


Does this same wiring retrofit also apply to a 1970 Ford Mustang for the Battery and a wire to the dash light?
I don’t know that answer, but I do know you can ditch the old Ford “1G” alternator for the 1990s 3G design very easily using this wiring harness upgrade from PA PERFORMANCE: https://www.cjponyparts.com/pa-performance-alternator-conversion-kit-allows-use-of-3g-130-amp-alternator-1965-1985/p/ALTCK/
Here’s the 3G alternator they sell: https://www.cjponyparts.com/pa-performance-alternator-3g-95-amp-1965-1973/p/ALT56-V/