A 14-step winter detailing checklist … for your daily driver

Hagerty has shared plenty of great articles and advice about winter storage for your classic car. But what about your daily driver? How do you prepare it for the cold, salt, and snow that many of us face? For those of us that live in colder climates, our nightmares are beginning to be filled with our greatest fears … salt trucks and oxidation. Your daily driver must face this enemy head on so here is a detailing checklist to go over to protect it for the winter. The U.S. Department of Transportation says that the current life expectancy of a car is 13 years. I believe with some proper care, Hagerty readers can help extend the life of their vehicles past that.
Exterior
Wash
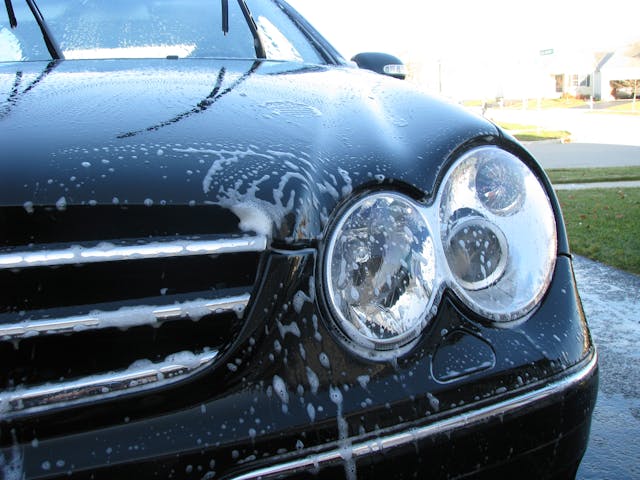
In a perfect world we would all have heated garages or a nice touchless car wash nearby to get the outside washed every other week during the winter. Since that’s not always possible, get a good wash in before temperatures drop too much. Make sure to rinse the underside as best as possible. Optionally, adding a nice clay treatment after the wash is a great way to prepare it for wax. If you do go to a car wash during the winter to get salt and grime out of every crevasse of your ride, this is the time to spring for the extra undercarriage wash.
Wax
We need to be protecting every inch of the vehicle and a waxed surface helps repel dirt, snow, and of course salt better than a non-waxed one. This is a crucial step in preventing salt from eating through your car’s finish leading to premature rusting. It also makes snow and ice fall off paint easier. Your vehicle is more likely to be scratched during winter due to the potential debris on roads, so get your paint’s defense system ready! Be sure to hit the area’s most prone to rust, like door jambs, around gas caps, and wheel arches. Wax adheres better to paint in warmer temperatures, so you may need to turn on a heater in the garage to help. When I say “wax”, there of course are a few options. Traditional wax is often the easiest to apply but doesn’t last as long, typically about 3–4 months. A paint sealant in general will last a little longer, more like 6 months. Ceramic coating can be even longer, but all are great options.
Under the hood
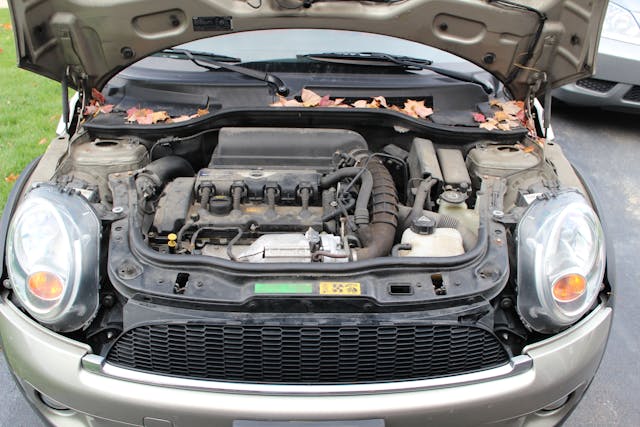
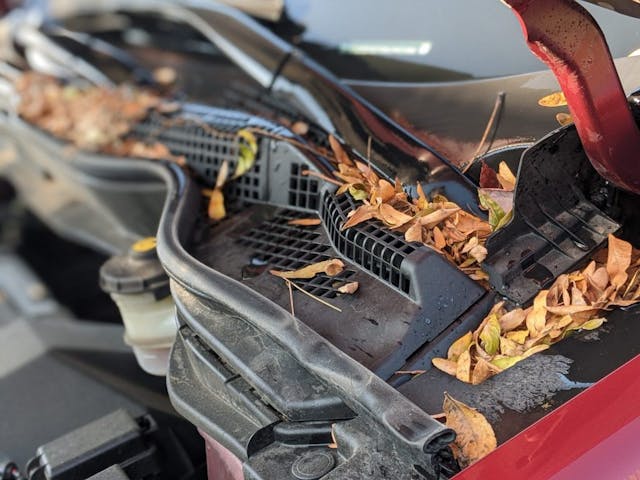
This isn’t necessarily a detailing tip, but while you are washing the car, you’ll want to pop the hood to check where all those leaves that fell on the car during the fall ended up. The most recent cars I detailed had so many leaves piled up covering their air vents it was affecting the HVAC system.
Outside windows
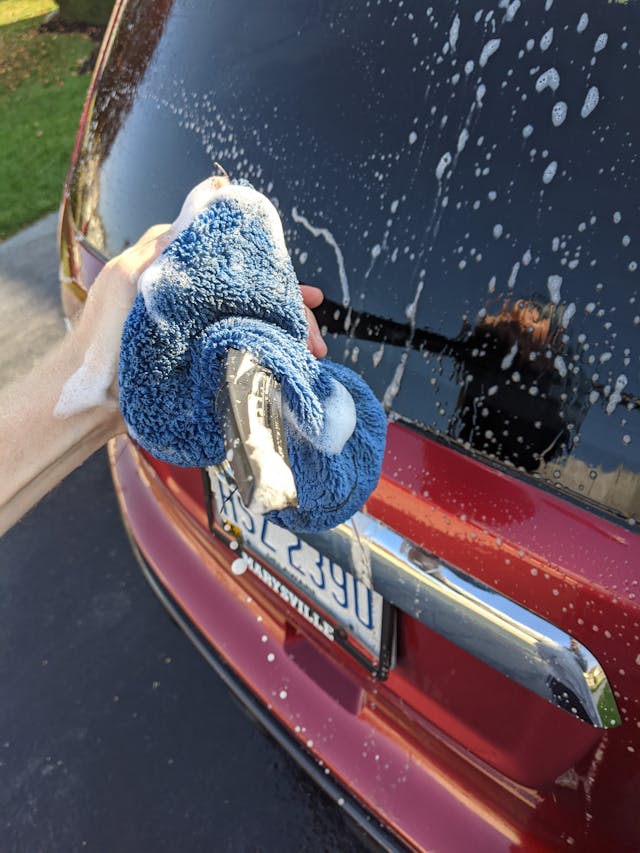
Windshields take the brunt of winter, making it difficult to see through them at times. Now is the best time to apply Rain-X (or similar product) on the outside windows. Rain-X claims it will last up to 3 months, but there are a ton of variables with that. My experience has been closer to 6–8 weeks of water beading. Some people even apply wax to the windows which can help extend that rain repelling longer. Wipe off the wiper blades as well.

Plastic moldings
Extreme cold can lead to drying, fading, and even cracking of the exterior plastics on the car. For an exterior plastic protectant, I like Ultimate Black Plastic Restorer from Meguiar’s, Rust-Oleum’s Wipe New Trim Restorer, or Mothers’ Polish Back-to-Black, but there are many great options available at your local auto parts store.

Headlights/taillights
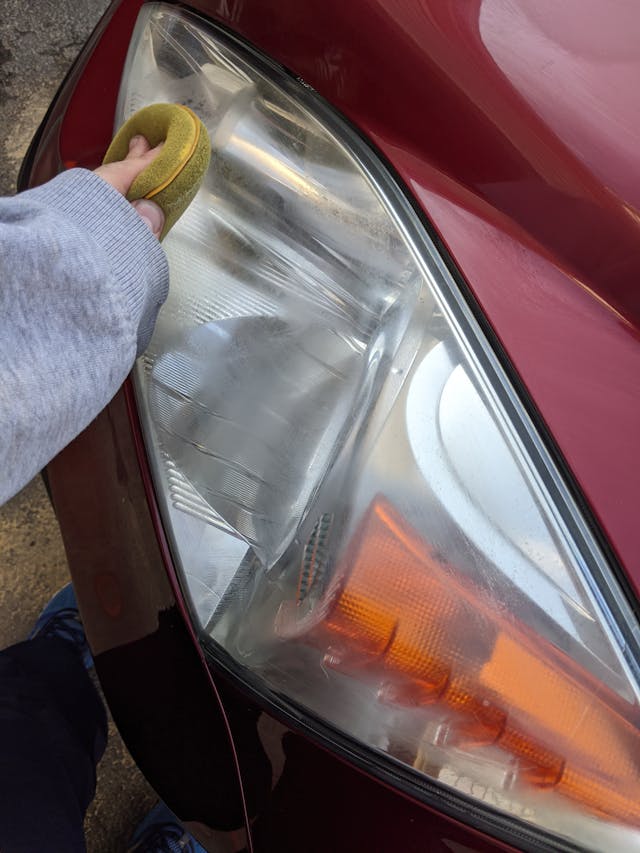
Waxing the exterior lights on the vehicle helps prevent snow from sticking to them.
Wheels
Your wheels are also collecting contaminants that often go overlooked. After a nice cleaning, follow up with a sealant. I personally like Never-Dull, but a regular wax, paint sealant, or specific wheel wax can help make it tougher for brake dust, snow, and salt to stick to the wheel. With a layer of protectant on the wheels, it is much easier to rinse off the grime that does get on them.


Tires
They need conditioning to block UV rays and prevent cracking by hydrating the rubber. A quality tire gel can help with that and make them look good as well. This is where I’ll put in my plug to BUY WINTER TIRES. I keep an extra set of wheels with winter tires on them for each of my vehicles that makes it easy to treat before they are mounted on the car.

Interior
Switch out floor mats
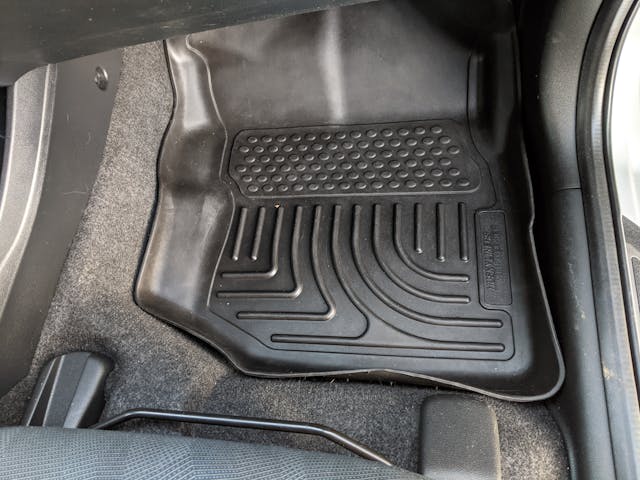
It’s not just the exterior that can be damaged by salt and dirt; getting into your car with muddy, snowy shoes leads to premature wear of the carpets. Start by vacuuming all carpets. Then I HIGHLY recommend replacing carpet mats with rubber ones for the winter. This is by far the best thing you can do for your interior. In addition to keeping all that grime from getting on your carpets, they are also much easier to clean.
You can choose between a rubber mat and a floor liner. Then choose either OEM or a name brand like WeatherTech and Husky. For looks I prefer most OEM rubber mats, for comfort and feel I like WeatherTech floor mats, and for protection I prefer the Husky floor liner. There are pros and cons to each. A floor liner is going to fit your vehicle’s contours best and come up higher on the sides to hold in melted snow, but they are harder and tend to curl up a little on the sides over time. Rubber mats are softer and don’t usually change their shape, but don’t cover quite as much and don’t come up as high on the sides to hold in fluids. There are cheaper generic options that are better than nothing, but they will never protect as well as a mat made specially for your car. I use Husky floor liners in my car, and OEM rubber mats in my wife’s.
Treat floor mats
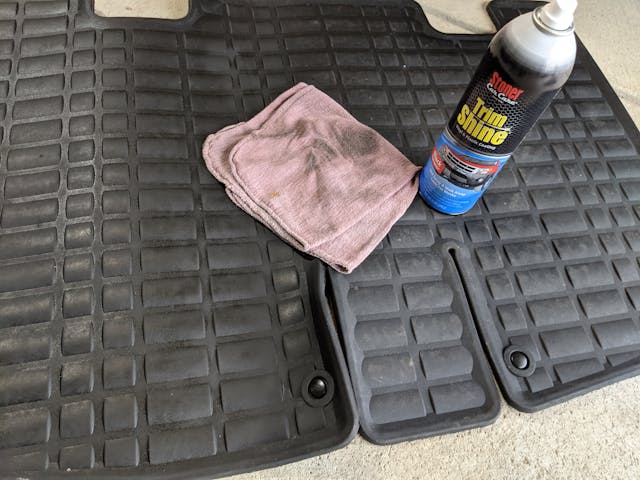
This point is a little controversial. Most products that treat rubber and plastics can leave a slippery surface behind, which is a big no-no when it comes to anything your feet or hands need to touch while driving. WeatherTech has its own product that treats floor mats. But as far as products available commercially, I recommend Stoner’s Trim Shine. No one likes a rubber mat that has faded to gray, making the interior look aged. Using Trim Shine on the 11-year-old mats on my Honda Odyssey has kept them looking black and as long as you rub it in, there is virtually no slipperiness left over.

Leather
Extreme temperature changes can lead to contracting and expanding of plastics and leather. Cold dry air pulls moisture from leather so you definitely want to get a nice layer of conditioning on those surfaces to prevent them from getting too dry. Just like the outside paint, leather doesn’t absorb conditioner as well when it is really cold out.
Door jambs/seals
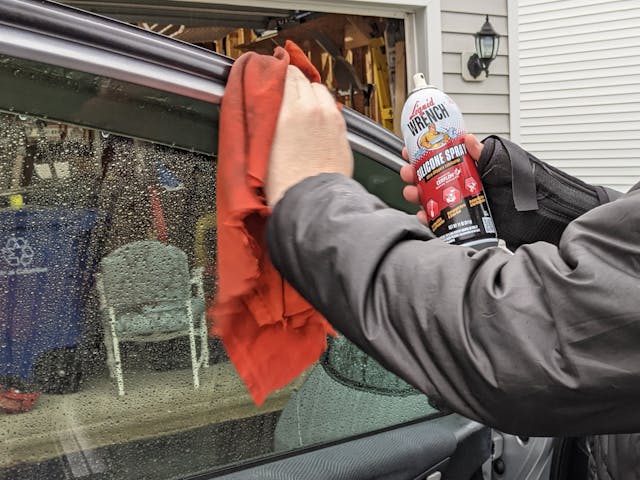
This is probably the most overlooked part of the car, but the seals around the doors are important to care for. Start by cleaning the door jambs, then apply a silicone spray to all rubber moldings. This does two things; it stops moisture from accumulating, making it easier to open in freezing temperatures, and it helps prevent them from cracking and tearing apart over time.
Plastics
Now is a good time to treat the plastics in your car with your favorite plastic protectant, before all your chemicals freeze. Especially if you have been using antibacterial wipes or hand sanitizer, which can dry out rubber/plastic/leather, you want to make sure to restore the plastics with a moisturizing protectant.
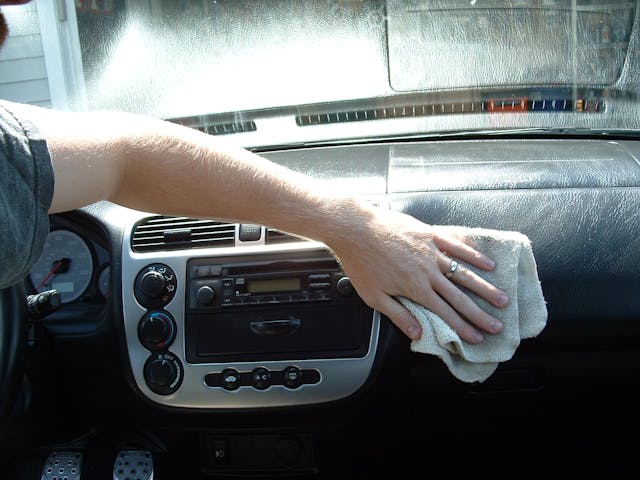
Inside glass
In addition to scraping the outside windshield, there is also often condensation on the inside that should be addressed. It’s tempting to just wipe the glass with a napkin on a cold morning. But it’s better to make sure all hazing is removed from the glass before the winter starts. Get them free from streaks now, so morning and evening sun, which is at a lower angle during peak driving hours this time of year, it isn’t reflecting off them. I use a two-towel method, followed by a final wipe down using a reach and clean tool.

Caring for your car during the winter isn’t just about making it look its best—it’s about preventing wear and corrosion. So, Hagerty readers, what are your tips for protecting your vehicles during the winter, so they last well past the 13-year average?

