Low-cost tricks for a DIY alignment
After months of chipping away at it a little each night, I had the front end in my 1974 Lotus Europa Twin-Cam Special buttoned up. The next step was front wheel alignment.
Now, there are a few ways to look at this. One is that you only need to adjust the toe-in well enough that the car won’t yank itself into a telephone pole while you’re driving it to a shop for a real alignment. If you’re using new tie rods that look the same as the old ones and have the same length to receive the shank that threads into them, you’ll get pretty close if you simply thread the new ones on the same number of turns that you thread the old ones off. You did count and record the number of turns it took to get the old ones off, right? No? Yeah, well… that’s why doing a job the second time is always easier.
But on a primitive car like a Europa that only has a toe-in adjustment (the front end has no camber or caster adjustment), there’s really very little to the alignment, and the difference between getting it so it’s not dangerous to drive and getting it pretty damned close may just be an hour of tweaking. Granted, you’re unlikely to get it as accurate as a shop that’ll put alignment cameras on all four wheels, but if you’re doing iterative work that may require pulling things back apart, doing it this way may make a lot of sense. In my case, I want to get the Europa drivable again and see if I’m satisfied with my front lowering springs and adjustable shocks, and once I am, then take it in for a proper four-wheel alignment where thrust washers may need to be inserted to tweak the rear toe-in.
You can spend many happy evening hours on YouTube reading up on do-it-yourself alignment. The zero-tools-zero-cost method involves taking a couple of strings, stretching them from the tire sidewalls of the rear wheels to the front of the car, and lining up the front tire’s sidewalls with the strings. I tried this a few years ago with my ’72 BMW 2002tii, and the result was badly toed out—not even close. However, rather than drive it to an alignment shop, I elected to try and save the hundred or so bucks by tweaking it myself, twisting the tie rod tubes to adjust the toe-in. After a few hours and a dozen or so drives, I got the hang of it and was able to find the sweet spot where if I toed it any more inward, I could feel the tires scrubbing, and if I backed it out any farther, it felt obviously too darty and twitchy. I’ve since driven the car on several 2000-mile road trips and the alignment still feels right. To me, that’s success.

If you’re willing to spend a little money, there are a few low-cost tools you might want to consider that will help get the alignment close.
The first are a set of metal “alignment plates” or “toe-in plates.” They typically have an angled bend at the bottom to help them lean flat against the tires without falling over, and slots for tape measures to be stretched between the ends of the plates. The better ones have little magnets that hold the metal clips of the tape measures in place. You put the car on the ground, settle the suspension, lean the plates against the left and right wheels, put the tape measures in the forward and rear-facing slots on one plate, stretch the tapes under the car, put them in the slots on the other plate, read both the front-and-back measurements, subtract them, and compare the result to the toe-in spec of the car, which is usually between 1/32 and 1/8 inches. It’s not rocket science. But interestingly, there’s a long and proud history to doing it this way, either because there’s not an alignment jig handy when a car is at the racetrack, or because no alignment shop has a spec for your home-built hot rod.

As you can imagine, there are limits to the accuracy of this method. First, with any DIY method, after any adjustment to the toe, the car should ideally be rolled back and forth to take any twist out of the tires (shops get around this by setting the front wheels on turntables, but few DIY-ers have these). And, with any measurement like this that uses the tire sidewalls instead of inspection cameras bolted to the wheels like a real alignment, any bulges or raised lettering in the sidewalls are going to throw it off. Then there are some issues specific to the plates. There’s the potential of sag in the tape measures, the potential of dislodging a plate by pulling the tape tight to get rid of the sag, and the fact that the play in the little metal right-angle piece at the end of a tape measure can be good for about 1/16-inch of inaccuracy all by itself. Which is why, if you’re going to do it this way, it’s a good idea to buy a set of plates that come with two new tape measures, or, if you’re going to roll your own, at least buy two new tape measures yourself. Additionally, in my garage, cars undergoing work are often on the mid-rise lift, which is flanked by two thin wooden ramps to help the undercarriage of the car clear the lift. I was concerned that the alignment plates wouldn’t sit nearly as well on these wooden ramps as on a concrete floor.
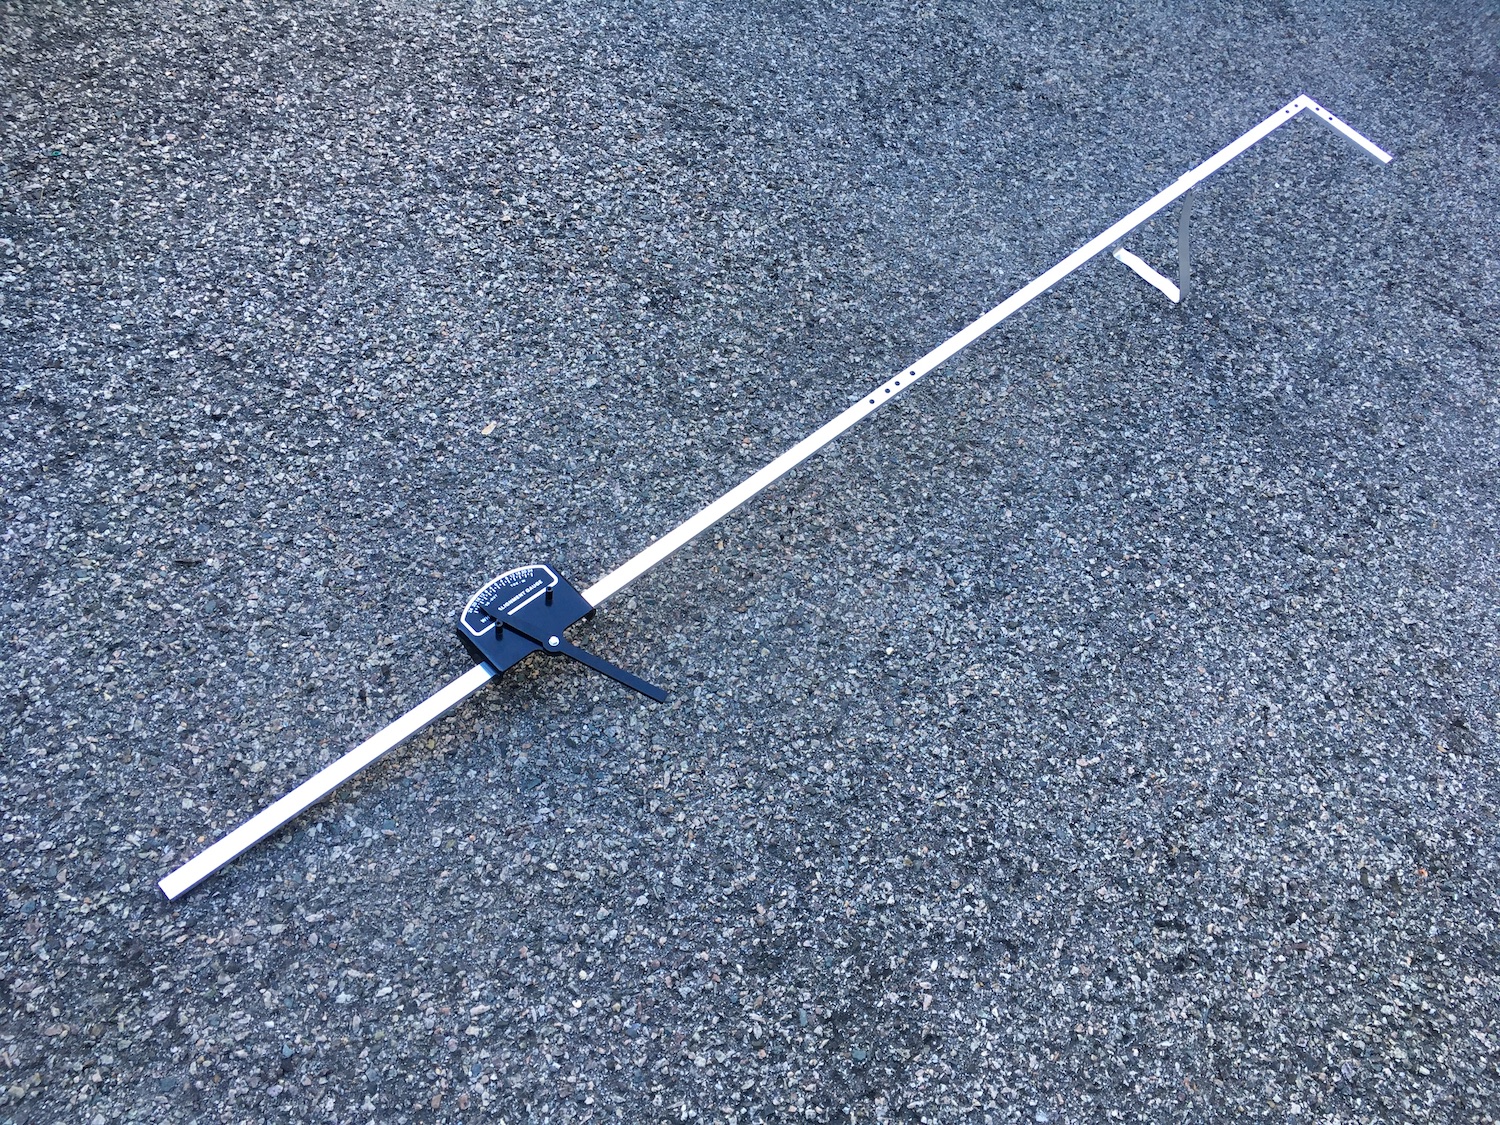
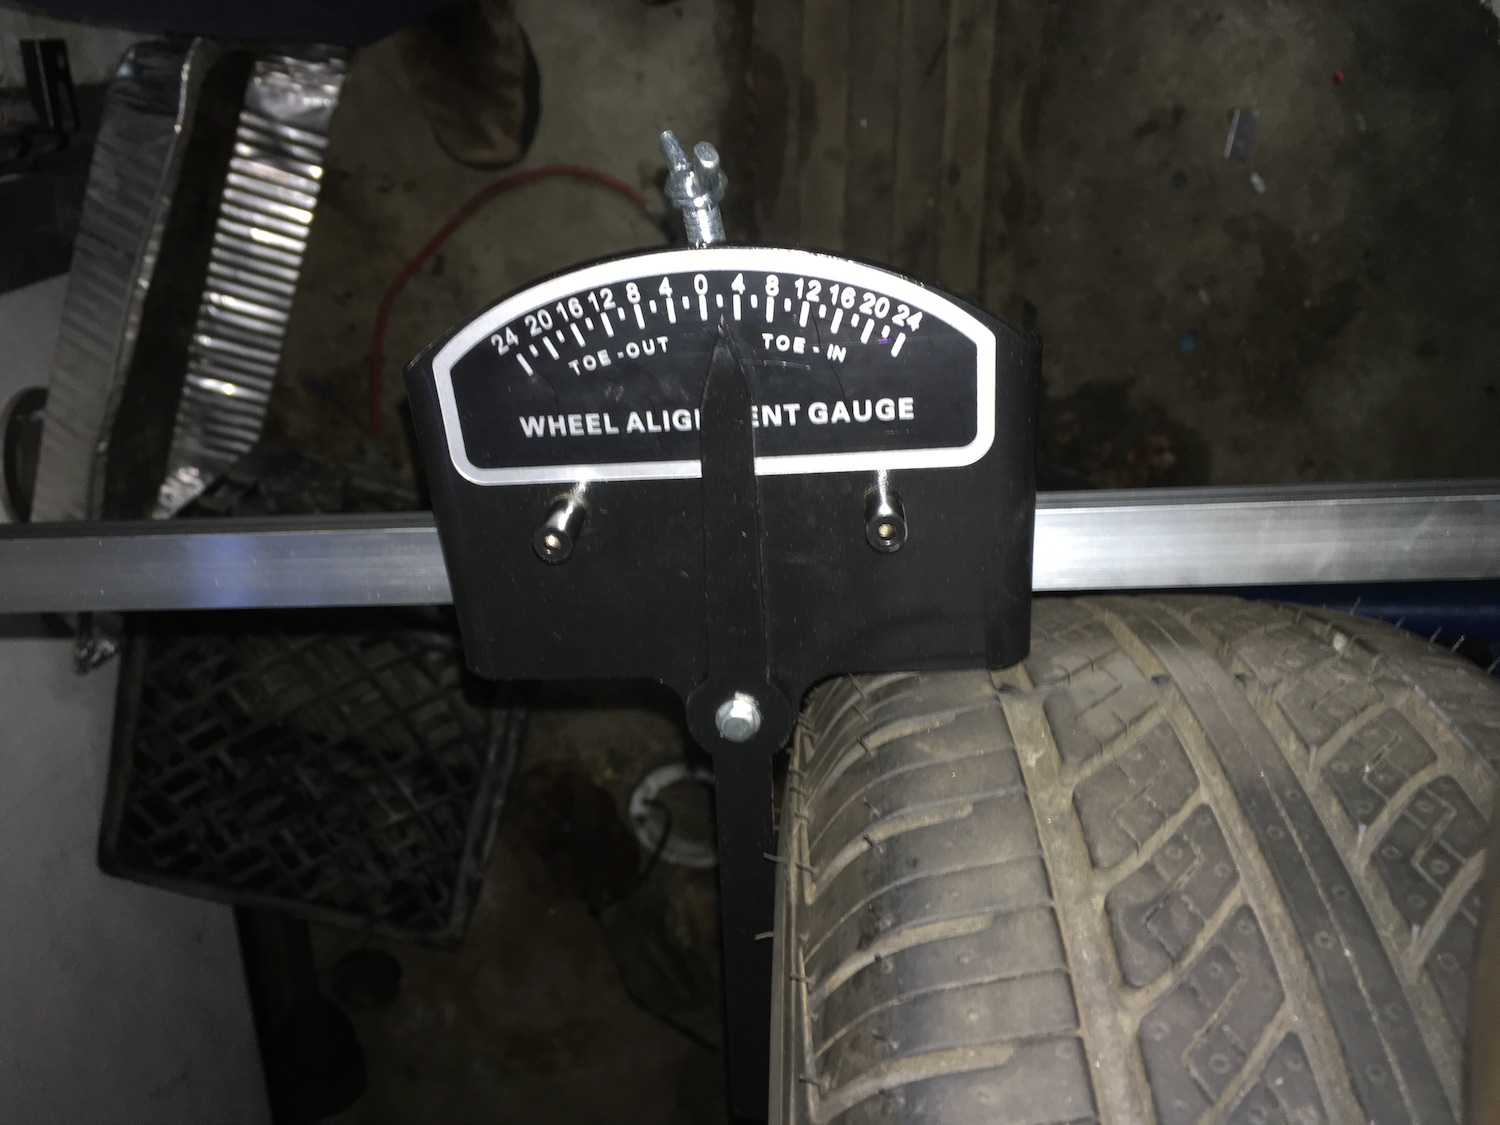
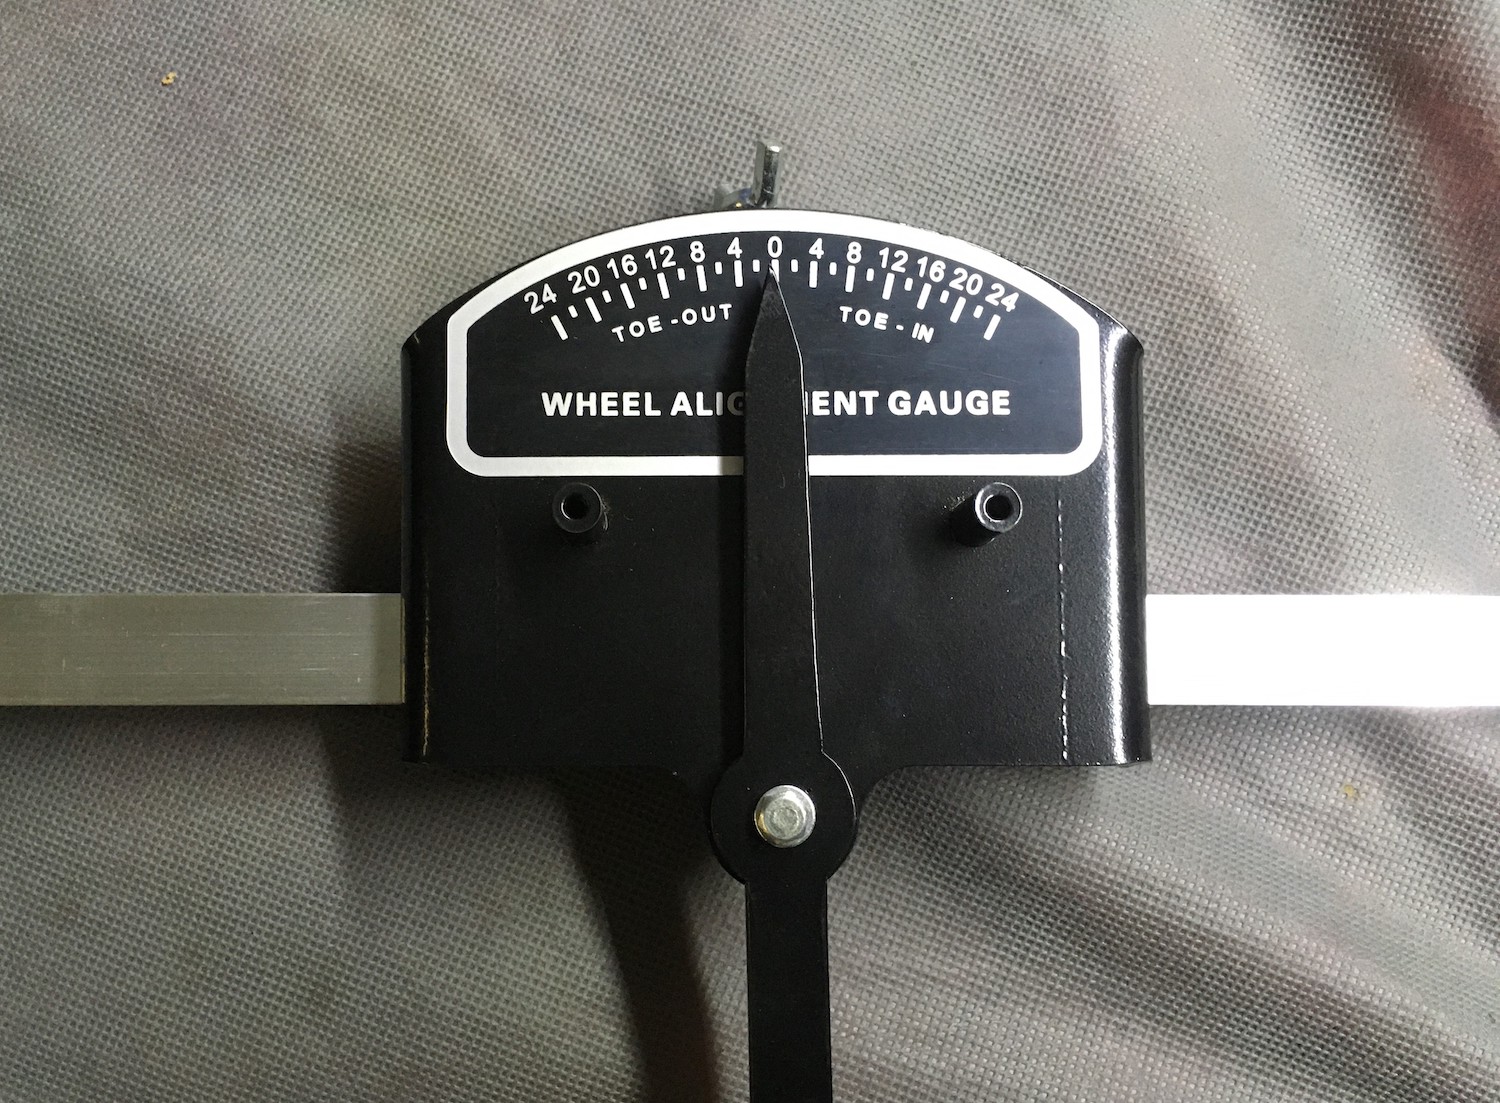
There’s an old-school device sometimes called a toe-in gauge or a toe measuring stick that avoids some of the issues of the plates and tapes. It’s basically a long rigid ruler with right angle at one end, a little foldable stand that holds the right-angle end off the ground, and a calibrated pointer at the other end. The pointer is spring loaded, so it leans gently against the tire. You reach it under the car, hook the right-angle end around one tire, slide the jig that the pointer is on against the other tire, and adjust it so that the pointer is at zero. Then you pull the stick out and flip it around the other way to take a measurement on the other side of the tire and read what the pointer says. It gets around the problem of the sag of the tape measure and the play in the end, and you don’t need to place any metal plates. These used to be made by Manco, were sold by Eastwood, and were popular in the British car world, but they’re long out of production. A video of one in use can be seen here.
Harbor Freight used to sell a Cen Tech-branded toe stick, but they’re also out of production. Another Chinese-made knockoff was recently available here on Amazon, as well as on eBay for about $45 plus shipping, but they appear to be out of stock.

If you’re concerned about the sidewall bulge messing up the measurement, the next level of precision is to use what’s sometimes called a toe-in bar or alignment bar but is confusingly also called a toe-in gauge, so when you search for “toe-in gauge” or “alignment gauge,” you’ll see both types. When you first see a photo of one, what you’re looking at won’t make sense until you understand that in order to use it, you first need to scribe a fine line on both front tires, then use the bar to measure those scribed lines. You scribe the lines by laying down a thin coating of chalk or white paint on the tread, spinning the wheels, and carefully touching a scratch awl or other scribe to the surface. Once you have these marks, you use the toe-in bar to measure between them on the front and rear of the tires. The bar is usually a piece of square aluminum tubing that has two pointers that clamp to it and stick up, looking a bit like miniature attacking spaceships in War of the Worlds bolted to a piece of a roof rack. There are ruler marks where the pointers slide on the tubing, so you can set them to measure the scribe marks on the fronts of the tires, take a reading, then swing it around to point to the marks on the backs of the tires. You can find toe-in bars starting at around $110.

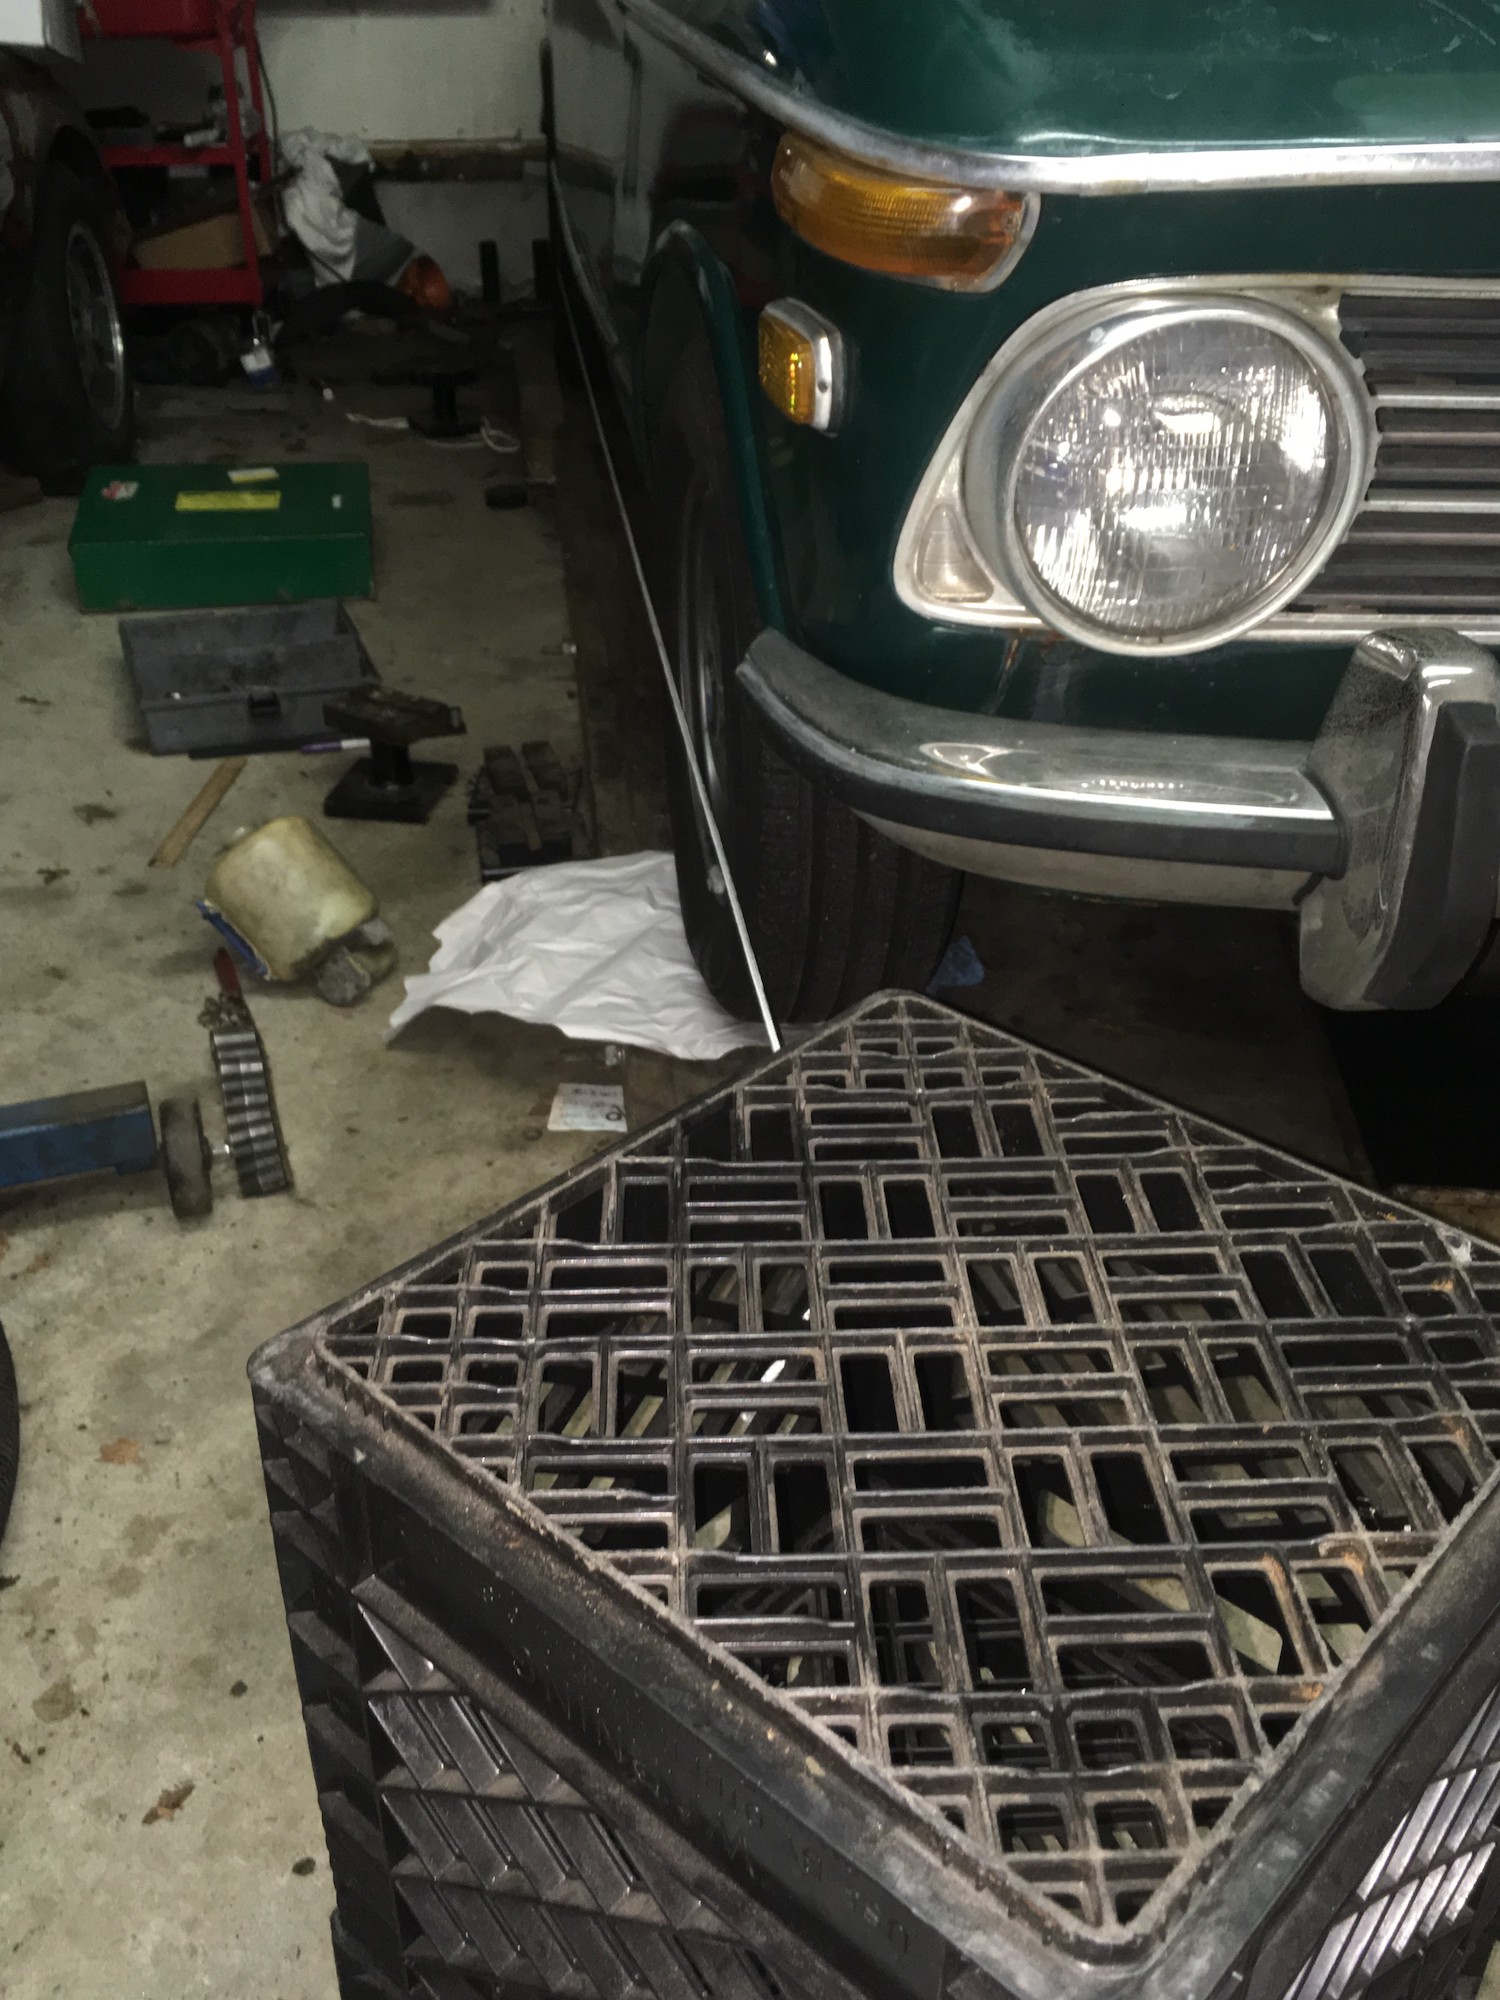
For alignment on my Lotus, I went with the toe-in gauge with the lightly sprung pointer lever; I bought one of the ones on Amazon before they went out of stock. The main reason I chose it was that, even though accurate alignment needs to be done with the front wheels on the ground, the Lotus is so low that passing anything like tape measures under the car—and getting under it and turning the threaded rods to adjust the toe—is challenging. I figured that, while the car was still on the lift, I could use the toe-in gauge to adjust the toe and at least get it in the ballpark, then tweak it by feel as I successfully did with my BMW 2002tii.
I was partially successful. The toe-in gauge is what you’d expect of an inexpensive Chinese-made copy. It comes in two halves you need to screw together. The assembled unit is 6.5-feet long, so the advantage of being able to quickly hook it around one tire and measure against the other tire is traded off against swinging something metal that long around in the garage without hitting something.
Plus, when I began using it, I was mystified that the lightly sprung pointer pulled the lever away from the tire, not toward it, requiring you to manually lean the lever into the tire. I took it apart, drilled another little hole for the spring, and got it to work the way I thought it should. With that fixed, I was able to quickly and efficiently get the toe-in to within about an eighth of an inch, at least as measured with the car still on the lift.

I’d like to tell you that I simply lowered the car off the lift, ran it around, and tweaked the alignment until it was perfect, but unfortunately, cold and snow moved back into New England, so the test phase will have to wait. At least I’m confident that, when I do drive the car, the alignment won’t be so far off that it’ll yank itself into a telephone pole.
***
Rob Siegel has been writing the column The Hack Mechanic™ for BMW CCA Roundel magazine for 33 years and is the author of five automotive books. His new book, Resurrecting Bertha: Buying back our wedding car after 26 years in storage, is available on Amazon, as are his other books, like Ran When Parked. You can order personally inscribed copies here.


