Why you should have separate wheels for winter and summer
To quote the Beatles, “Little darling, it’s been a long and lonely winter.” And in many parts of the country, it went on much longer than expected, with snow continuing to fall even into May. Personally, I always feel that I am tempting The Automotive Powers That Be when I swap the winter boots for the summer sandals, but it has to be done sometime.
The winter/summer wheel swap is a ritual for those of us who live in snowy climes, particularly those stubborn stalwarts who insist on continuing to drive rear-wheel-drive cars. As most people know, I’ve been a BMW guy for 35 years, and most issues of how RWD cars, particularly older cars without traction control, perform in the snow are enhanced by simply using good winter tires at all four corners. On a front-wheel-drive car, you can kind of get away with running through the winter on a decent set of all-season radials, but try that on a rear-wheel-drive car and you’ll find yourself stranded in a flat parking lot (ask me how I know).
So you buy winter tires, which is a bit of a slippery slope (bad pun) because it often evolves into mounting those snow tires on a dedicated set of winter wheels. While it does have an impact on your budget and storage space, it also has the added advantage of saving your nice summer wheels from salt and the worst of the potholes.
When swapping wheels, there’s a big advantage if you have a lift, air tools (a compressor and an impact wrench), and another car you can drive. That may seem obvious, but there are some subtleties to this argument. With my advancing age and the increasing size and weight of wheels and tires, getting wheels off and on cars isn’t the quick endeavor that it used to be. So whenever possible I try to minimize the number of times I need to hump the wheels on and off the car. I have a mid-rise lift in my garage that allows me to easily get all four wheels in the air at the same time (I’ve mentioned why I love my lift in a previous column). I then zip the lug nuts off and remove all four wheels. This lets me inspect all four brake pads and rotors. If the rotors are scored or the brake pads look thin, I’ll order replacements and just leave the car on the lift until they arrive.
Of course, this only works if you have another car to drive. Sometimes there’s no choice but to pull the wheels off, inspect the brakes, order parts, put the summer wheels on, and do it again when the parts arrive. But hey, there should be some actual practical advantage to owning multiple cars, right?

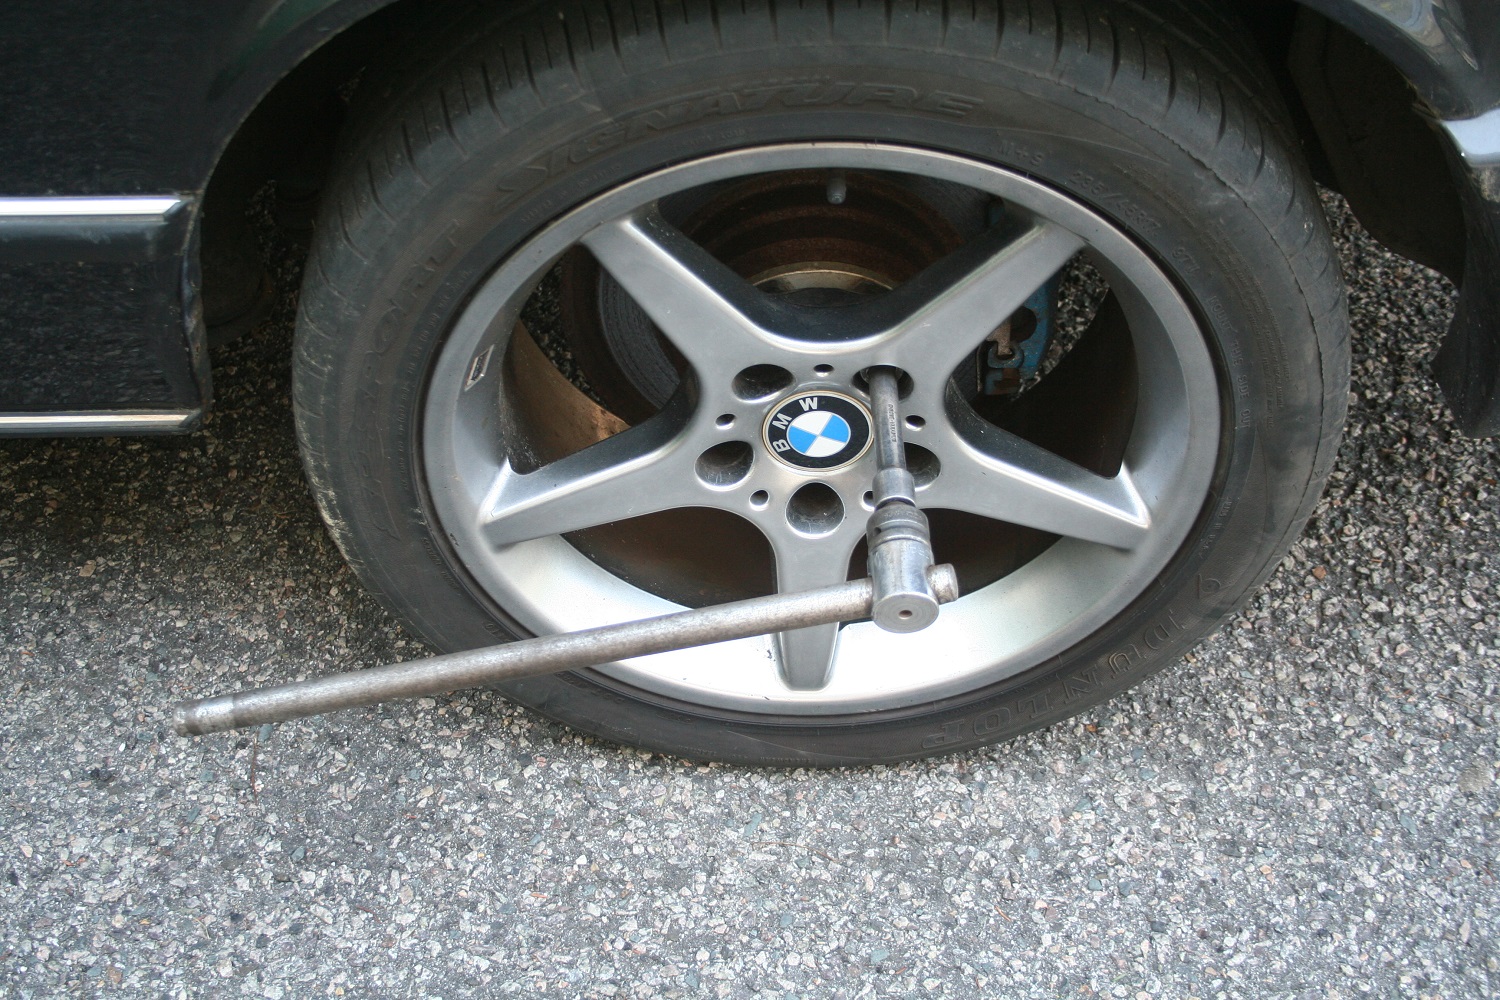
If you don’t have a lift or air tools—and most do-it-yourselfers don’t—you need to crack the lug nuts loose with the car on the ground, since the wheels will turn if they’re in the air while you’re trying to loosen the lug nuts. You can use the lug wrench that comes with the car, but even if you don’t do a lot of your own repairs, a sound investment is a good long breaker bar—a ratchet handle without the ratchet—with a half-inch chuck, and a short extension with a six-point socket on the end that fits your lug nuts. These are typically less slip-prone than lug wrenches.

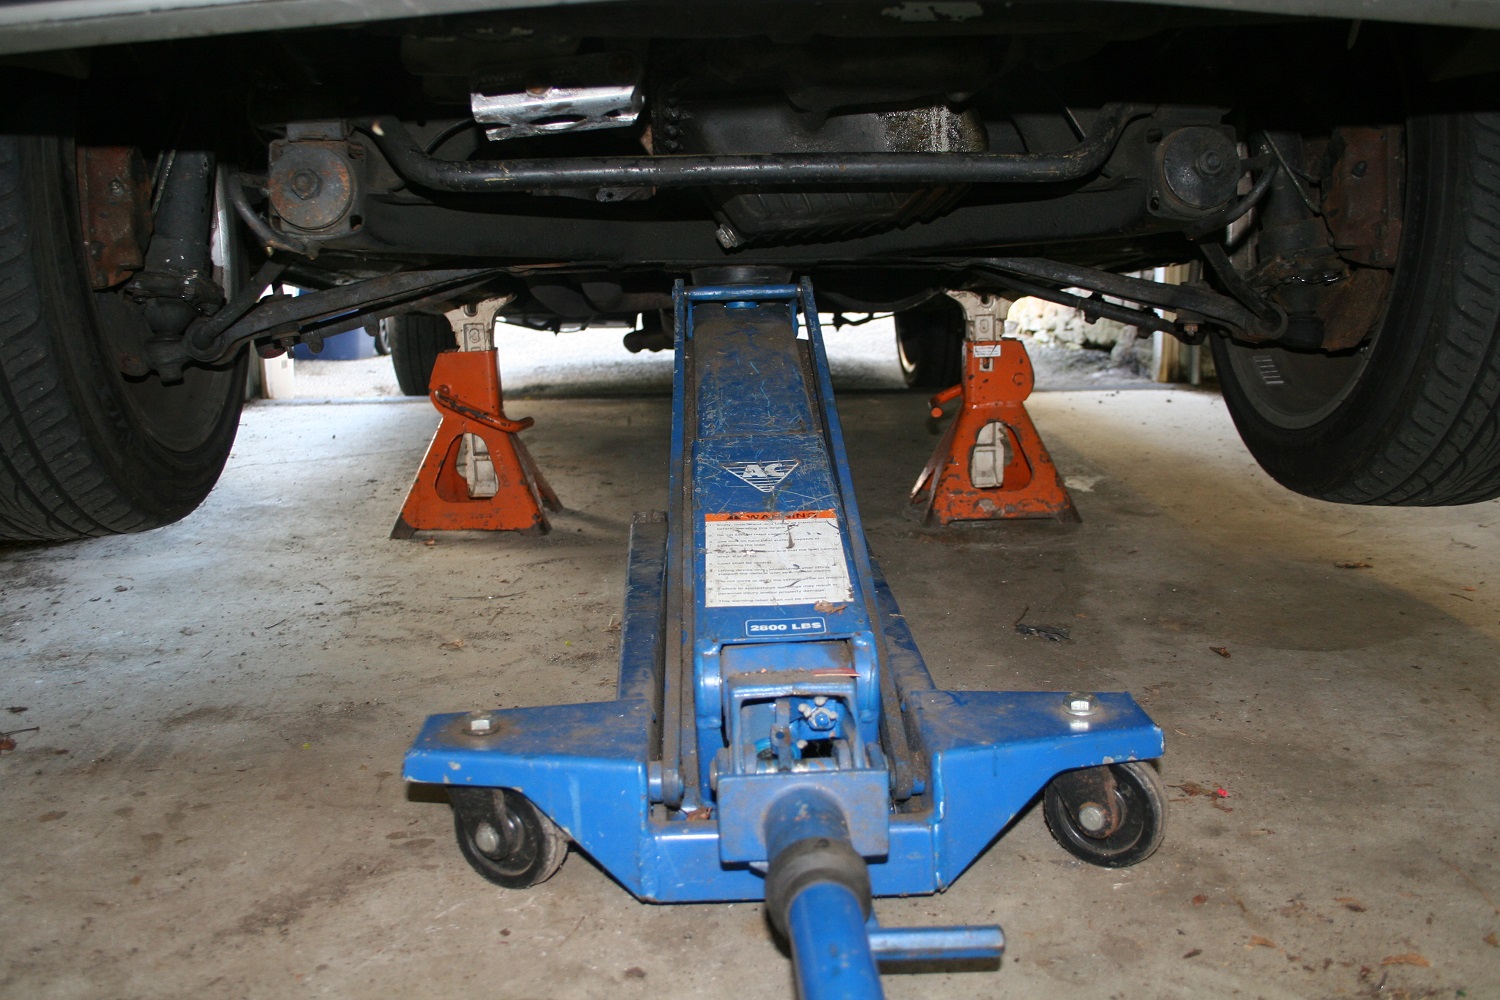
I usually start in the front of the car and crack the lug nuts loose on both wheels, then use a floor jack to jack up the car by the front subframe, and set it down on jack stands. Whenever you’re working under a raised car, always double-jack it. That is, always raise it with a floor jack, set it down on jack stands, then leave the floor jack in place as a back-up.

There is a dangerous rationalization that some folks perform: “Well, if I’m only swapping wheels, I’m not really under the car, so I can just raise the car on the floor jack and not bother setting it on jack stands.” This is an easy trap to fall into because newer cars, particularly front wheel drive cars, often don’t have the big beefy front subframe that older cars have as a jacking point to get both front wheels up. Or the car may be low and have a front air dam, which makes it difficult or impossible to use a floor jack. In these cases, it’s tempting to jack the car up by the jack pads at the corners of the rocker panels and swap the wheels one at a time without ever setting the car down onto jack stands. After all, isn’t that why those jack pads are there in the first place? To use the jack that comes with the car and change a flat tire?
Don’t do it. I can tell you that whenever I take a wheel off and on, I sit on the ground, directly in front of the wheel, and raise the wheel up into position with my knees. When I do this, my legs are sticking under the car. If any part of you is under the car at any time, even for a moment, the car should be double-jacked. I’ve seen cars topple off floor jacks because the jack sank into soft asphalt. I remember that every time that I think to myself, “I’ll have this wheel swapped in a jiffy.” Don’t risk it. Take the extra 45 seconds, position the car on jack stands, set it down, and leave the floor jack there. Even if you’re raising one wheel at a time using the jack pads, you should be able to get one jack stand in place to augment the floor jack. Okay, end of safety lecture.
Once you’ve cracked the lug nuts and gotten the wheels in the air, you need to get the wheels off. It’s not at all uncommon, particularly in regions where roads are salted, for there to be corrosion between center bore of the wheel and the lip of the hub. It’s usually effective to simply hit the back of the tire with the breaker bar, rotating the wheel 180 degrees with each hit to walk it off the hub. You can swing at the tire with something bigger and heavier than the breaker bar, but if you hit the wheel, you risk damaging it. On really stuck wheels, I’ve interposed a block of wood and hit it with a small sledgehammer, again rotating the wheel each time to work it off the hub. Heat and penetrating oil applied at the center bore can be helpful in breaking the corrosion.
If the wheel still won’t come off, there’s a trick you can do. Put the lug nuts back on, but leave them loose enough that they’re not seated. Take the car down off the jack, stick the lug wrench or breaker bar in the car, drive the car at about 15 mph, and slam on the brakes. By leaving the lug nuts loose, you allow the wheel to keep turning in the small amount of play between the threaded studs and the holes in the wheels, while the brake rotors and hubs stop. This is often effective in breaking the grip of the corrosion. After doing this, immediately take the lug wrench or breaker bar and snug the lug nuts down so the wheel doesn’t wobble and damage the threads on the studs while you limp the car back into your garage.
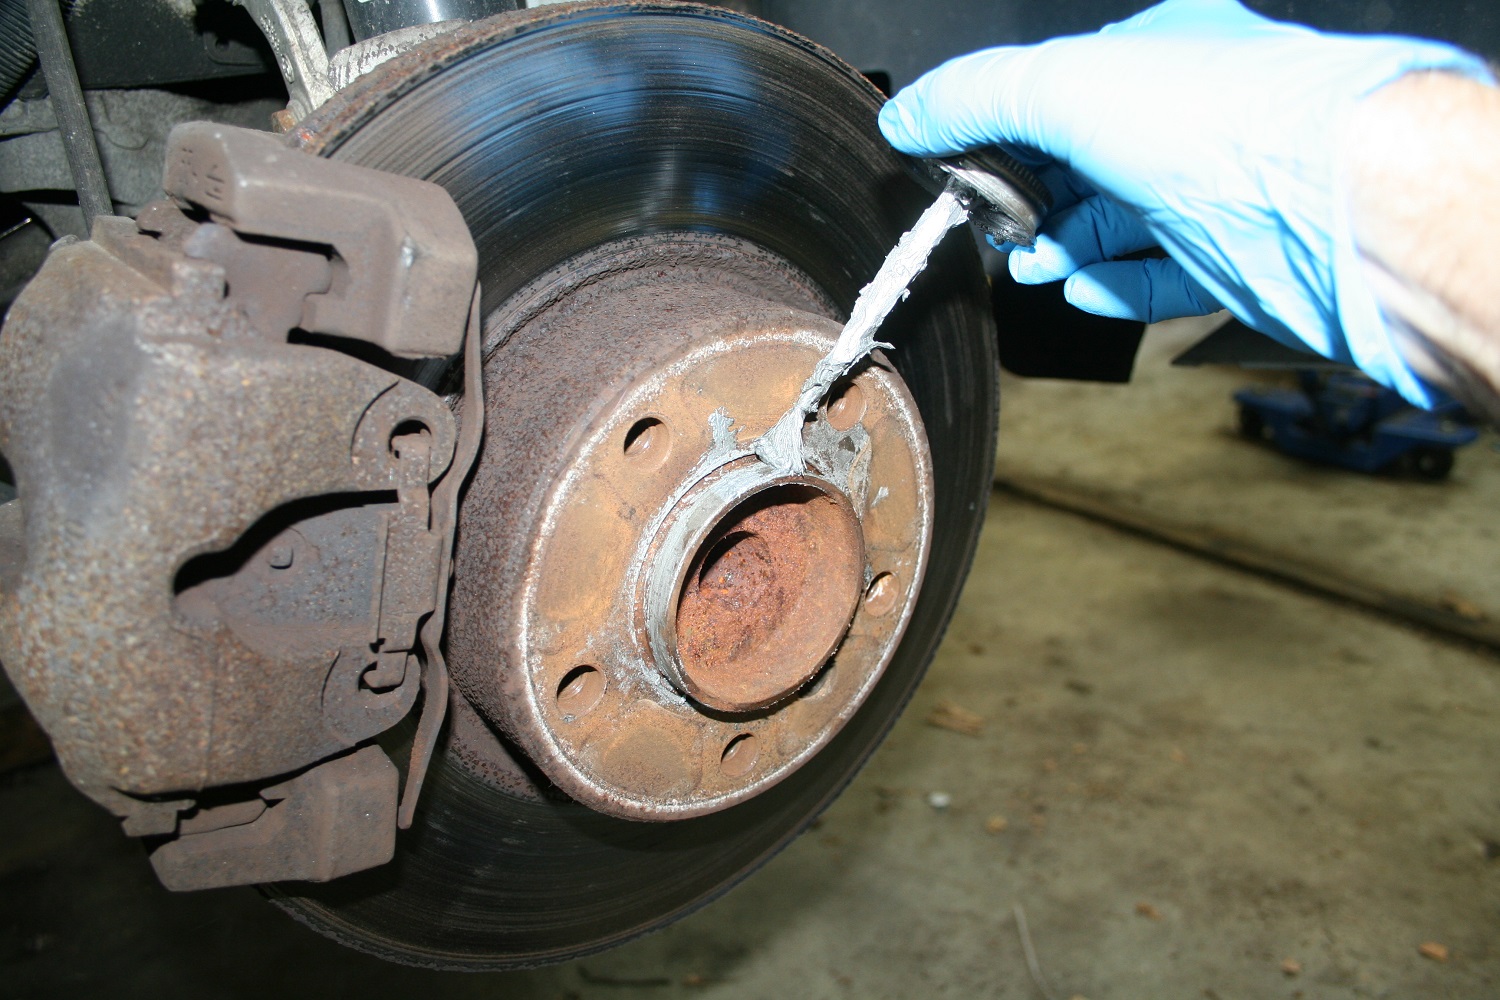
With the winter wheels finally off, before you muscle the summer set on, take a moment and inspect the mating surfaces on the hub and wheel. If they’re already clean and lubricated with some anti-seizing agent, you’re all set, but if not, give them a quick cleaning. I use a battery-operated drill with a small Scotch Brite wheel on it, and run it in the wheel bore and then around the lip of the hub. I then take the silver bottle of Permatex Anti-Seize that I’ve had for 15 years (you don’t use much) and coat both the hub lip and the wheel bore.


There’s the question of whether, when re-mounting your summer wheels, you should rotate them (switch front to back and left to right to equalize wear). Old repair manuals used to show the wheel rotation pattern, including taking the spare in and out of rotation. With most tires these days having unidirectional tread patterns, fewer cars having full-sized spares, and some performance cars having staggered wheels (different sizes front and back), rotation is becoming an anachronism. I mark my wheels when I pull them off in the fall and put them back on in the same place. I usually re-install them in their last location and only swap front and back if there’s a vibration issue due to a bent wheel. But if all the wheels are the same size and dead straight, there’s little harm in using the summer swap as an opportunity to exchange front and rear wheels (keeping them on the same side due to tire directionality).
Mounting wheels used to be trivial when the wheels on sports cars were only 13 inches. Nowadays, it takes some effort to heave a 17-inch or larger wheel up onto the hub and line up the bolt holes. As I said, I sit on my butt with my legs under the car, put the wheel on my knees, and let my knees do the lifting instead of my back. Once the wheel is balanced on the hub, you can put the lug nuts on finger tight, then snug them with a ratchet wrench. If you have an impact wrench, you can set it to its lowest setting and spin the nuts in, being careful to stop as soon as the nuts are snug.
When the car is on the ground, torque the lug nuts. You might skip this step, until you have the bookending experiences of A) having a flat and not being able to get the lug nut off because you zipped it on with the impact wrench on too high a setting, and B) having a wheel loosen while you’re driving and just making it to the breakdown lane before it loses all its lug nuts (this happens astonishingly fast). Check the setting for your car in your owner’s manual (or reference this guide at The Tire Rack), but it’s usually 80-to-90 ft-lbs for a passenger car. Tighten them in a star pattern.
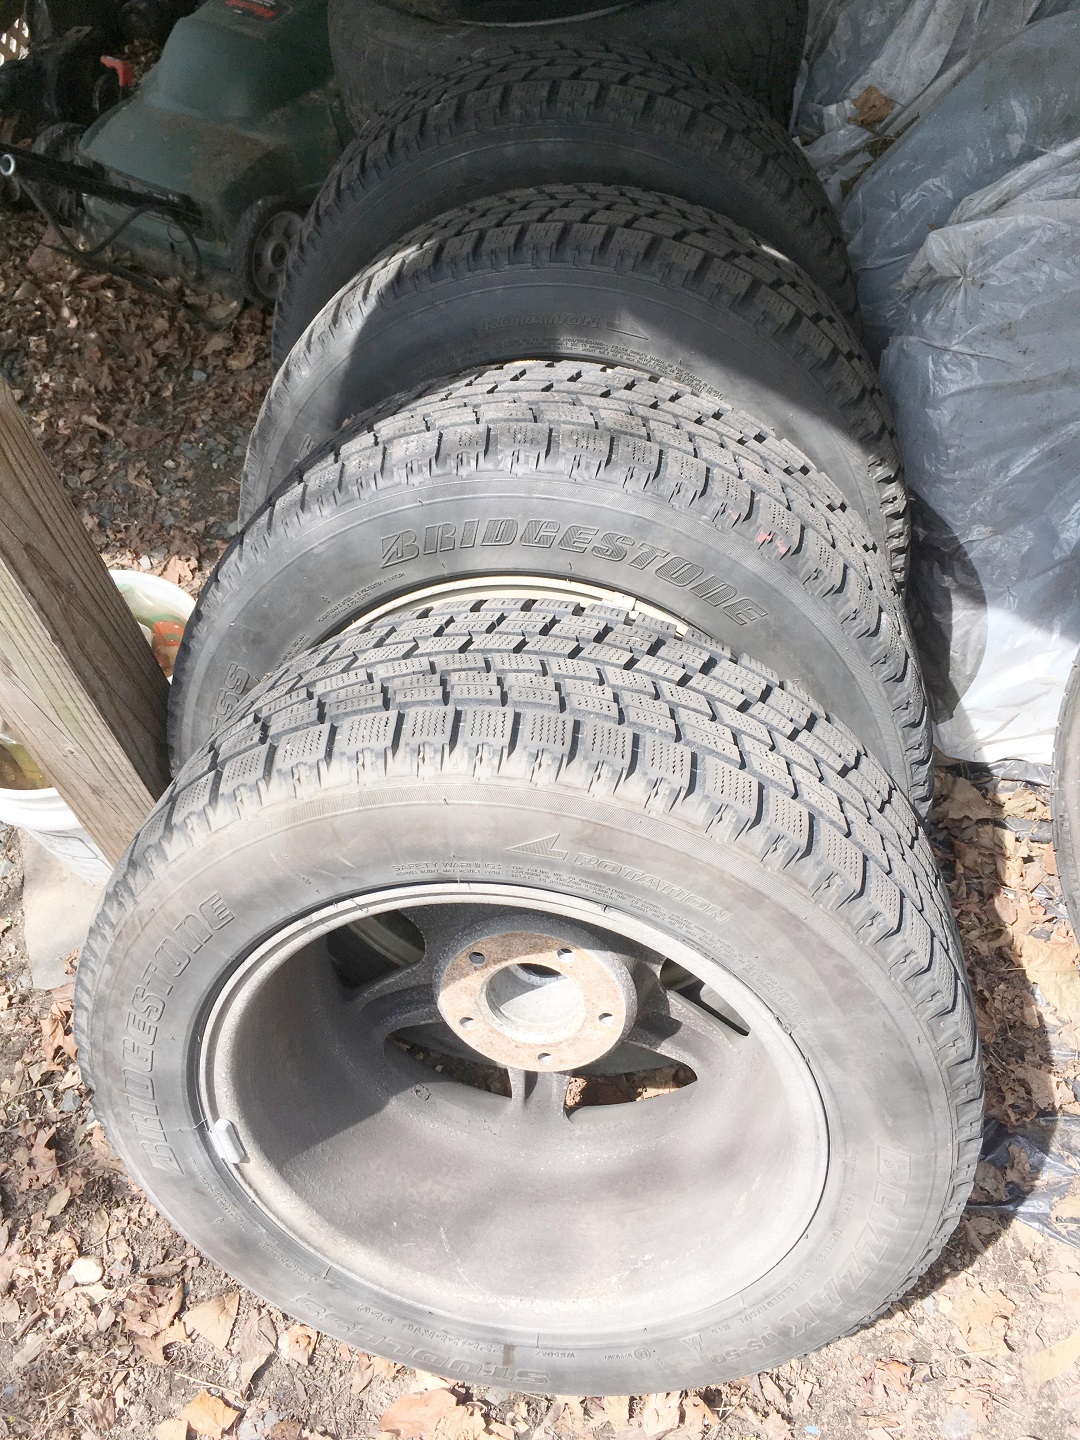
Lastly, there is the question about how to store the winter wheels and tires. Obviously, inside—out of the rain and sun—is better than outside, but often the only available space is outside, under a deck or stairway. If wheels and tires are stored outside and exposed to moisture, don’t stack them, especially on dirt, as moisture trapped against the tire sidewalls can cause them to get spongy. Storing them vertically is much better, as it allows the moisture to dissipate. However, if the area is dry, such as in a small storage shed, or if the wheels and tires are bagged, I don’t see that there’s much harm in stacking them.


Enjoy those summer sandals while you can. It’ll be November again before you know it, and you’ll be pulling snow boots on once again.
***
Rob Siegel has been writing the column The Hack Mechanic™ for BMW CCA Roundel magazine for 30 years. His new book, Just Needs a Recharge: The Hack Mechanic™ Guide to Vintage Air Conditioning, is now available on Amazon. You can order a personally inscribed copy here.


