6 Critical Post-road Trip Tasks
The final part of any road trip is the sweetest: Arriving at your destination. The final turn of the key is followed by the soft plinking of the engine as it gives off heat to the atmosphere. It’s easy to think that having just finished The Big Drive your car is now ready to go anywhere. And you’re probably right, but if your vintage ride is used like most vintage cars even a short road trip is more use than it typically sees. Taking the time to do a few quick post-road-trip tasks can save you a little time, possibly some money, and definitely some frustration.
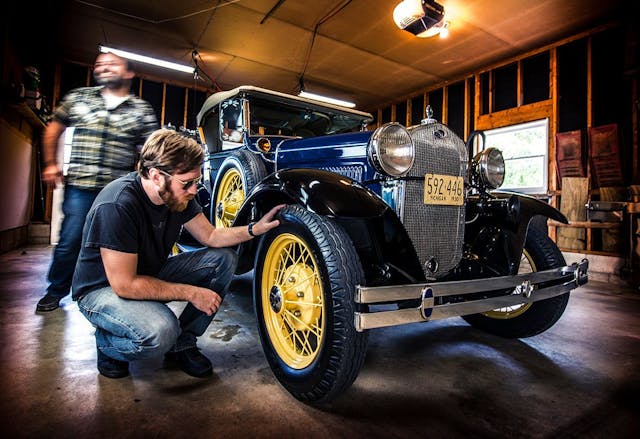
Inspect your tires

The only real connection between your car and the road is the round rubber rings at each corner. A quick visual inspection is wise as most vintage vehicles spend more time sitting than driving. A road trip likely put a few months worth of use on those tires in just a few days, so if problems are going to bubble up—literally—it would be at the end of a trip after seeing what could be considered abnormal use. Feel around the tire by hand with a focus on irregularities. Uneven wear is also going to pop up now and get hidden by future short drives, as alignment or similar problems can show up in tire wear after driving longer distances quickly compared to a lot of short trips.
Get the bugs off ASAP

As tempting as it may be to wear those bugs around for a couple of cars and coffee trips to establish dominance over the parking lot princesses, you won’t be doing yourself or your paint any favors. Letting those bug guts bake for any longer than necessary will only make them more work to remove, and aggressive tactics for removal can be very rough on aging paint. Getting things off while still fairly soft and fresh makes for less hassle and impact on your car.
Inspect brakes

Short drives can often hide growing problems and anyone who has experienced sticky calipers knows that a long drive will be when weak points appear. Since you gave the car a good once-over look before your trip—and you did that, right?—you have a good perspective of what things were like before and now will be able to easily spot anything out of the ordinary. Or at least different than when you left. Brakes should last thousands of miles, so any noticeable wear should be easy to spot. Excess brake dust is a simple tell, as is an excess of heat right when the car is parked. Use the back of your hand to take the temperature of the wheel and if it’s enough to be more than warm there is probably something worth investigating before your next drive.
A good chassis lubin’

Did you do a good greasing before you left? Of course you did, becuase you are a good vintage car owner. Maybe just look for signs of excess grease that spilled out from getting too hot or attracted excess dirt and debris. A glob of grease left on a zerk fitting or pushed out from a ball join boot collects road debris and before long transforms from a lubricant to a grinding paste that can ruin a lot of good parts if we aren’t careful. Keep things tidy and if you didn’t grease up before you left, be sure to do it when you get back.
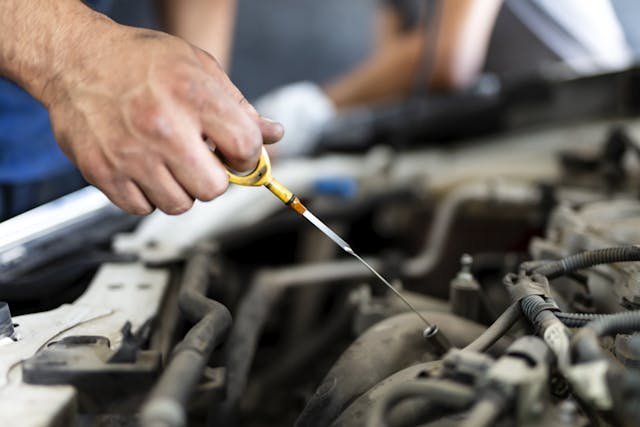
Oil level and condition

Most vintage car road trips are not long enough to need a full oil change at the end, but don’t think that mileage is the only metric when considering your oil. Extended runs at higher engine RPM will often lead to aging engines consuming more oil than shorter, low-rpm trips. Extended running might also put more blow-by and other combustion byproducts into the oil which can create corrosion and premature wear if left unchecked. The proper level of clean oil should be the norm. If, at the end of your trip, your oil is lower or dirtier than you expect, it might be time to look a little deeper or at least keep an eye on things.
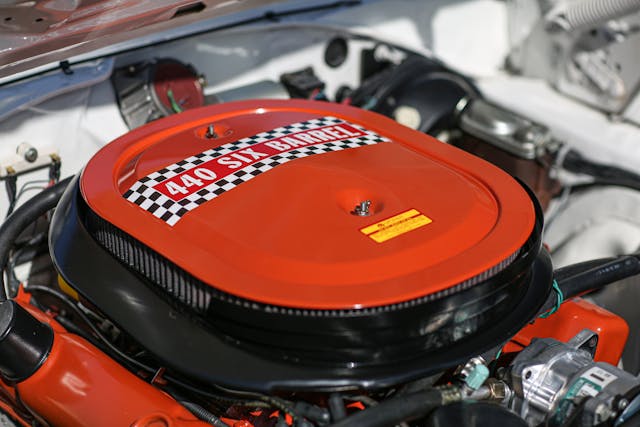
Take care of your air cleaner

Just like your oil, your air filter is likely something that doesn’t get checked much since most vintage cars don’t get driven much, and even more often are only driven during ideal weather. A road trip often puts cars into conditions the owner may or may not have expected. I’m as guilty as any for forgetting about that Kansas dust storm I drove through and under-appreciating how hard that air filter is working to keep my engine happy and healthy. A quick look to ensure the air filter is in good shape is cheap and a good excuse to poke around the intake and make sure everything still looks proper post-trip.
***
Check out the Hagerty Media homepage so you don’t miss a single story, or better yet, bookmark it. To get our best stories delivered right to your inbox, subscribe to our newsletters.


After a long drive I leave the hood open at home to cool the engine and removed trapped heat.
Thought I was the only one.
Me too. Hood paint is prone to unnecessary cooking. Also, about brakes, after a defective caliper I carry an inexpensive digital thermometer and periodically check temperatures at all four corners to detect overheating.
Laser read thermometers are awesome for that. Good call!
No you are not.
Not the only one. I have my cooling fans hot wired with a thermostat to cool the engine compartment after the drive. This makes the underwood components last years longer.
Same here. I pull the pins, lift the hood and hook up the battery tender and leave things open for at least a couple of hours.
Me too, but I do it to remove trapped engine venting smell, not the heat; I welcome the heat to exercise my drivetrain seals and rubber parts. However, I have an attached garage and not only does my 1947 engine have a crankcase vent, it is not running catalytic converters, so the “gasoline alley” smells could creep into the house if you pull straight into an attached garage after a long drive; Therefore, I too leave my hood open out in the driveway until most of the heat & smells have dissipated; And that also helps keep my significant other happier as well.
Drip paper under the car…is the power steering dripping?, brakes?, coolant? (You won’t see that in that Corvair)
A nice long drive can expose lots of little gremlins.
He won’t see power steering leaks, either! 😉
So do I. ..,… Also helps to heat the garage in winter. And the battery will last longer.
When I got my Beetle nearly 15 years ago it had been running around just fine for the previous owner, but my drive home was 2 hours on a then 40+ year old car. About 15 or 20 minutes into the trip I made a quick stop to check the temperature of the hubcaps. Everything was fine, but it was good to verify there were no brakes dragging or wheel bearings about to give up the ghost.
My own brake/bearing job came later, as it always does. I’m a stickler for my own maintenance so I *know* what’s been done and that it’s “right”.
I blew a head gasket during a drive one time but it was slow enough to consume the coolant that I didn’t notice it until the next drive when it overheated… so now I make sure there’s nothing strange going on with the cooling system (after it cools down a bit). I have a metal overflow tank on that particular car so I have to actually open it to see if there is any residual coolant in there.
I leave the hood open also to release the heat. Rubber parts last longer from what i can tell.
Oil Change? I’m doing it early as I have a road trip scheduled where I am going to put 2500+ miles round trip. and I would end up going 1500 or more over my mark, so I’ll do it maybe 900-1000 early then put on all those highway miles. At the end of either end of the trip I always remove the bugs as soon as possible.
Belts and hoses!
All good tips, IMHO Kyle!
After a long drive, I check the coolant in my ’67 Monza. Oh, wait, never mind.
My 71 Honda 750 motorcycle came with an owners manual that had a detailed pre-and post ride inspection checklist. Tires, air pressure in the tires, brakes, cables, all controls, headlight turn&stoplight, any fluid leaks, battery& cables. There are also two grease fittings in the swing arm bushings. Many of these things apply to vintage cars and hot rods. another thing to remember about short hops versus long runs is the oil sometimes will be quite low after a run due to burning off all the blow by contaminants in the oil; if this occurs, it means you should’ve changed the oil before the long run. thanks for the tip about the temp gun. That’s a great idea to check brakes…
Preach it brother! My 78 750A might be a bit newer than your 71, but everything you said still applies.
Yes, When it comes to maintenance, today’s owner manuals for newer vehicles only go as far as to tell you “do not drink the coolant fluid” and little else. On the other hand, the new manuals will tell you how to contact Venus through scrolling menus (necessary since newer vehicles are mostly rolling computers).
With the owners manual from my 1974 Laverda 3C?; I can rebuild the entire bike from the engine to the hand grips……………….
Those are Alemite fittings, not Zerk. Look it up.
What a caliper???
On my Lotus Europa, I check the wheels to see that they are still attached.
Always check the belts especially on a Corsair or beetle. I had a 65 monza in the 70s before I knew this stuff and blew a fan belt. What a chore to install in a car parts parking lot.
Make sure you check your spare tire as well. It might need some air if you never look at it very often. I have a a battery air pump in the trunk just in case.
What’s a spare tire?
It’s like a “spare” anything: a tire you don’t need (until you do). 🙄
My comment was meant “tongue in cheek”. Of my 5 “toys” from 1933 to 2012, the only one that has a place for a spare tire is my ’66 Mustang. Which places a LOT more emphasis on making certain that the tires are in top shape (air pressure, no bubbles, tread wear patterns, alignment, etc) when I hit the road.
Happy Motoring!