An electric fuel pump saved my Corvair (and probably my garage)
Starting an engine for the first time, whether after full rebuild or partial disassembly, is an exciting process. It is also one that should be approached with patience and careful attention to detail. One loose fitting can really ruin your day—and your bank account—if ignored.
For example, I’ve finally put in enough hours to get my 1965 Corvair’s self-destructive 140-horsepower engine back together and ready to start. Or so I thought. After a bout with “While-I’m-In-There syndrome,” everything was back together and ready for the first crank in months.
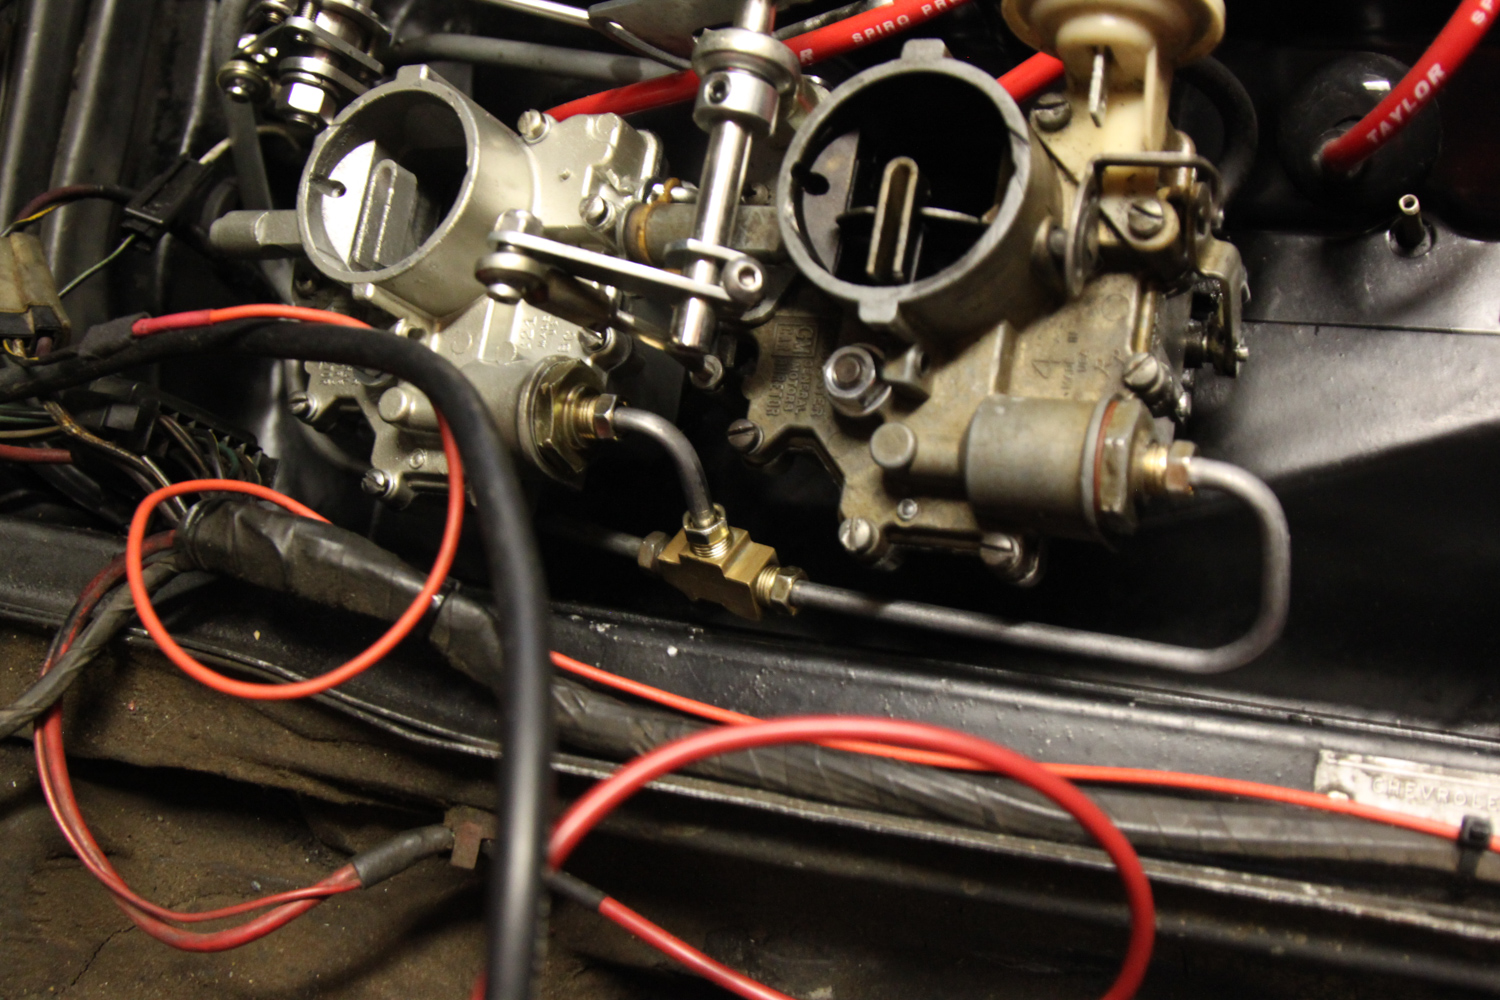
The 140-hp version of the Corvair flat-six features four single-barrel Rochester carburetors—one primary and one secondary carb for each side of the engine. The throttle linkage is progressive, similar to the more popular Pontiac Tri-Power, forcing the secondary carbs open only after the primaries have reach three-quarters open. Due to the engine layout and carburetor placement, the cylinders farthest from the primary carbs can lean out at idle and part throttle—where the engine spends most of its time.

Chevrolet remedied this on later-production 140-hp engines by altering the secondary carbs to have an idle circuit, rather than only wide-open function. I chased down a rebuilt pair of these later carbs knowing I was going to put them on, but couldn’t bring myself to take apart a running car to do so. The destroyed fan fiasco required removing the carbs, thus it was time to call the rebuilt units up from their desk art position and bolt them to the manifold.
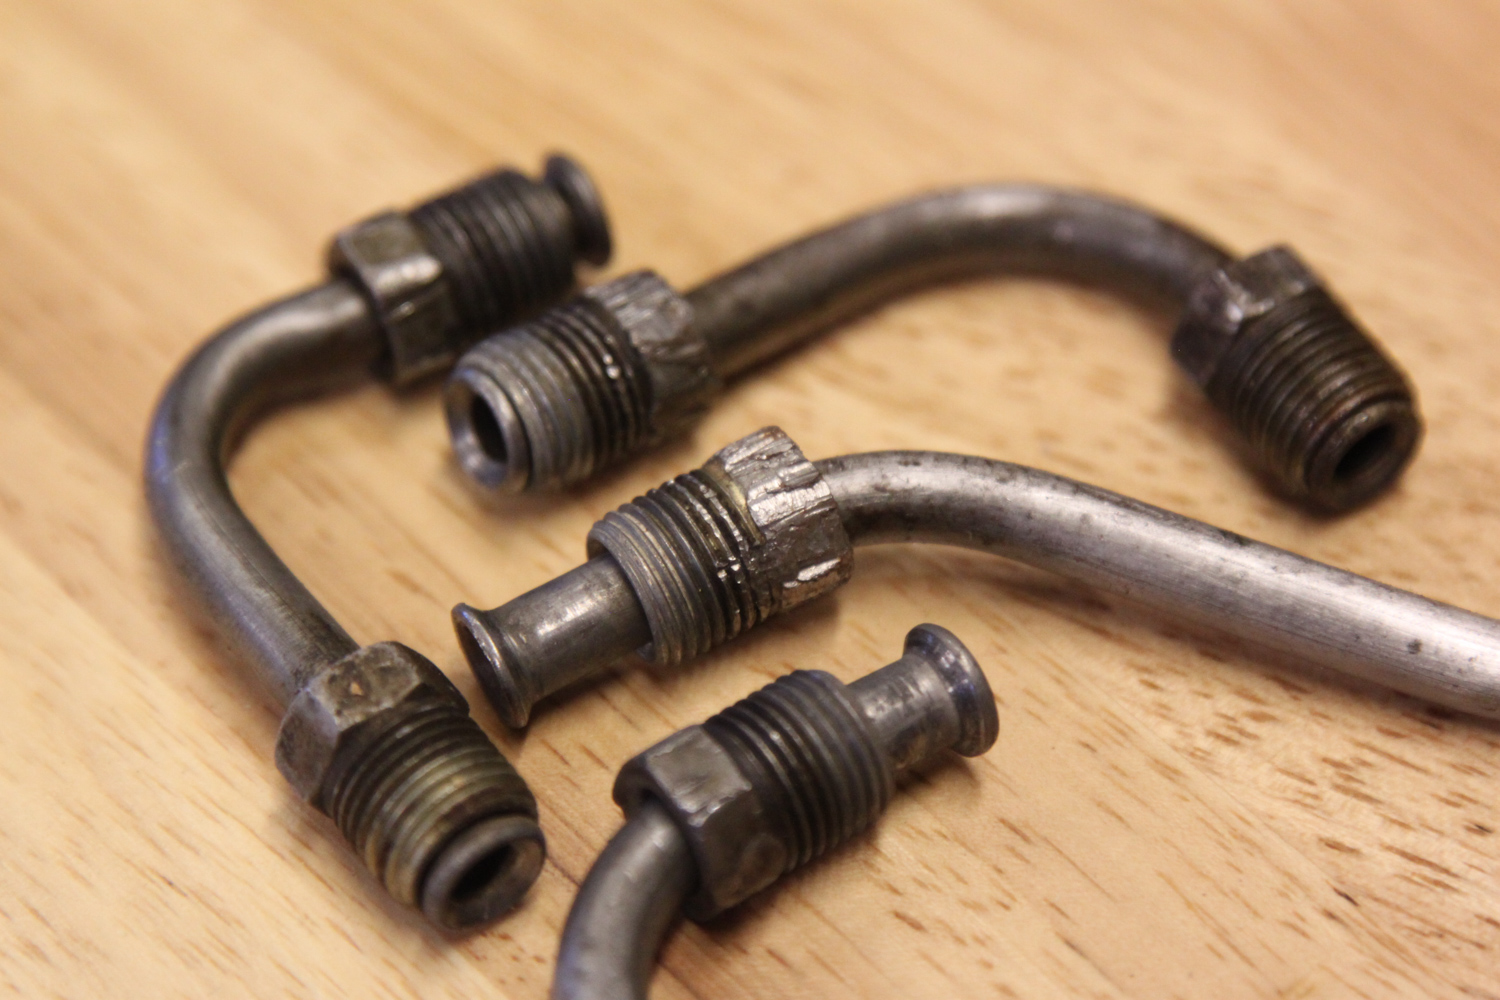
In an extension of While-I’m-In-There, I replaced the stripped-out fuel lines that distributed the go-juice to each of the four carbs. The old ones didn’t leak but could only be removed or installed with slip joint pliers, which is not good. I could have bent and flared my own custom lines, but they are short lines (read: difficult to make), and I was already placing an order with Clarks Corvair Parts so I went ahead and saved myself the task.

Assembly went quick, as the last four Corvairs to grace my garage required the same work, but then it was time to slow down. Double check fittings. Tighten bolts. Look for parts left on the workbench that shouldn’t be there. Then connect the battery. Then prime the carbs using the electric fuel pump.

If there was one spot where I had to remind myself to slow down and do it right, this is it. I switched the ignition on to prime the carbs and check for leaks. In one of the more interesting car repair moments of my life, I could hear the bowls of the carbs filling. The driver’s side carbs signaled full and I looked over to the passenger side to see the rebuilt, but untested, secondary carb doing its best impression of the Caesars Palace fountain. Gushing gas was freely flowing out of it. Great. I quickly shut off the fuel pump and grabbed a couple rags to clean up the spilled gas.

Had I not had an electric fuel pump, cranking the engine would have been the only way to prime the system—meaning the engine could have easily backfired on a lean mixture just as the geyser began pouring from the carb vents. That’s a recipe for a big fire. And I would have been in the driver’s seat, and therefore the gas overflow out back (rear-engine Corvair) would be taking place way out of my sight.
Everything that followed was like stepping twice forward and once back. I took off the carb and sequestered it to the workbench to execute a quick rebuild. Debris at the needle or seat and float height seemed the likely culprits for what was causing the overflow. The floats turned out to be incorrect, so I made a minor adjustment to them, and from there I slapped it all back on the engine. Fingers crossed.

Another double check and system prime. No fountain this time, but I investigated each flared fitting and identified a handful of minor leaks and seepage. I had to call it a night, but at least I know what I have to tackle first next time I’m out in the garage. And knowing is half the battle.


Remember Jay Leno’s recent experience. I once had a 1966 Corsa Turbo, new. The turbo had no intercooler and seized when hot. The flywheel was manufactured off center and would break the starter, the exhaust manifolds leaked CO into the heater. Horrible engineering.